This post may contain affiliate links. For more information, please see my full disclosure policy.
The Christmas countdown is on! It’s currently less than 2 weeks away and for most of us, that means that our kids are getting a little antsy and the excitement over the holiday can be likened to that of an enormous sugar rush.
Personally, we like to reign in a little of the Christmas craziness with a few fun Christmas activities. Now, that may sound counter-intuitive, but let me explain. Having somewhere to direct that crazy Christmas inspired energy helps us make it through these last few weeks/days and in the end, you’ve got some fun Christmas crafts and made some fantastic family memories. It’s a win-win!
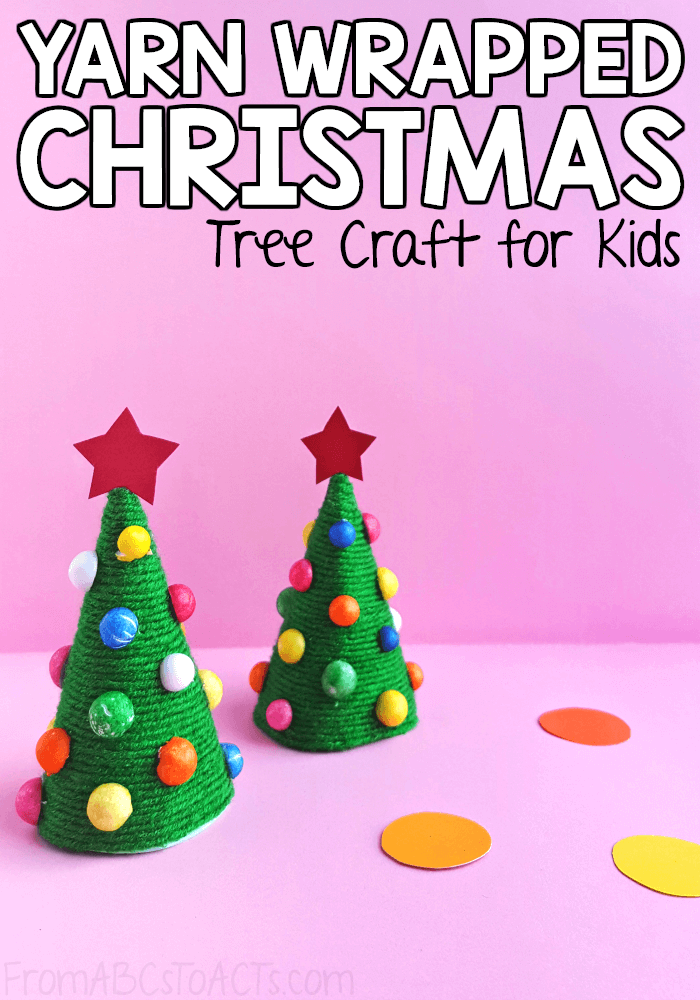
These yarn wrapped Christmas trees are absolutely perfect for this! They’re fun, they’re easy, and they make adorable decorations when you’re done!

These are fantastic for working on those fine motor skills if your kids need a little bit of extra practice with those and they are so easy to make!

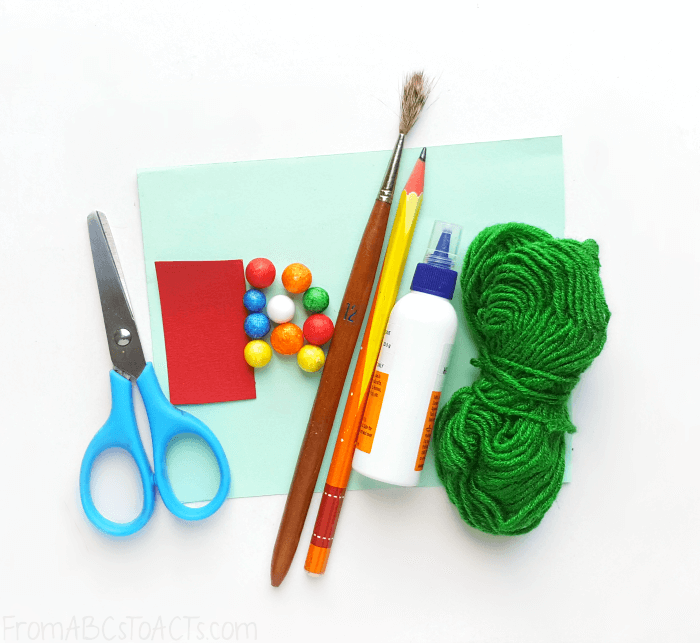
To make a yarn wrapped Christmas tree of your own, you’ll need:
- Cardstock
- Green yarn
- Small Styrofoam balls or pom poms
- Pencil or pen – for tracing the template (below)
- Scissors
- Craft glue or a glue stick
- Paintbrush

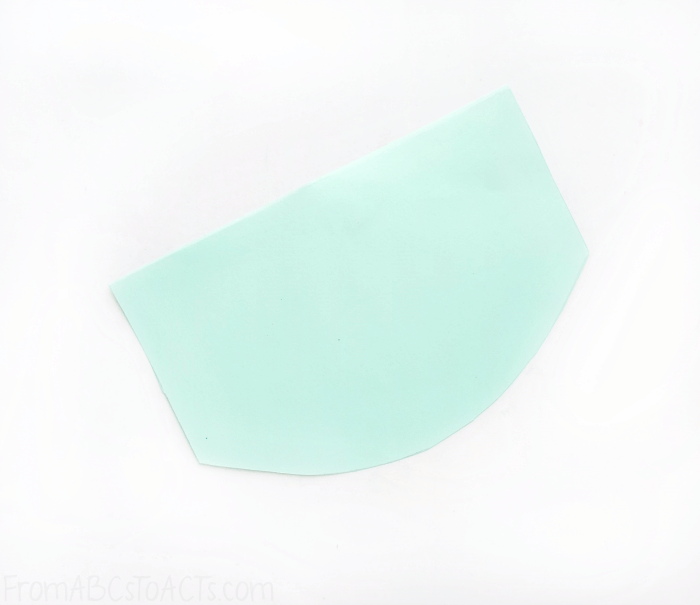
To get started, you’ll need to print and cut the printable template below. This template includes the shape that you’ll need for the cone as well as some stars for the top of your tree.
Once you’ve got that cut out, trace the large (flattened out) cone shape onto your cardstock and cut it out. It should look like the shape above.

Next, roll the cardstock paper that you just cut out, rolling the straight end and leaving the curved end intact until you have your cone shape and glue it so that it stays.

When the glue holding the cone together is dry, set it upright so that it looks like a Christmas tree and use your paintbrush to cover the entire thing in glue.
This will be a slightly messy, sticky process so you may want to cover your surface before you start this step.

Now, you’re ready to start adding the yarn!
Starting from the top, hold the end of the yarn in place and begin wrapping it slowly around your cone. Make sure that you are actually getting the yarn into the glue on your cone as you wrap it around.

Continue wrapping your yarn until you have reached the bottom of your cone (where it meets your table or surface) and then cut the yarn. You may want to add a small dot of extra glue at the end of your yarn to make sure that it stays in place and doesn’t unravel your cone.
Feel like getting a little crazy?
Change up the colors of your yarn! Start with green and then change to white half way through or just start with orange from the beginning. It’s your tree, make it the way that you want it!

Now, for your ornaments, you can either use some small Styrofoam balls that you cut in half and paint, or you could use some small pom poms. The glittery ones would be perfect for this!

Take whichever one you decide to use and glue them onto your yarn wrapped cone. You may need to hold them in place for a minute or so as the glue dries a bit so they don’t just fall off.

Finally, as with any tree, the finishing touch is the star.
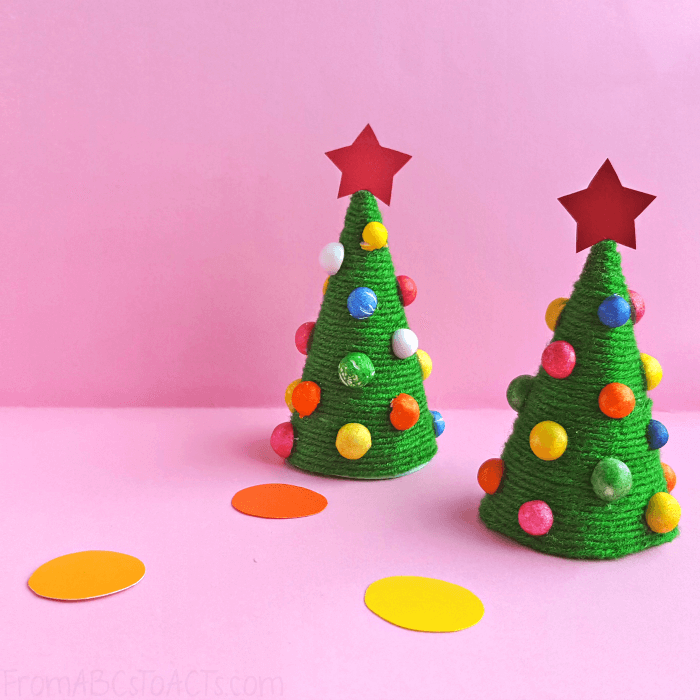
Use the included templates to cut one out of colored paper, glue it to the top, and your Christmas tree is all done!
Set it aside for a little while until the glue dries completely and then proudly display your newest Christmas creations.
