This post may contain affiliate links. For more information, please see my full disclosure policy.
With January already almost half way through (seriously where does the time go?!), we’re starting to see more and more Valentine decorations fill up the store shelves.
For my oldest, this is a pretty exciting time as he has always loved Valentine’s Day. Hard not to when one of your absolute favorite colors is red right? :)
Since our trip to the store this past weekend he has been in a preparing for Valentine’s mode and is ready to start decorating and crafting immediately. So, we took advantage of the below freezing temps the past few days and spent a little time crafting up some red and pink decorations!
Of course, if you can throw a little learning into the mix as well, why not?
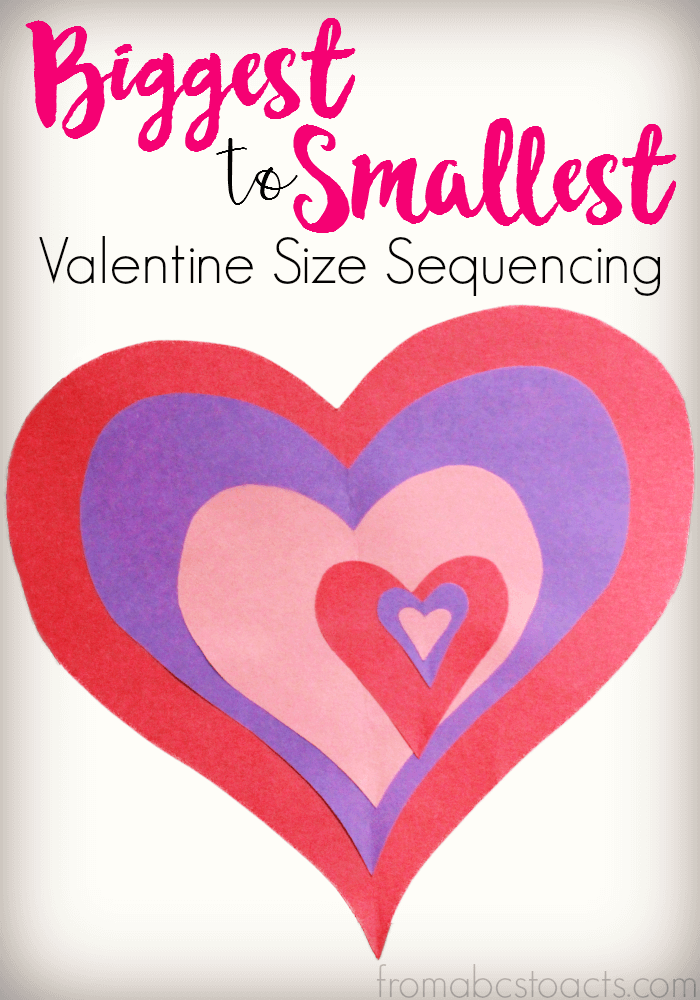
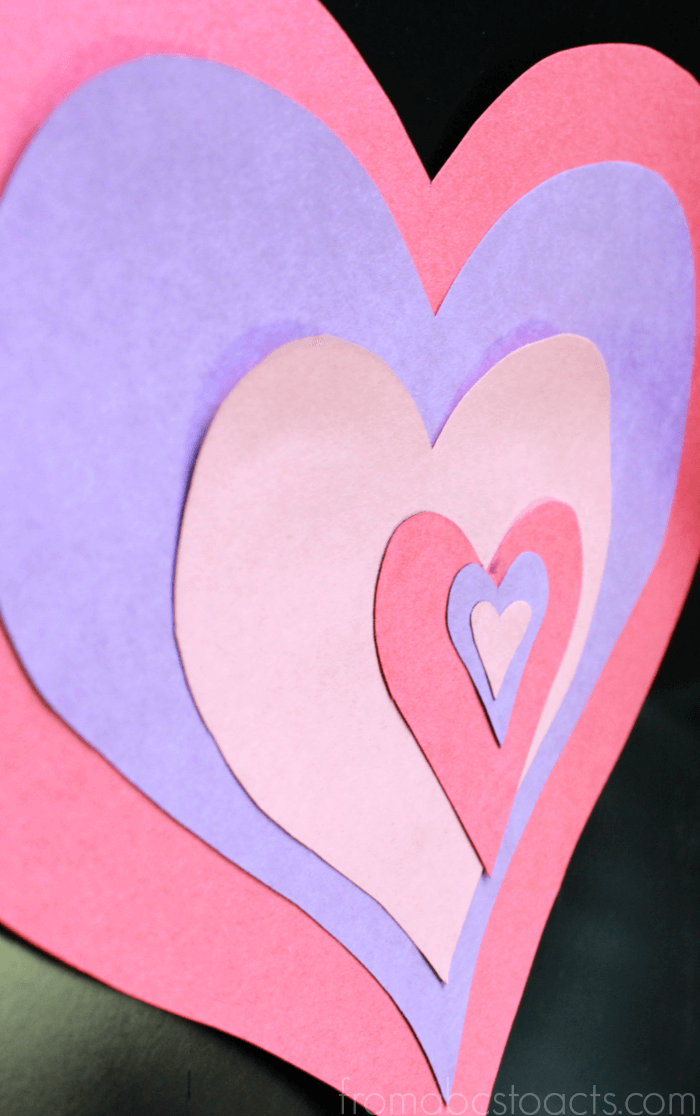
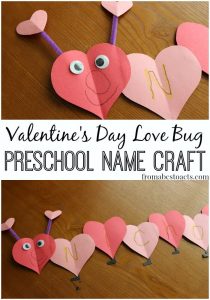
For this particular heart themed decoration, we worked on size sequencing as well as colors and patterns and it was a huge hit!
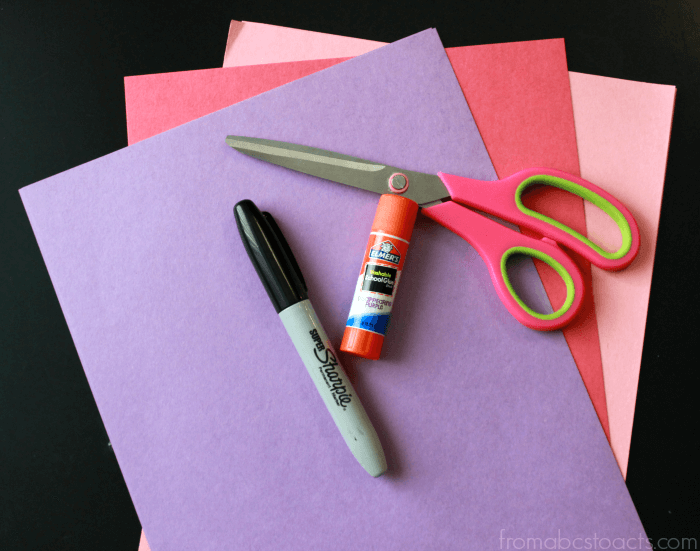
To enjoy this activity yourselves, you’ll need:
- Red, pink, and purple construction paper
- Scissors
- Glue
- A marker
Now, I’m sure you all know how to make hearts with construction paper :) It’s something we did at least a hundred times in school growing up, but this is a perfect way to teach your own little ones.
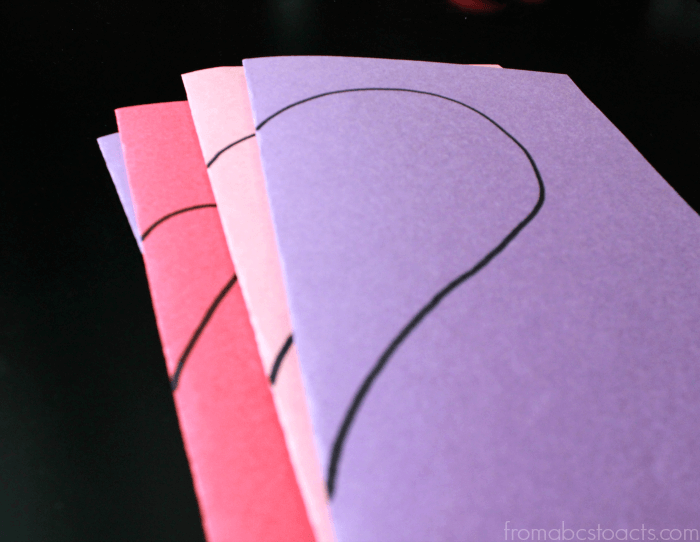
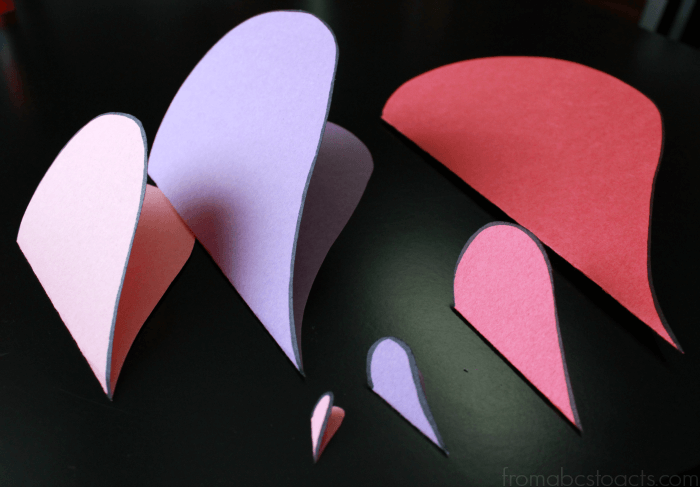
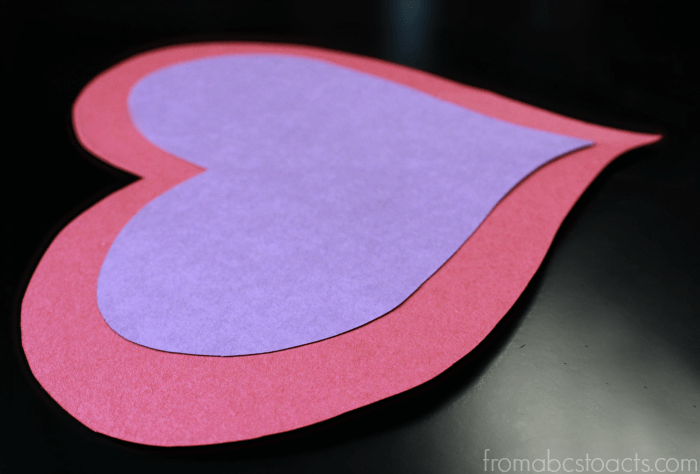
Just fold your construction paper in half and use your marker to draw half a heart on the fold. Cut it out, open it up and voila, you have a heart!
The biggest thing for this activity is just to make sure that every heart you make is slightly smaller than the last.
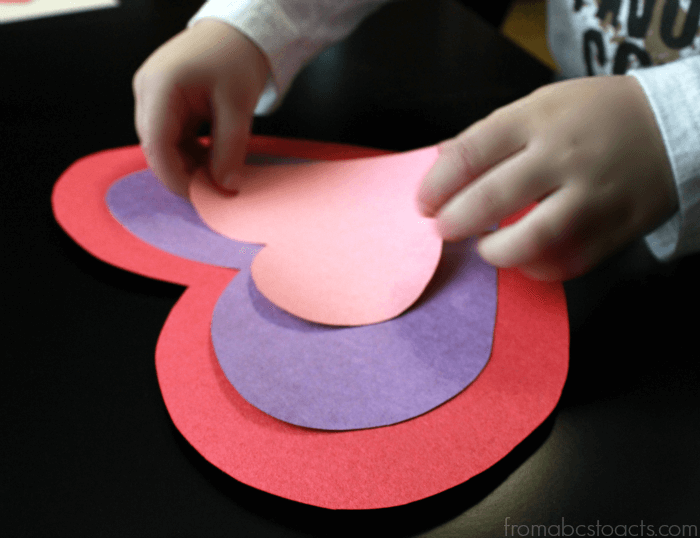
Once you have all of your hearts cut out, hand over the glue stick and let your child go to town!
Start with the biggest heart and work your way to the smallest. If you plan ahead of time, you can cut your heart sizes out so that when you’re finished, you will have also made a pattern with the colors.
When you’re all done and your heart is completely assembled, grab a hole punch and some string to turn it into a hanging decoration or just stick it up on the fridge or the window to get your Valentine decorating started!
