This post may contain affiliate links. For more information, please see my full disclosure policy.
Who’s ready for another round of Think Outside the Toy Box?
Week 7 already. Can you believe it?!
This has been such a fun series of projects and this week’s was no different. Although, I have to admit, we were a little stumped for a while.
Trying to come up with a way to use this week’s item of wax paper was more than a little difficult but hey, the challenge is half the fun :)
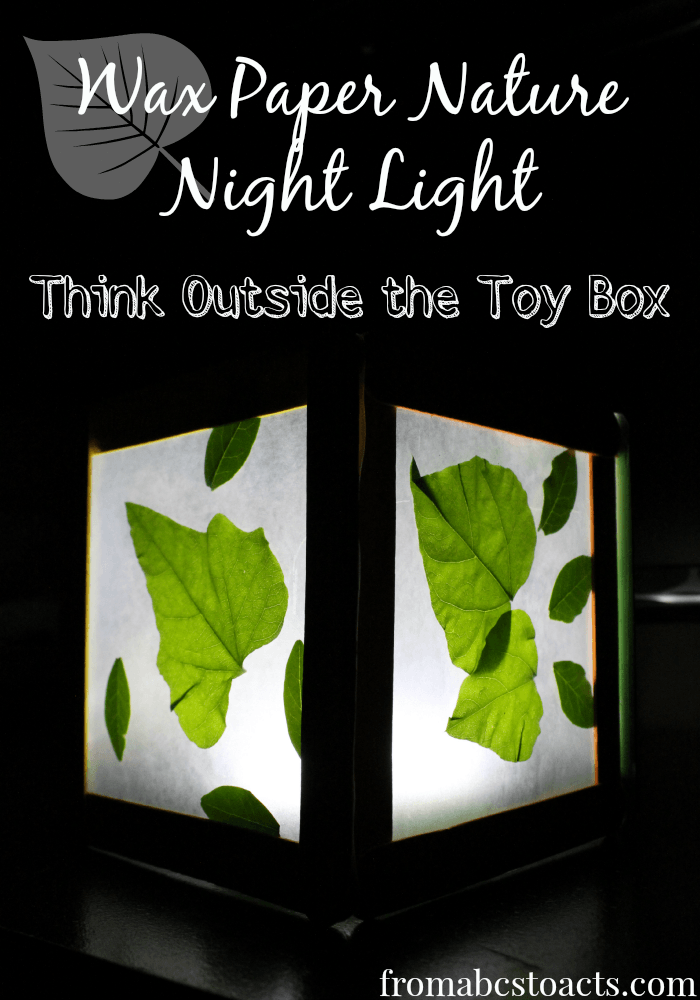
So what did we come up with? A night light fit for a certain 3 year old little boy that loves the outdoors!
This was so much fun to make and Nicholas loved using leaves as part of his project. That kid loves the outdoors like no one I’ve ever seen and this was the perfect opportunity for us to bring a little of that into his room.
To make one of your own, you’ll need a few supplies.
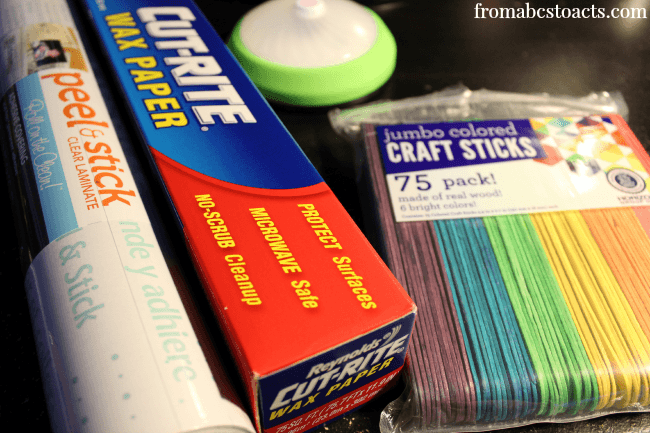
You’ll need:
Wax Paper
Contact Paper
Craft Sticks
A Battery Powered Light (Flame less candle or battery operated night light of some sort)
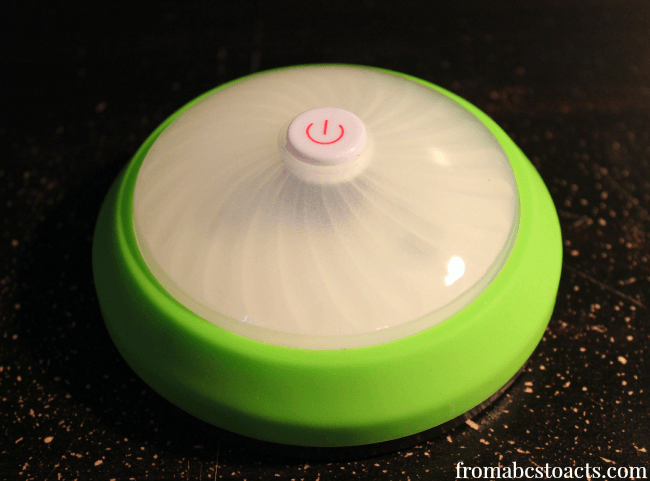
Not Pictured:
Hot Glue Gun
Leaves, flowers, or other nature items that you would like to include
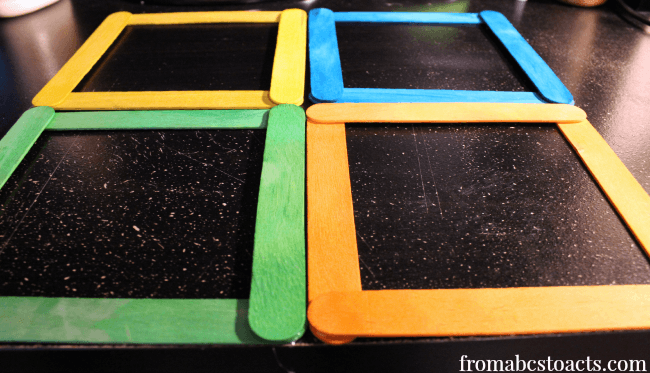
To get started, you’ll need to use your glue gun to glue your craft sticks into a square. Repeat this step 4 times until you have 4 separate squares like the ones below.
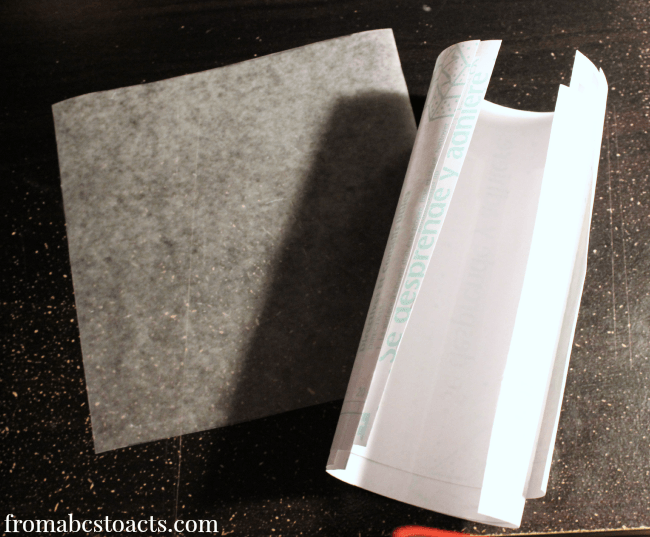
Next, you’ll need to measure your contact paper and your wax paper and cut 4 squares of each that are the same size as your craft stick square. Don’t worry about them being too perfect, you can trim them up before you’re finished.
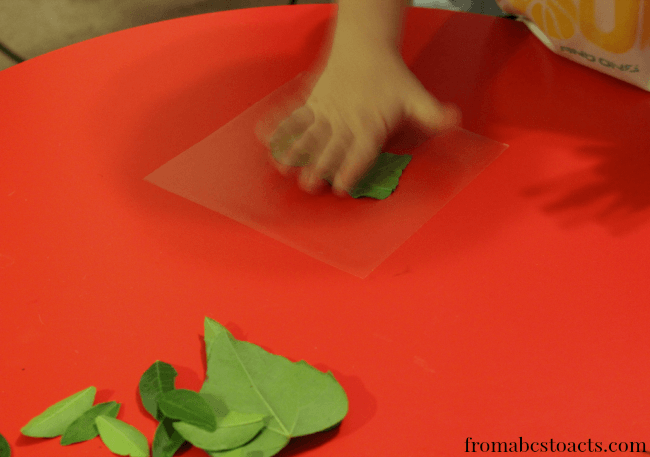
Once you have your paper squares, you’re going to gather your leaves and make a sticky nature collage using your contact paper. To do this, simply peel the backing off of your contact paper squares and lay them on a table sticky side up. Now let your little one go to town sticking leaves, flowers and whatever else on.
Once they’re done adding the leaves, cover the sticky side of the contact paper with one of your wax paper sheets. Repeat until you have 4 contact paper, leaf, and wax paper sandwiches.
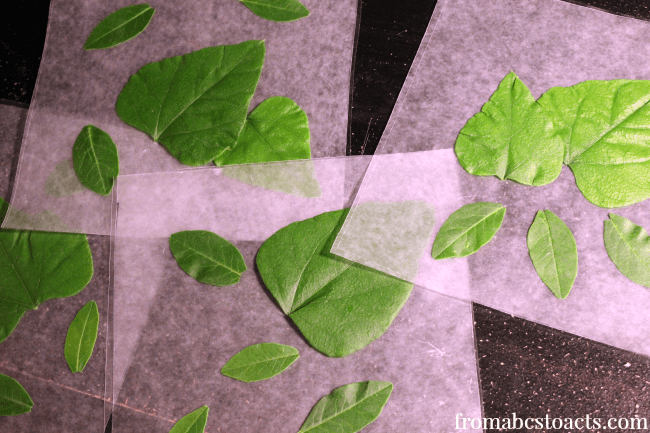
Grab those craft stick squares that you made earlier and your glue and attach your paper squares to the back of your craft stick squares with the leaves visible through the little window.
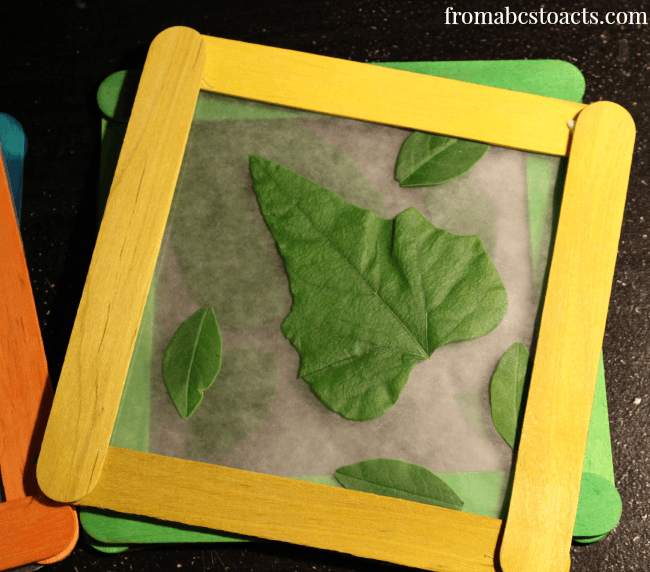
Again, repeat until all 4 are complete. At this point, once your glue dries, if you need to, go ahead and trim up the edges of your paper squares so that they’re not sticking out all over.
Now comes the slightly tricky part. Unless you’ve recently sprouted an extra set of hands, you’ll need to have someone help you hold the pieces together as you glue to keep them from falling over as you use the 4 squares to make 4 “walls” for your night light.
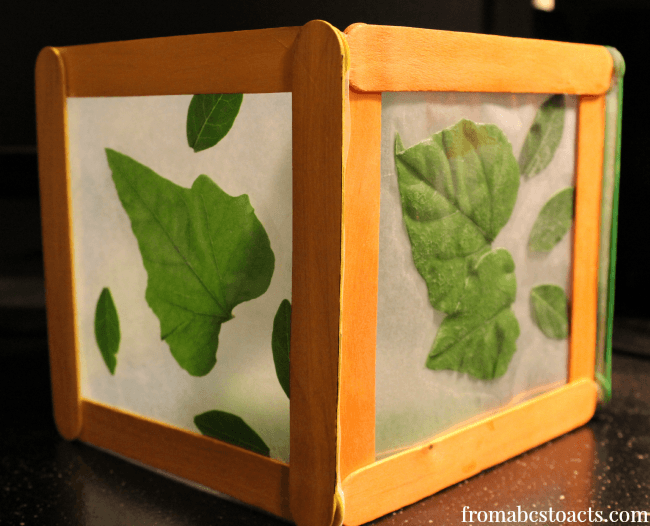
Once you’ve got it all together and your glue has dried, go ahead and stick your light in the middle.
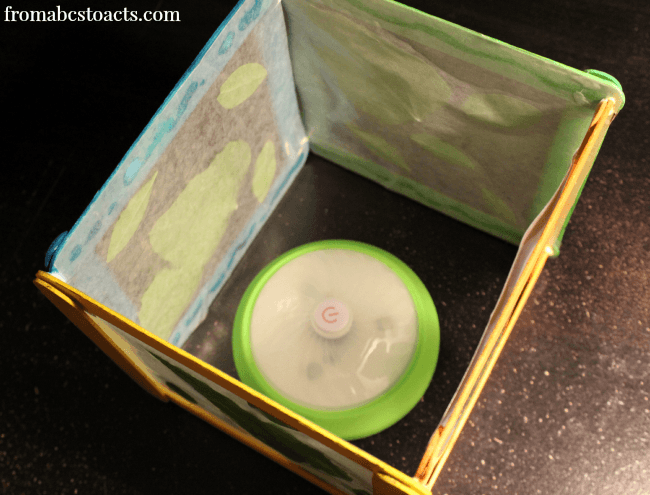
Now turn off the lights, turn on your night light, and sit back and let your little one enjoy their new work of art.
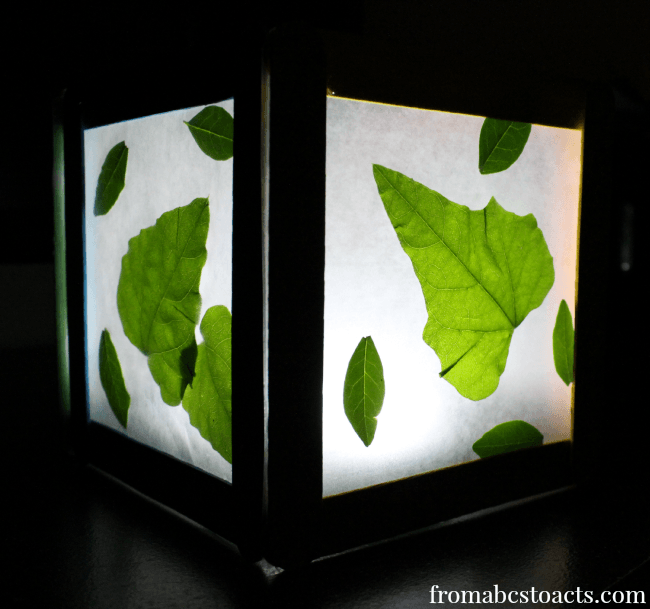
The colors in the leaves look even brighter with the light shining through them and the wax paper gives your night light a soft, frosted look that keeps it from being too bright.
Does your little one use a night light? Have you ever tried to make your own?
If you’re looking for more fun ideas to try with the kids this summer, make sure you check out the rest of our Think Outside the Toy Box projects!
5/26 – Glow Sticks (Glow in the Dark Sensory Slime Bag)
6/2 – Plastic Soda Bottles (Soda Bottle Speed Boat)
6/9 – Paper Grocery Bags (Paper Bag Wind Sock)
6/16 – Kool-Aid (Kool-Aid Painted Beach Towel)
6/23 – Ice Cream Cones (Ice Cream Cone Rocket Races)
6/30 – Pool Noodles (Pool Noodle Play House)
7/7 – Wax Paper (Wax Paper Nature Night Light)
7/14 – Puzzle Pieces (Puzzle Pictures)
7/21 – Paper Cups (Hot Air Balloon Craft for Preschoolers)
7/28 – Plastic Milk Jugs (Recycled Milk Jug Sun Catchers)
