This post may contain affiliate links. For more information, please see my full disclosure policy.
Viewing a solar eclipse can be a once in a lifetime opportunity. The tricky part is observing one safely! One of the best ways is to build a pinhole projector so that you can project the image of the sun rather than look at it directly. In this STEM activity, kids can learn how to design and engineer a box pinhole projector to use for safely viewing solar eclipses. An activity perfect for middle school, students will not only learn how to build a working pinhole projector but also, how modern cameras were developed and the science behind the behavior of light.
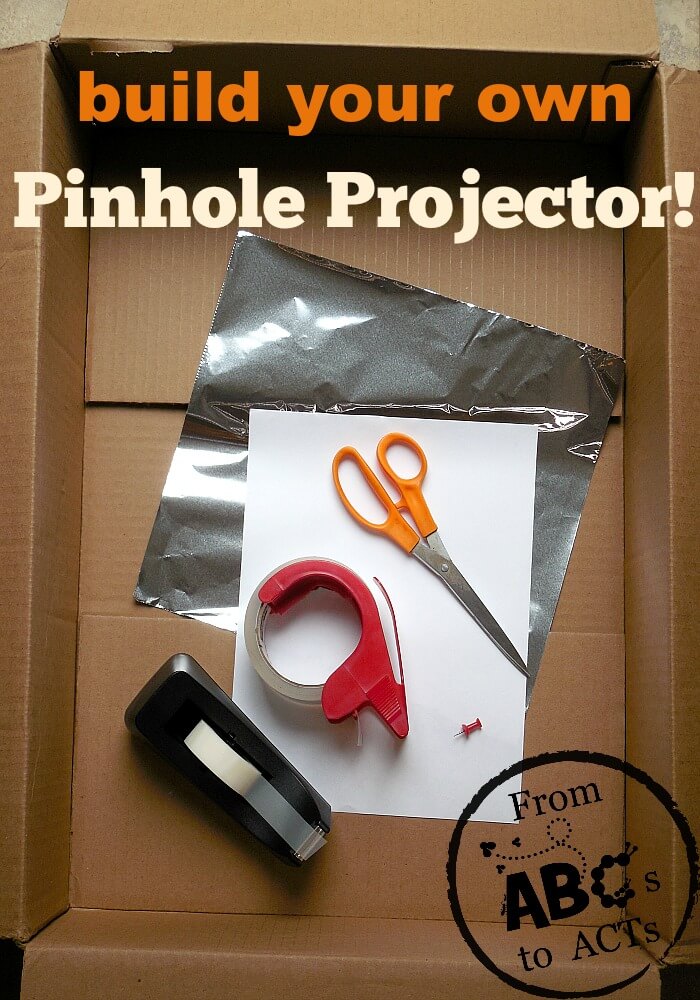
Pinhole Projector Materials
You will need the following materials for your projector:
- large, long box
- tape (scotch tape, and either duct tape or packing tape)
- scissors
- a pin, thumbtack or needle
- aluminum foil
- a piece of white paper
Build Your Projector
First, you’ll need to cut a small rectangle into one of the short ends of the box. The closer your rectangle is to what will be the “top” of the projector, the better. In other words, cut your rectangle closer to the closed end of the box. Otherwise, when you use the projector, your head will be in the way!
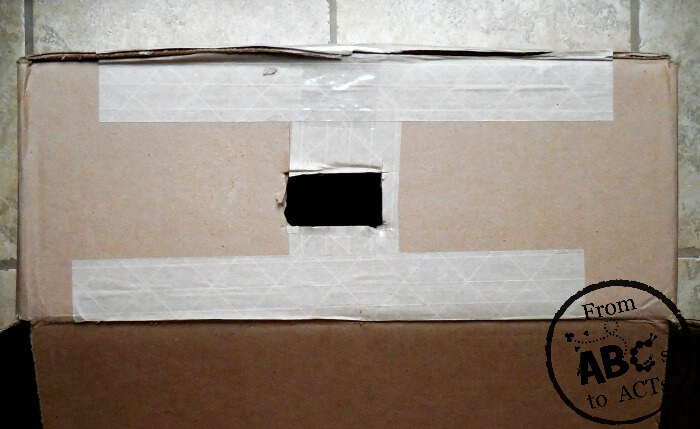
Next, cut a piece of aluminum foil slightly larger than the rectangle. Be sure that the foil does not have any creases. Tape it over the rectangular hole.
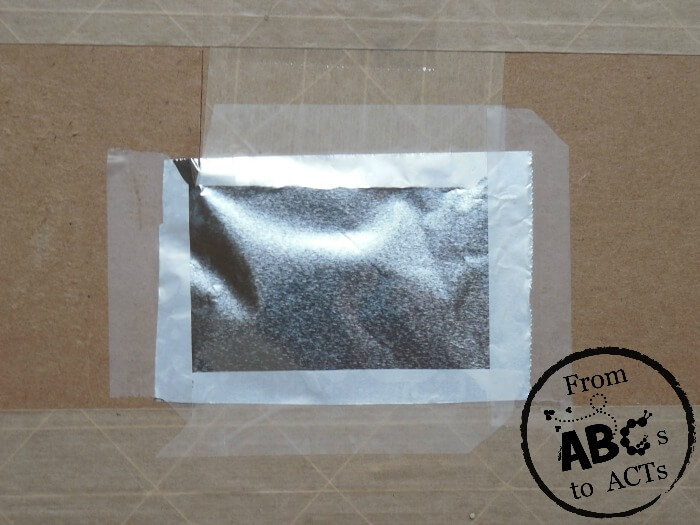
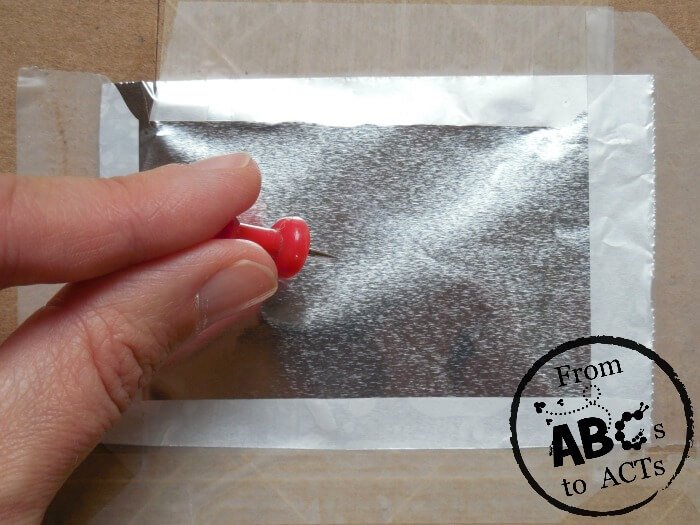
Then, carefully punch one clean hole into the foil with your thumbtack, pin or needle. The smaller and neater the hole, the better focused the light will be as it comes into your projector.
Flip your box over so that it is open on the top now. Tape a piece of white paper on the short end of the box across from the foil rectangle. This serves as your projector’s screen.
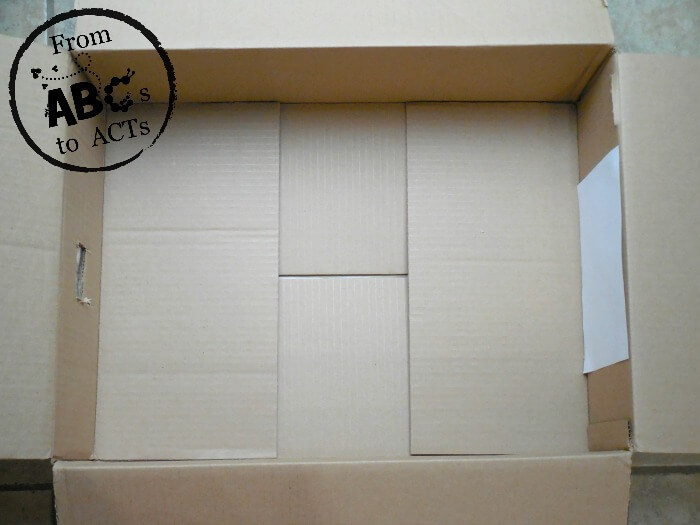
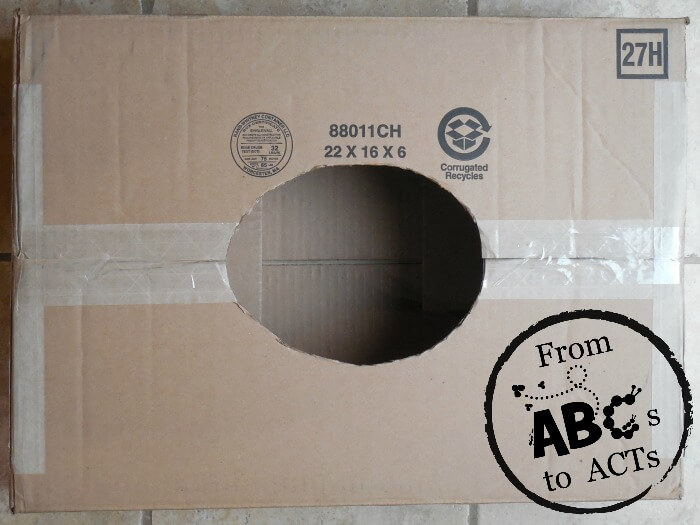
Lastly, you’ll close up the box, and cut a head-sized oval out. Tape it shut, and voila! You’ve finished your pinhole projector.
Make it a STEM Activity
Test it out! Stand with your back to the sun or another light source. Hold the box over your head with the pinhole behind you. Adjust until you can see a projection on the white paper. This is also how you would use the projector to safely view a solar eclipse.
You can modify this design to test out different “models” of your pinhole projector. The longer the box is, the larger the projected image will be. Use the engineering design process to build, test and modify your projector. Try different sized boxes, or tubes and find out what happens when you adjust the shape of the projector. Just remember, to never look directly at the sun, and always have the pinhole behind your head.
If you are interested in other STEM activities using the sun, check out this solar oven engineering challenge!
History and Science of the Pinhole Camera/Projector
Before modern cameras, people used the same idea as the pinhole projector to capture images. In the 1600’s the “camera obscura” used the idea that focused light travels in a straight line, thus projecting an inverted image on the opposite wall. In the case of your homemade projector, it produces the image on the white paper in the box.
The camera obscura was a darkened room that had one hole in the wall. Light entered the hole and reflected an outside image on the opposite wall. Then an artist would draw the image, creating a picture. Could you use your pinhole projector like a camera obscura if you designed it differently?
Later on, pinhole cameras were used instead. This was a portable version of the camera obscura, much like your pinhole projector.
Use Your Projector to View a Solar Eclipse
Solar eclipses happen throughout each year but often occur in places where we cannot witness them. On August 21st, 2017 there will be a total solar eclipse observable across much of the United States. Learn more about this “Great American Solar Eclipse” and other safe viewing methods here. There will be another solar eclipse across North America in 2024.
For more fun lessons about the sun and moon, investigate this Star Wars Astronomy post.