This post may contain affiliate links. For more information, please see my full disclosure policy.
Fall. The cool, crisp air, the falling leaves, the apples…
Autumn is, by far, my absolute favorite time of year and I can not wait for it to roll around each year.
This year, unfortunately, fall started out feeling like an extension of summer. With 90+ temps and the high humidity, I haven’t been feeling the same fall excitement that I normally do.
So, we took matters into our own hands last week in an attempt to recreate a little of that fall feeling on our own.
We started reading about apples, leaves, and all things pumpkin. We watched videos on how the environment around us will change in the coming months and finally, we landed on a video that quickly demonstrates the life cycle of an apple.
It was then that I knew exactly what our next science lesson was going to be.
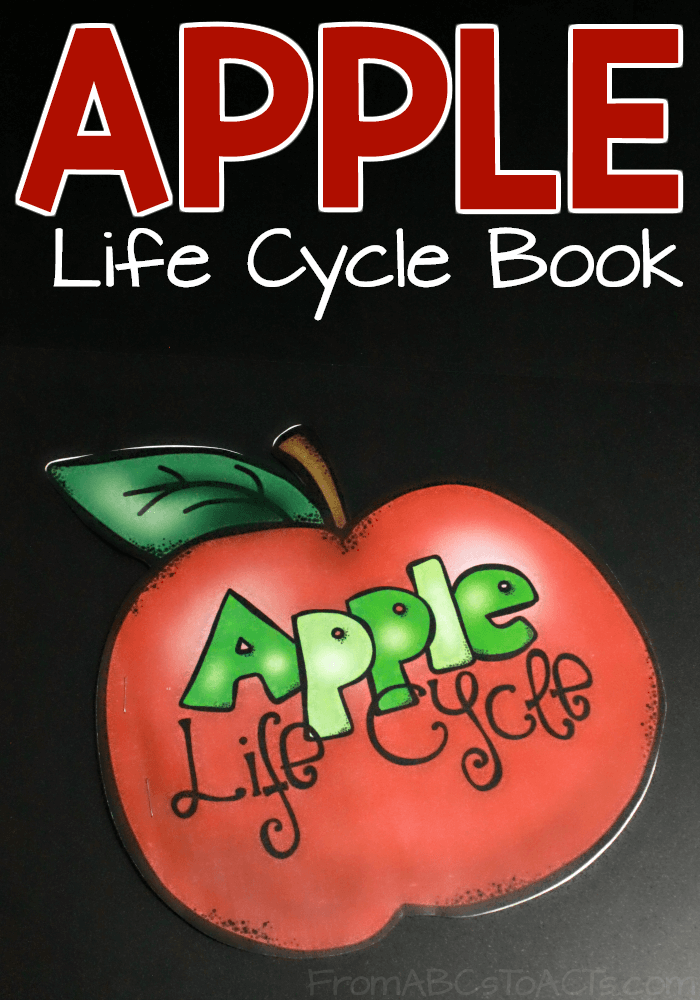
An apple life cycle book!
In case you’re curious and would like the full experience, the video below is the one that we wound up enjoying most. It’s a quick, visual representation of the apple life cycle and my kiddos were easily able to follow along and understand how the apple seed became an apple.
Once we had watched the video once or twice, we set out to make our own little life cycle book.
I wanted something that would have the kindergartner actually figuring out the order of the life cycle on his own, rather than just color something that was already finished and I couldn’t be happier with what we came up with.
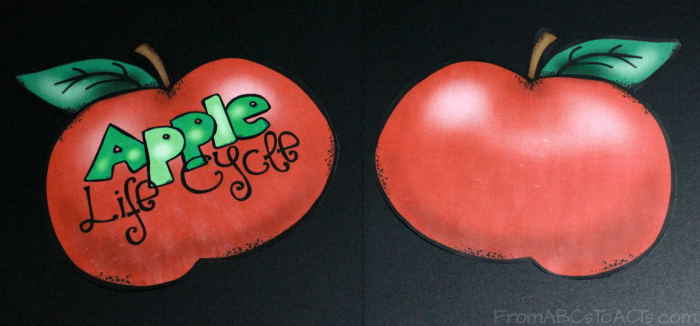
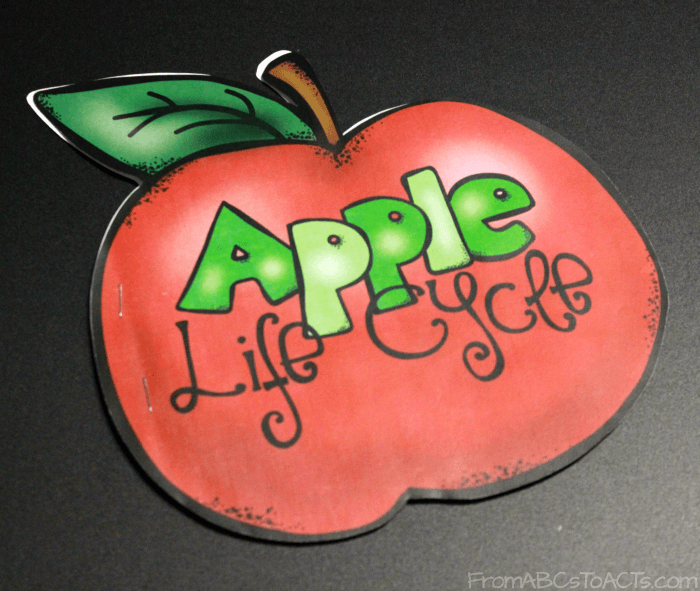
The very first thing we did was create the front and back cover for our book :)
When putting together one of your own, you’ll notice that the front cover has the words already on it, and the back cover is an exact mirror image (without the words) so that your pages will fit together nicely.
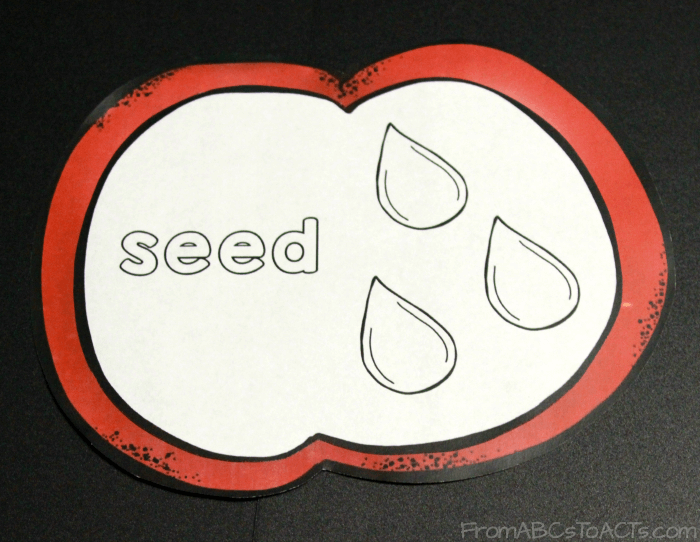
The inside pages do not have a leaf or a stem as they are meant to be pages that just fit nicely into the covers of your book and we found we had quite a bit of trouble lining it all up when every page had those elements.
Included in the printable set are the front and back cover pages, the stemless inner apple page (you’ll need to print this page 6 times for each book), and 6 smaller, stemless apple shapes with the various stages of the life cycle listed on them.
To assemble your book, simply print the pages out, cut out the various pieces and have your child glue the white life cycle stages onto their inner apple pages.
Once they’re glued, go ahead and let them color.
When their book is colored to their satisfaction, watch the video above and have your child sequence their apple pages into the correct order, making sure that you line the pages up as much as possible.
Finish the whole thing off by adding the front and back cover and stapling the pages together along the left side.
By the time they’re done making their book, they’ll have a great understanding of the life cycle of an apple and, at the same time, will have a book that they can flip through again and again!

