This post may contain affiliate links. For more information, please see my full disclosure policy.
Can you believe it?!
50 different crafts have been added to our preschool alphabet book at this point and finally, FINALLY, we’re down to the very last two.
Now, the majority of our crafts have been made out of construction paper with the occasional extra item from our craft supply stash thrown in for good measure.
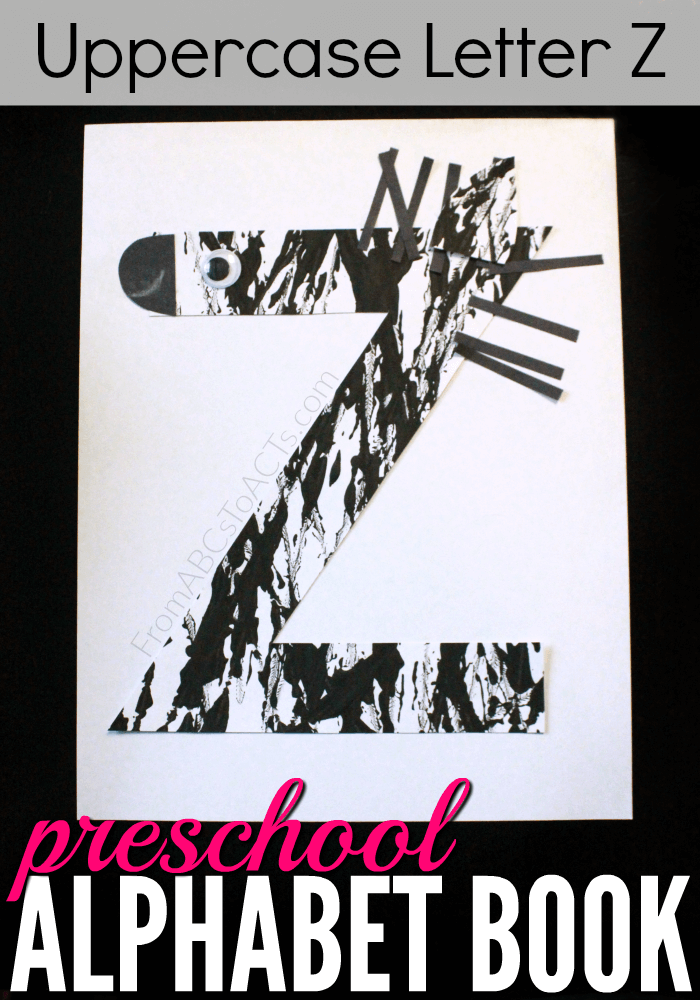
This uppercase letter Z zebra craft, however, is a bit more involved and honestly, can get a little bit messy if you’re not careful.
The mess though is part of what makes it so much fun!
With almost the entire alphabet under our belts now, we wanted to finish off the alphabet with a bit of a bang and this painted zebra certainly helped with that.
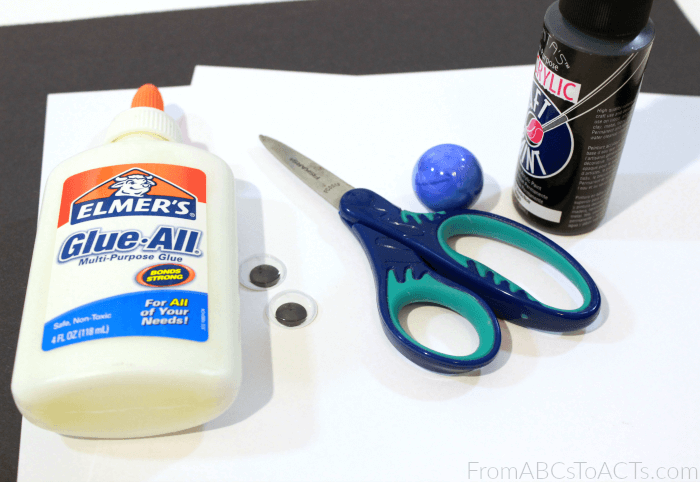
To create one of your own, you’ll need:
- 2 sheets of white card stock
- Black construction paper
- Black acrylic paint
- A cardboard box
- A marble or small ball
- Googly eyes
- Scissors
- Glue
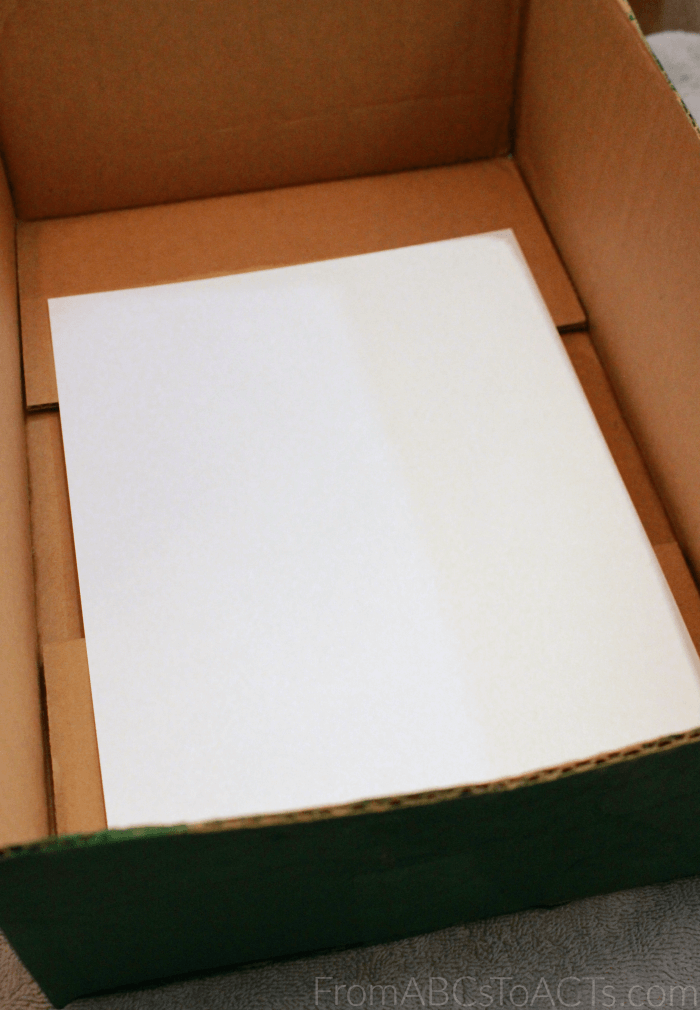
Now, the first step in the process of making your zebra is to find a cardboard box. You’ll need one that is bigger than your card stock since you’ll want to lay your paper flat in the bottom of the box.
The sides of the box need to be at least an inch or two high so that you can easily roll the marble around in the box without it falling out.
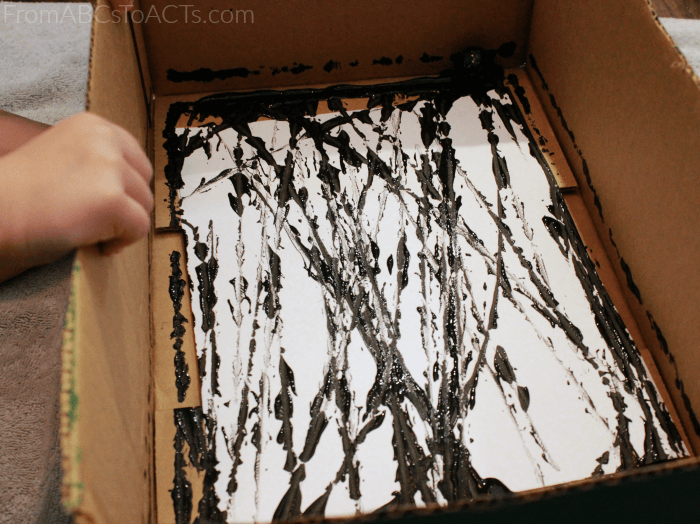
When your box is ready, lay one of your sheets of card stock in the bottom of the box, add some black paint to whatever cardboard border that you have around your paper, drop the marble in, and tilt the box back and forth to move the marble around.
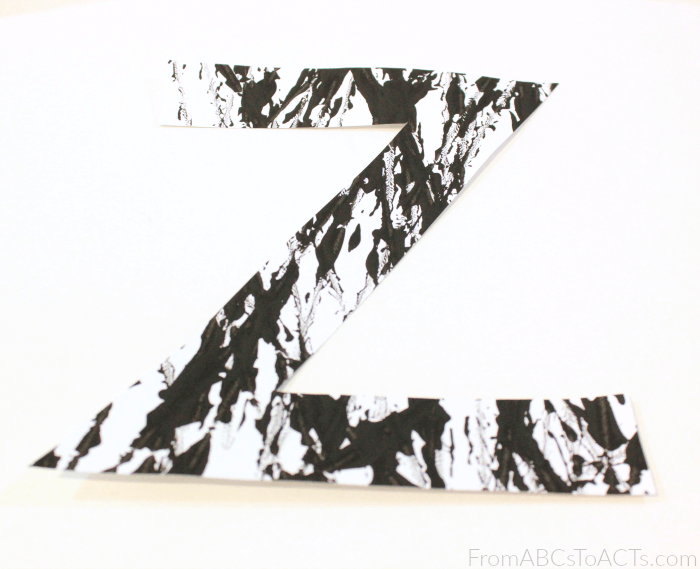
As you move the box, the marble should roll through the paint and then over the paper creating the stripes of your zebra.
When you’re happy with the way that your stripes look, set your paper aside to dry.
When your marble painted paper is finally dry, it’s time to start assembling the zebra!
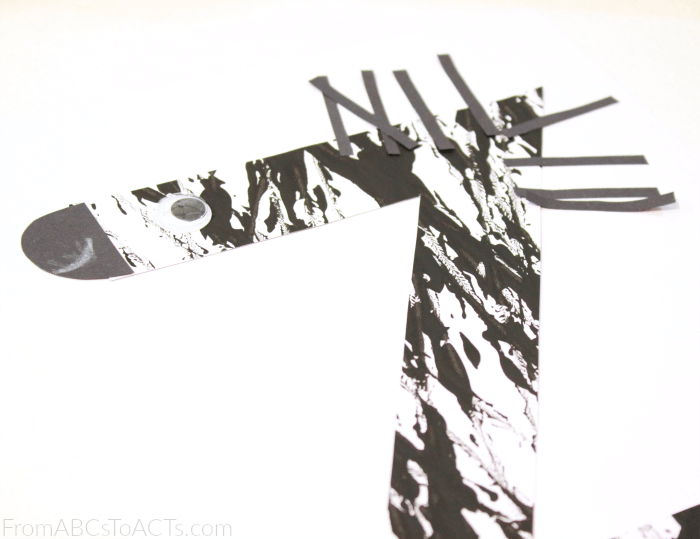
From the paper that you painted, you’ll need to cut two separate shapes, the first being the uppercase letter Z.
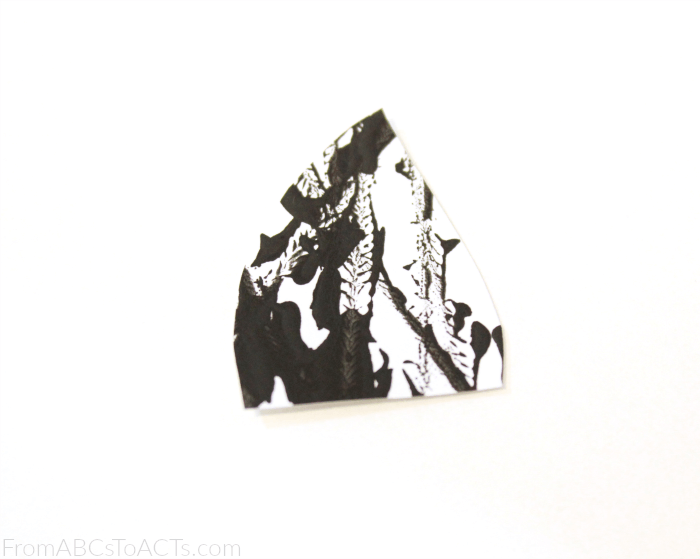
Next, you’ll need to cut a shape that can be used as an ear for your zebra.
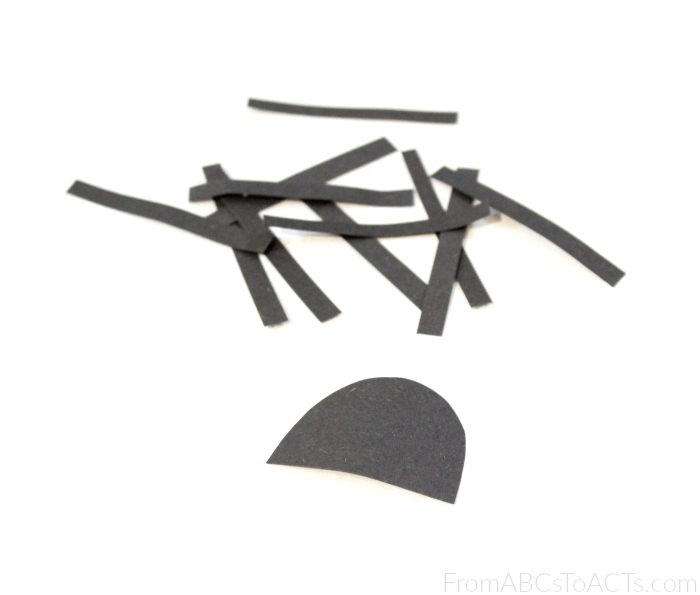
From the construction paper, cut out a small, half-circle shape for your zebra’s mouth and multiple thin strips of paper for the hair or mane.
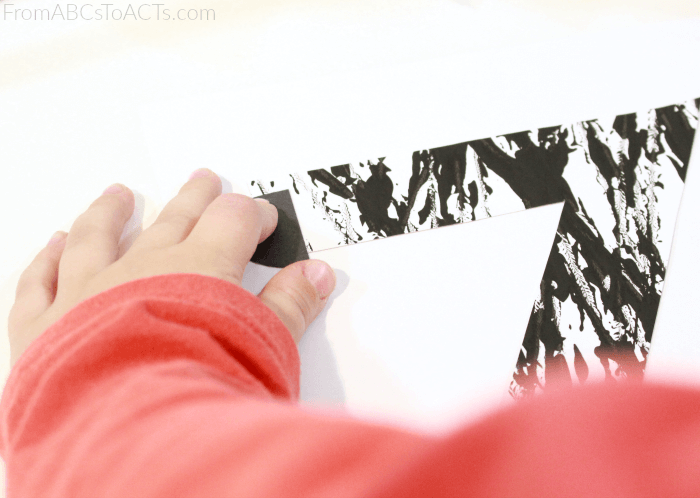
To put the pieces of your zebra together, start by having your child glue their letter Z to their sheet of uncut card stock and adding the black, half-circle shape to the top of the letter.
While you’re at it, go ahead and add your googly eye and, using a white crayon, give your zebra a mouth.
To finish this little guy off, add the thin black strips of paper for the mane and have your child glue on their ear at the same time.
While you’re waiting for the glue to dry on your newest animal creation, go ahead and grab the printable uppercase letter Z page from the bundle of interactive alphabet pages and add them both to your alphabet book when you’re ready.
