This post may contain affiliate links. For more information, please see my full disclosure policy.
As we’ve worked our way through the letters of the alphabet for our alphabet book, we haven’t really had any letters that we’ve made in pairs. Ones that have multiple letters fit together in some way.
We’ve simply looked for things that start with a particular letter and tried to find ways to make the ideas that we’ve loved.
With this craft however, we knew from the time that we made the letter K king that we wanted to make his queen counterpart when we eventually got to the letter Q.
You just expect to see the two of them as a pair, so it just made sense to make sure that, by the time we were done, the king has his queen.
Now, this alphabet craft starts the same way that they all do, with construction paper :)
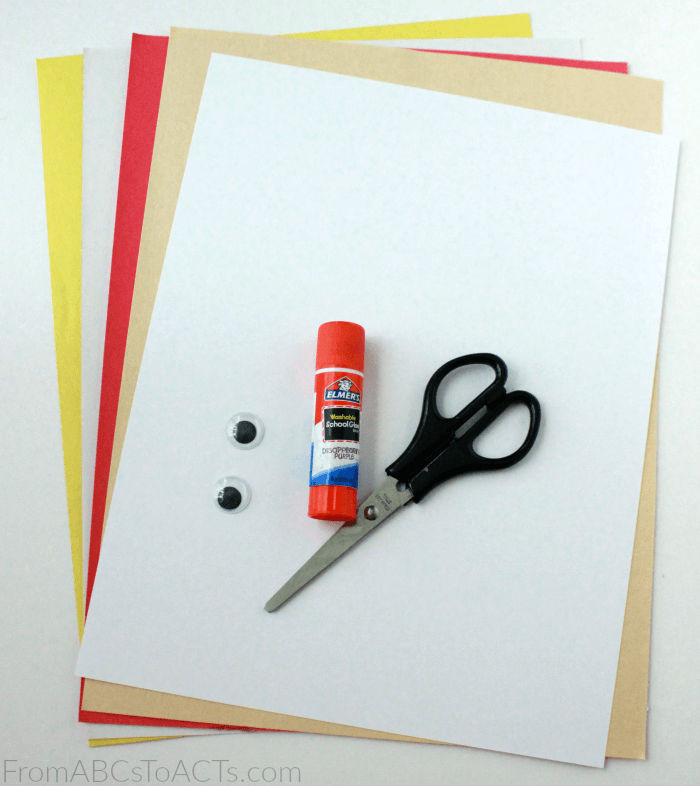
For your own letter Q queen, you’ll need:
- A sheet of white card stock
- Construction paper (the colors we chose were red, white, yellow, and a tan/beige)
- Scissors
- Glue
- Googly eyes
- Crayons (not pictured)
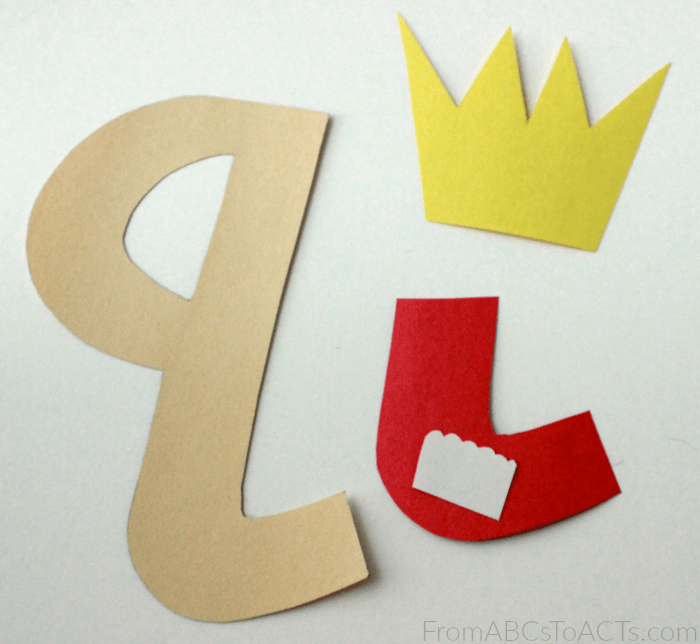
As always, you’ll want to start by cutting out all of your pieces.
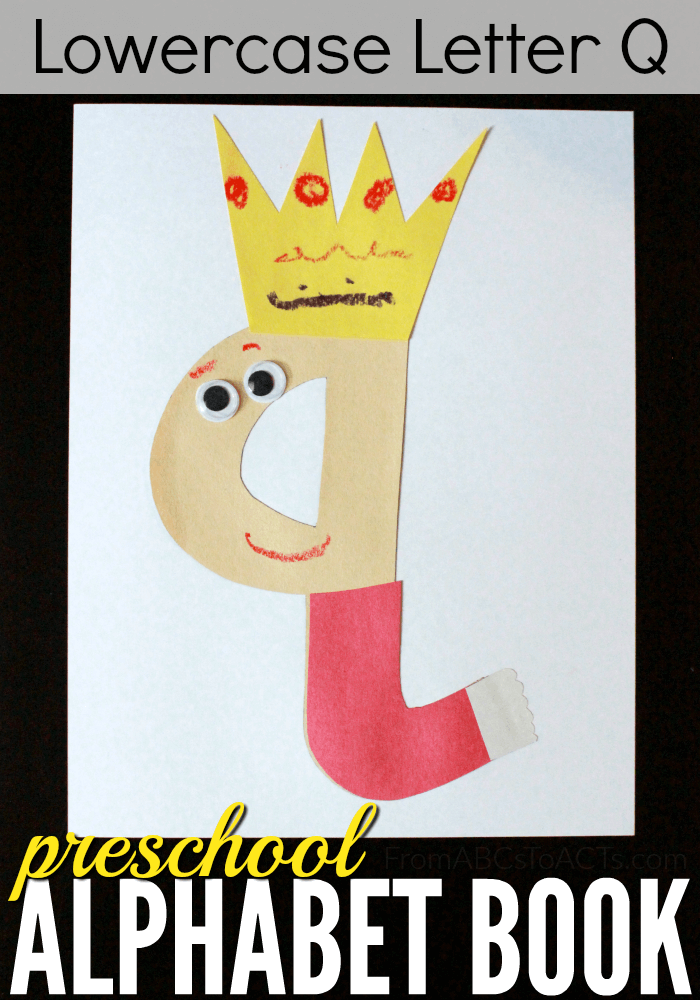
For this craft, we wanted to try to find a way to make it stand out a bit from the king as he already had a crown, so, in the end, we decided to create a robe for the queen so that there was something distinguishing her from our letter K craft.
From the tan/beige construction paper, we cut out our lowercase Q with a bit of a tail so the robe would have somewhere to go. From the yellow, obviously, we cut out the shape for our crown, and from the red and white, we cut the pieces for the queen’s robe, making sure that the red piece would fit onto the lower half of our Q shaped cutout.
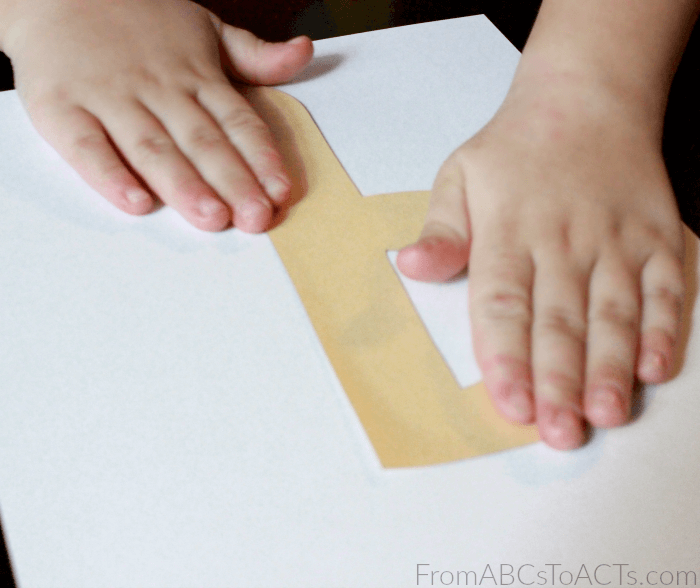
For the base of your queen, have your child glue the lowercase letter Q directly onto your sheet of card stock.
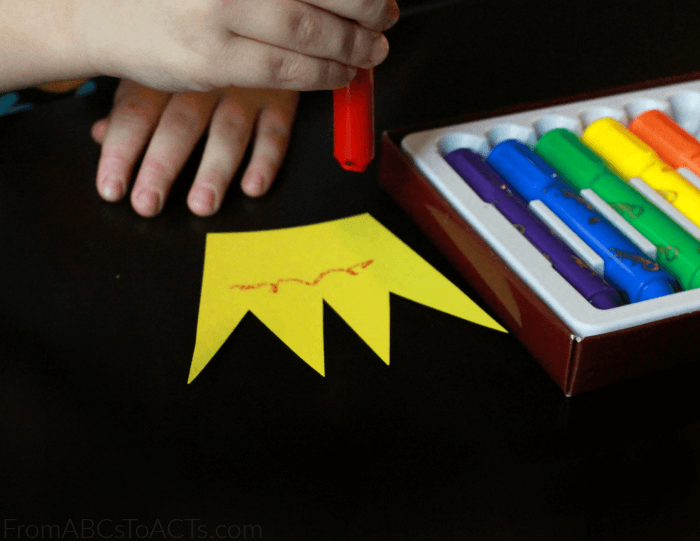
To make the crown, because every queen should have one, decorate your yellow crown shape with crayons, glitter, pom poms, whatever you have in your craft stash. Let their little imaginations run wild!
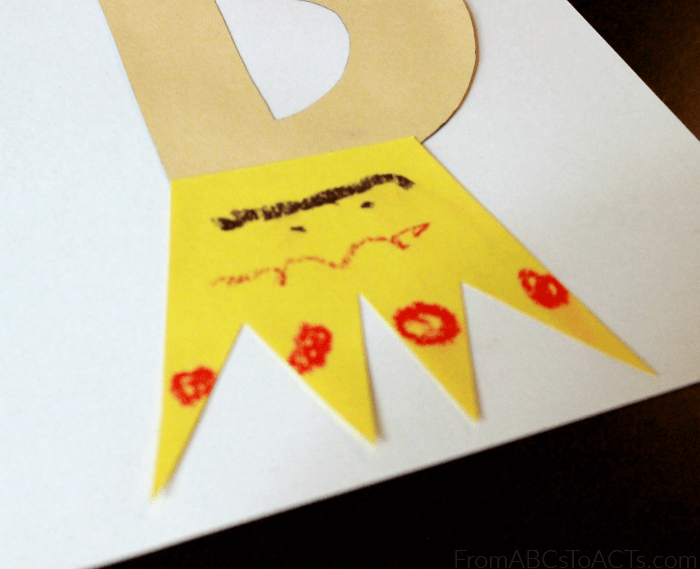
Once decorated, glue the crown onto the top of your lowercase letter Q and get your red and white robe pieces ready for the bottom.
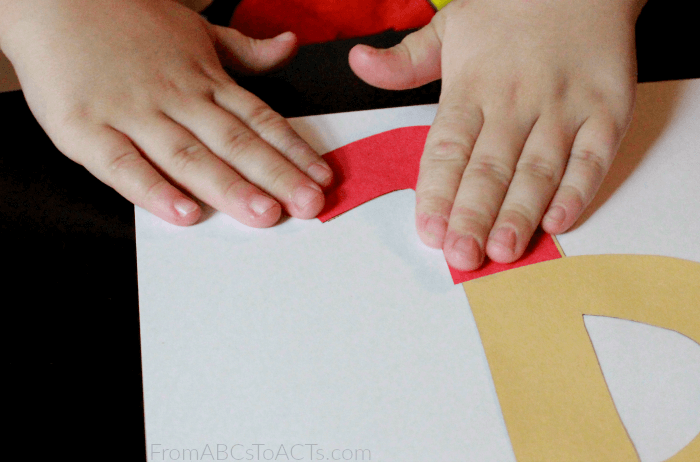
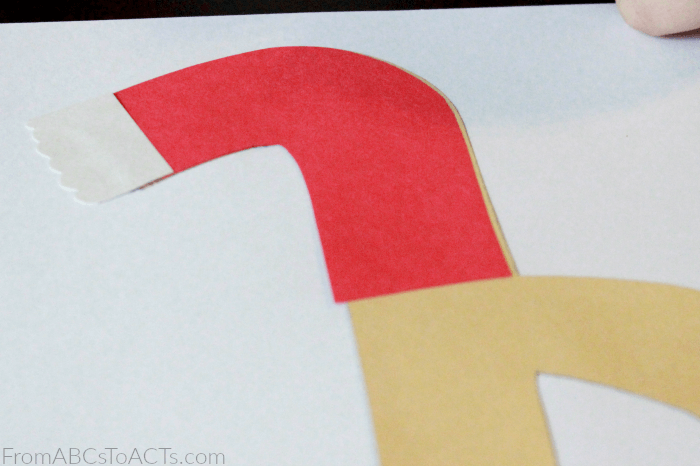
After looking through some online pictures of queens and what they wore, the 5 year old decided that his robe would be red and we needed to add the white strip across the bottom to finish it off.
This doesn’t need to be perfect, just try to get your robe piece on as close to the outline of the tan letter Q as possible so that you maintain the shape of the letter.
Once all of the pieces are glued into place, your queen is going to need a face.
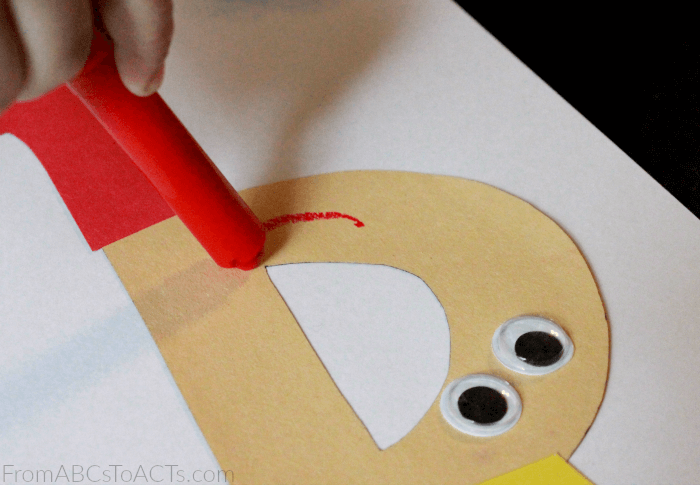
So break out those googly eyes and a couple of crayons and add a couple of fun features to the top portion of your letter Q.
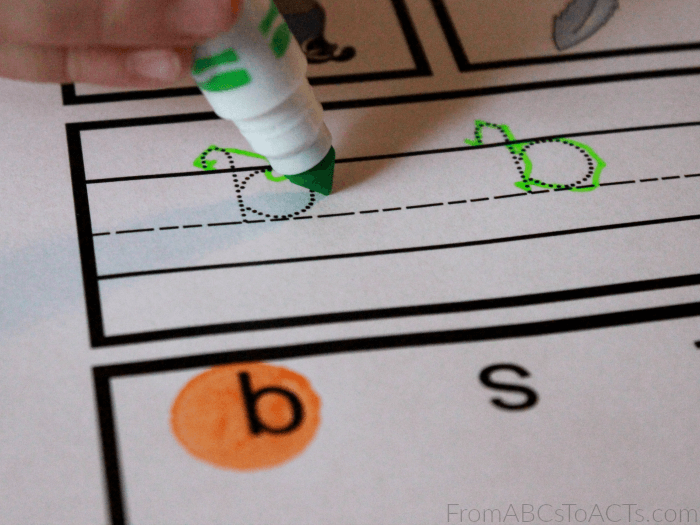
Follow your craft up with the lowercase letter Q printable page from the bundle of interactive alphabet pages and you’re all ready to add this new set to your alphabet book!
