This is a sponsored post. The sponsoring company compensated me for my time, however all opinions and text are my own. For more information, please see my full disclosure policy.
This shop is part of a social shopper marketing insight campaign with Pollinate Media Group® and Staples, but all my opinions are my own. #StaplesBTS #pmedia https://my-disclosur.es/OBsstV
The back to school season is officially upon us! The stores are filling up with all sorts of new school supplies and children of all ages are getting ready to start a brand new school year.
As you know, in our house, we’re preparing for our first year of homeschooling and we’re kicking off next Monday with our first day of preschool. In preparation of that, I have been gathering our resources and supplies for a few weeks now, but trying to find a way to organize everything and still keep it fun (it is preschool after all) was proving to be a bit of a challenge.
I didn’t want to go the standard white paper label route (where’s the fun in that?), and after playing around with a few different ideas, what we ended up with is SO much better than that!
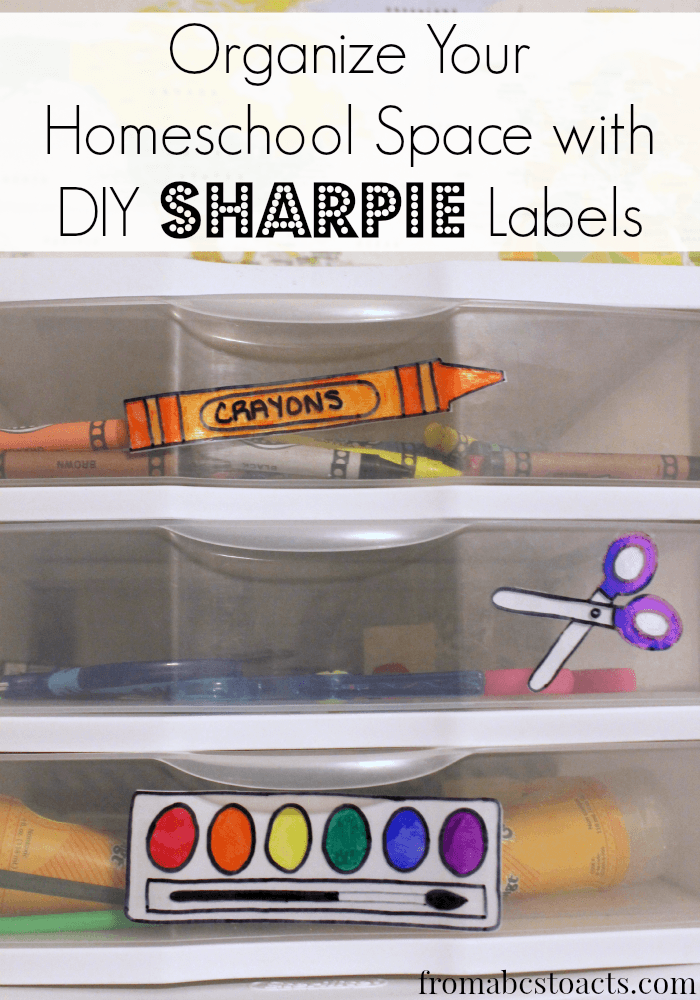
I loved the idea of using picture labels for things since Nicholas obviously cannot read yet and these turned out perfectly!
Wanna take a guess on what we used to make them? No? Alright, I’ll tell you!
SHARPIES!
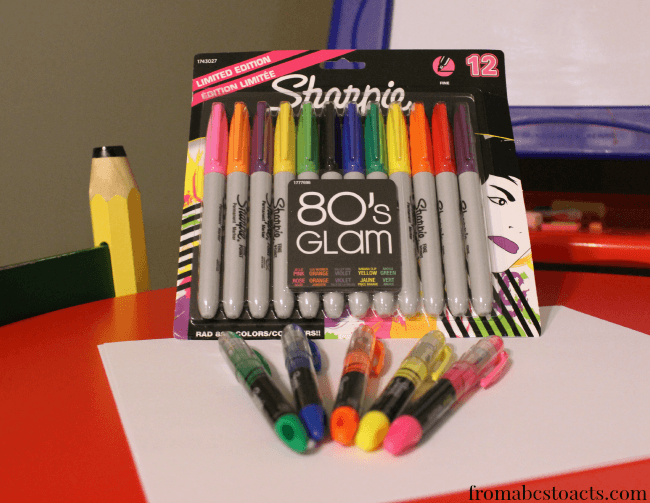
That’s right! I got to spend a glorious afternoon in Staples, surrounded by the many beautiful colors of Sharpie markers! 80’s Glam anyone? Yes, please!
To top it off, I then got to spend some time coloring with these beauties. Just channeling my inner preschooler that’s all :)
Adding some of this brightly colored fun to your homeschool space as well is super easy. Ready to give it a try?
Well, alright then!
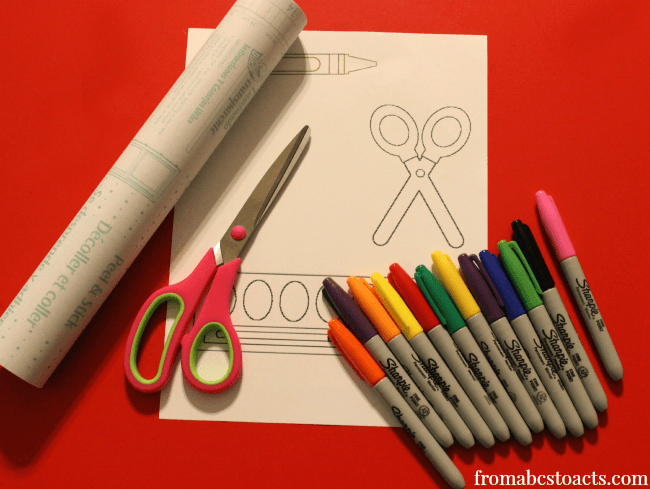
You’ll need:
Clear Contact Paper
Scissors
Multiple Colors of Sharpies
Printed Images
For the printed images, find images that you would like to use for your labels so that you have something to trace and print them off at the size you would like your labels to be.
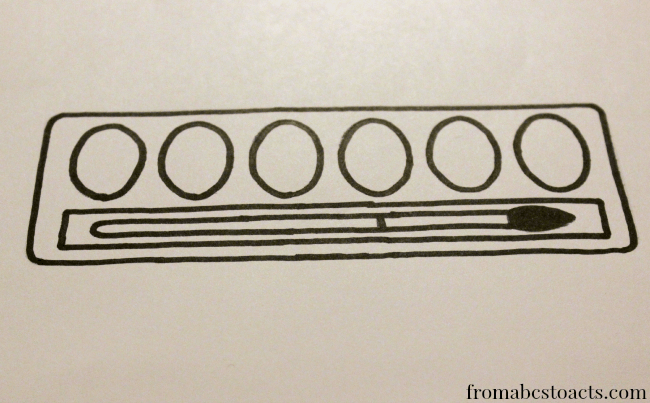
Once your images are printed, go ahead and trace over the lines with a black Sharpie. This just makes the lines a bit darker and easier to see while you’re tracing.
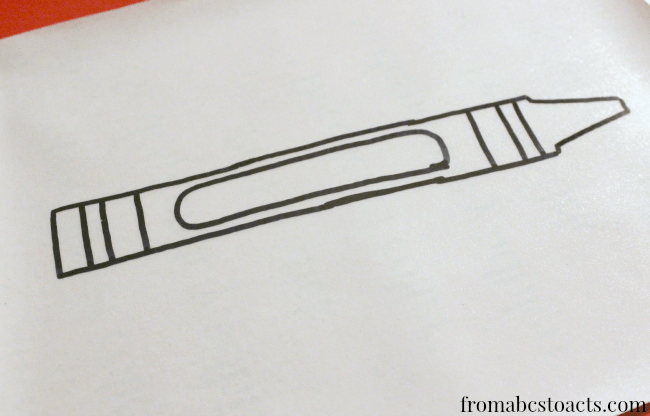
Spread out your contact paper over your printed image. You’ll probably need something to hold the corners down so it doesn’t roll up on you but just make sure they don’t cover up your image.
Using a black Sharpie, trace the image onto your contact paper.
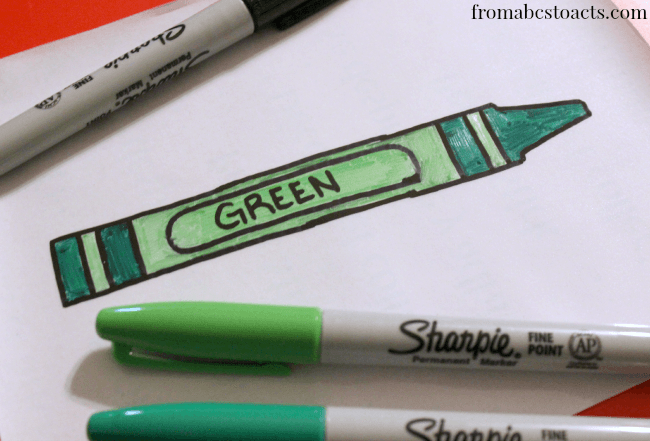
Once you’ve got the outline of your image transferred to the contact paper, go ahead and color it in. Get creative!
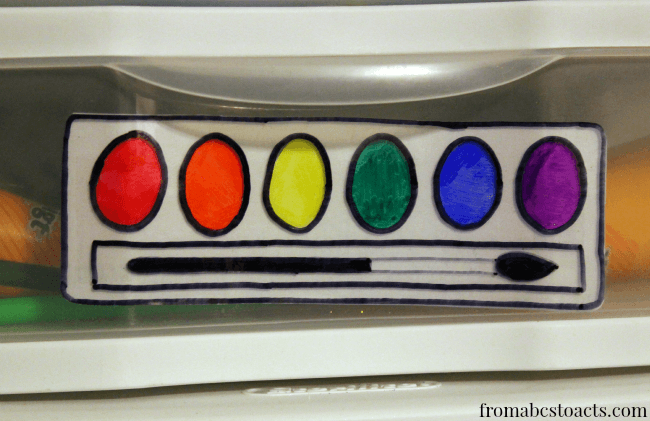
Finally, cut your image out, remove the paper backing, and you’ve got yourself a label!
They actually look really cool when parts of them remain clear due of the contact paper but, for the purpose of making them show up really well in these pictures, I just taped the paper backing behind them so that they would really stand out.
Now, if you’ve ever worked with contact paper, you’ll know that the best part is that it is pretty easily removed! If you’re placing these labels on plastic bins like we did, you can take them off once you’re done with them or when you need to reorganize.
So what are you waiting for?!
Get out and grab yourself some Sharpies! They’ve got some fantastic new colors out right now in everything from regular fine Sharpies to liquid filled highlighters and starting August 10th, you”ll be able to find all Sharpie Fine and Ultra Fine markers as well as highlighters on sale at your local Staples while supplies last!
