This post may contain affiliate links. For more information, please see my full disclosure policy.
When you think of Fall, some of the first things that come to mind are leaves changing color, pumpkins, and of course, apple orchards.
As we work our way through our apple unit, we decided to try to incorporate some of those apple trees even though we don’t have any near us.
We found that it is actually pretty simple to make a fun apple tree of your own!
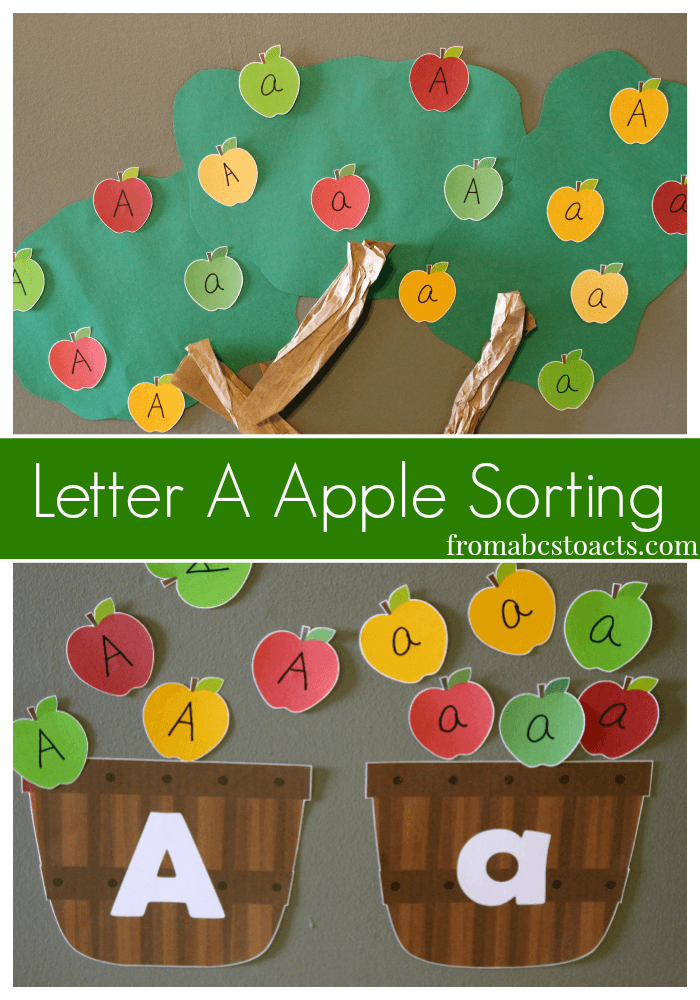
With a few simple supplies, you can create a letter sorting apple orchard of your very own!
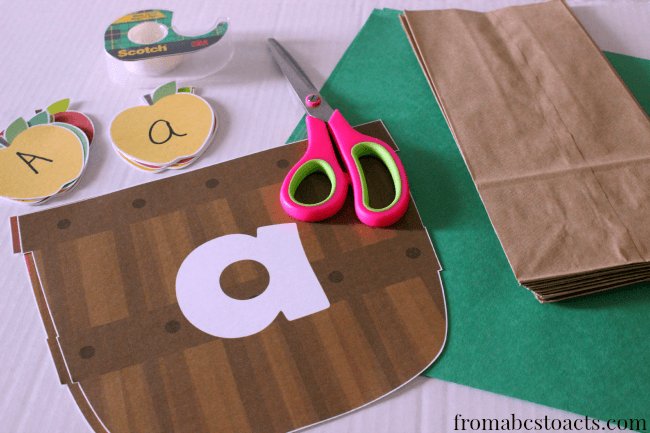
We used some brown paper lunch sacks and some green construction paper to make an apple tree right up on the wall. Just crumple up your paper sacks and they make the perfect trunk for your tree!
You’ll need some tape to attach your tree to the wall and the printable apples and letter A baskets as well.
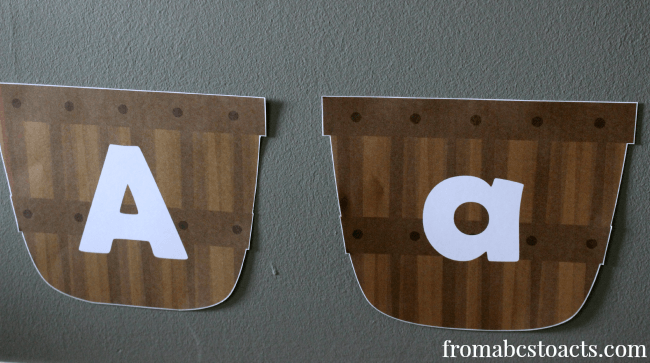
After taping the letter A baskets onto the wall, I cutout the apples and marked half of them with an uppercase A and the other half with lowercase.
A little bit of sticky tack on the back of each apple and you can stick them right to your tree without worrying about them ripping it down while you’re playing.
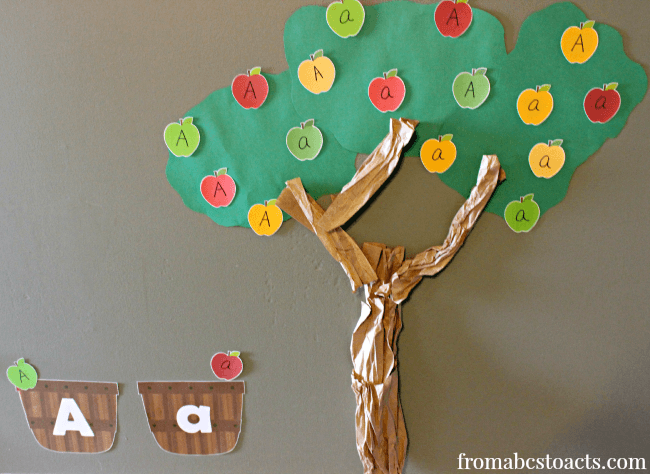
We talked about the differences between the big A and the little A and after showing Nicholas the difference between the two baskets and the corresponding letters on the apples, I let him have at it.
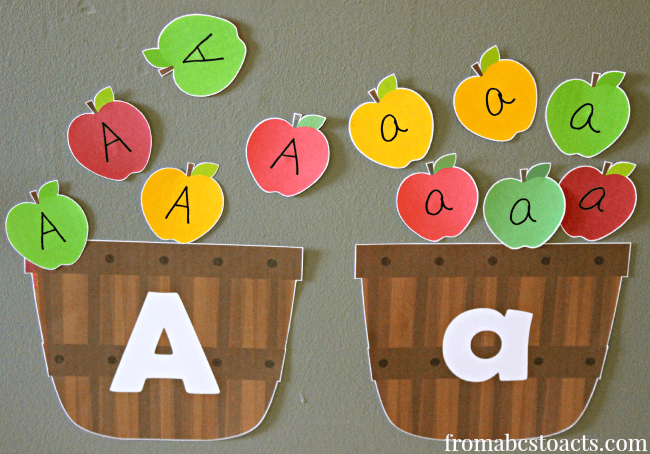
He had a blast”picking” all of the letter A apples and put them into their correct baskets.
Like this activity? Grab the printable and try it out with your own little ones! I promise, it’s a lot of fun :)
