This post may contain affiliate links. For more information, please see my full disclosure policy.
Okay, first and foremost, I have a little confession to make :)
This week’s Think Outside the Toy Box item was supposed to be paper cups (like the kind you may use in the bathroom for teeth brushing, etc.).
Problem is? I can’t find them!
I must be looking in all of the wrong places because my searches through the stores around here have turned up absolutely nothing!
So, for today, let’s just pretend the Styrofoam cup we used as a substitute is actually a pretty paper cup okay? :)
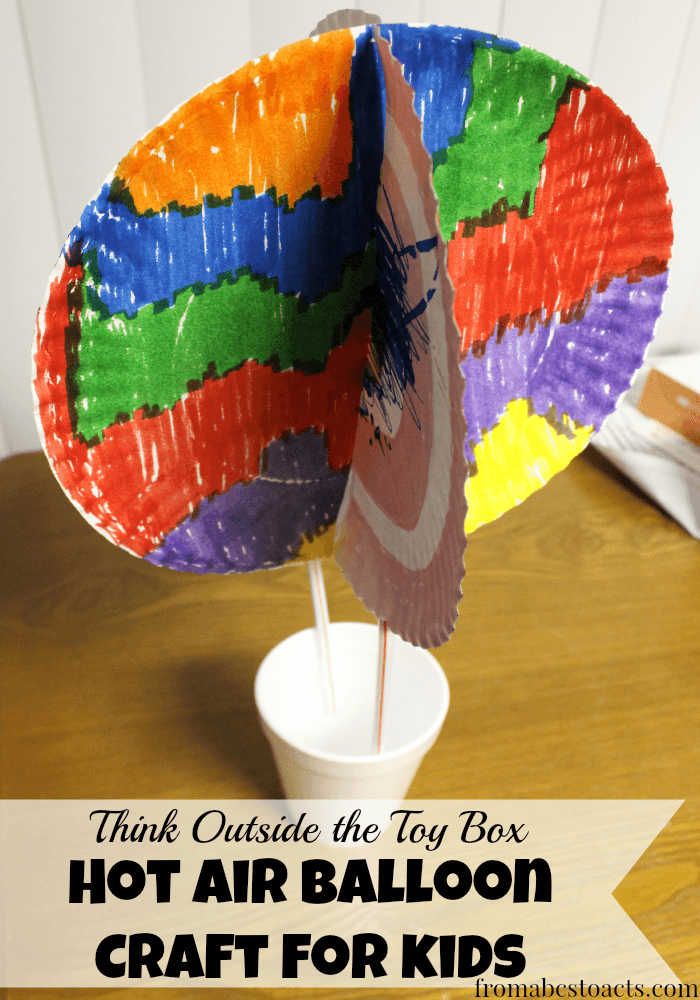
As I’m sure you can tell from the picture, the cup is only one part of our Hot Air Balloon craft and even though we used Styrofoam, a paper cup would work just as well.
Creating this “Paper” Cup Hot Air Balloon is really easy and gives your kids the chance to their creative sides shine!
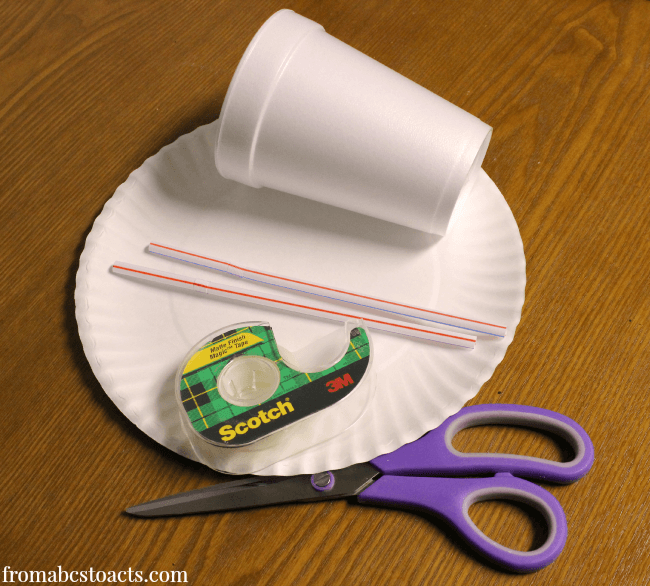
To make your own, you’ll need:
2 paper plates
2 straws
A cup (Styrofoam, paper, plastic, etc.)
Tape
Scissors
Markers, crayons, or whatever else you would like to decorate your balloons with.
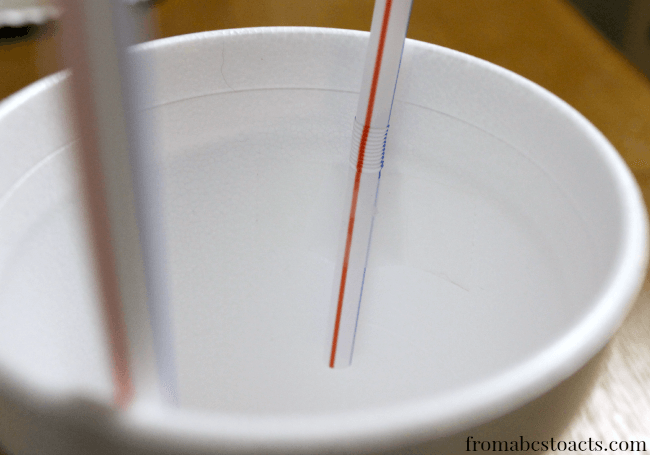
The first thing you’re going to want to do is tape your straws on the inside of your cup. We went about half way down the inside of the cup and taped our straws there but if you want your balloon to be taller or shorter, just adjust where you tape them.
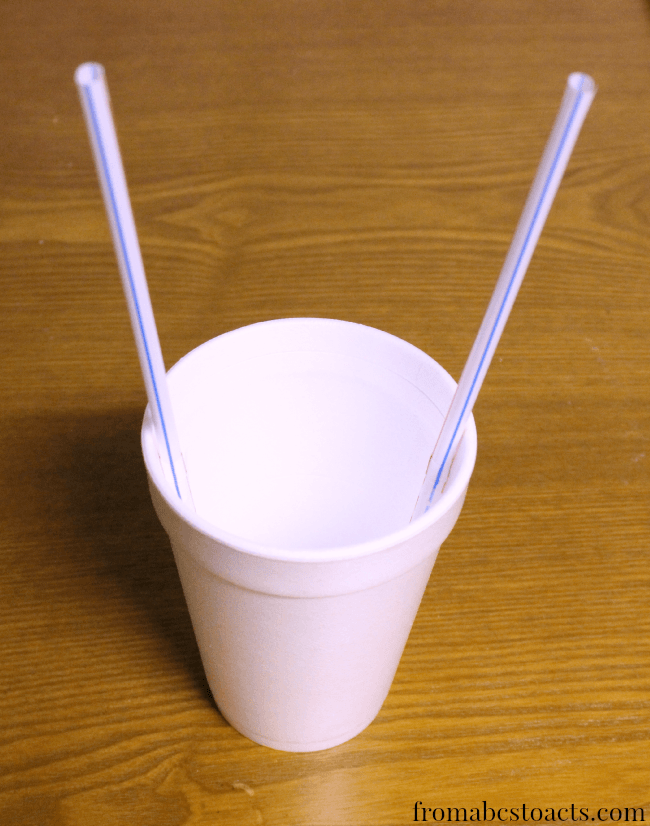
They should stick out at an angle, creating a “V” shape once you have them taped in.
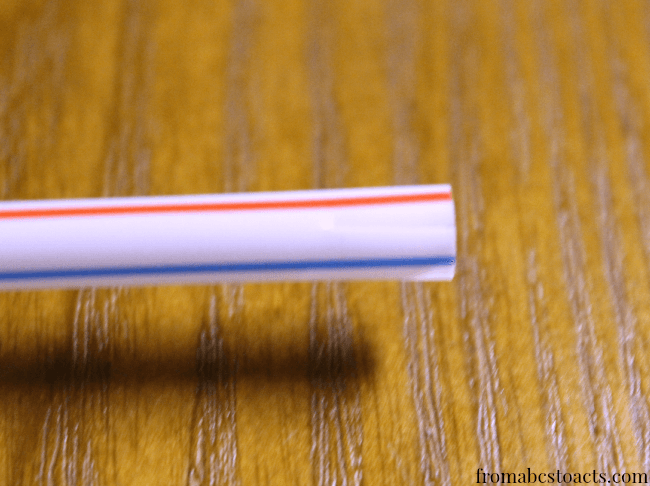
It’s difficult to see in this picture but, cut a slit through both of your straws. (The ends that are not taped into your cup.) Again, you can adjust the height of your hot air balloon simply by adjusting how long you make the slit in your straws.
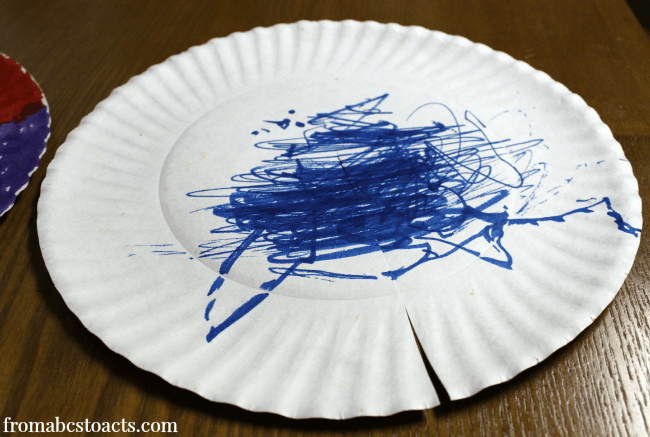
Now grab your crayons, markers, paints, stickers, whatever and get creative! Let your kids use their imaginations and create whatever they want on their “balloons!” Since this is somewhat of a 3D hot air balloon, go ahead and color both sides of both of your paper plates.
Once all of your designs are finished, cut a slit in both paper plates. The slit should start at the edge and go half way through the plate.
Next, fit the two slits (one on each of your plates) together to create an “x”shape.
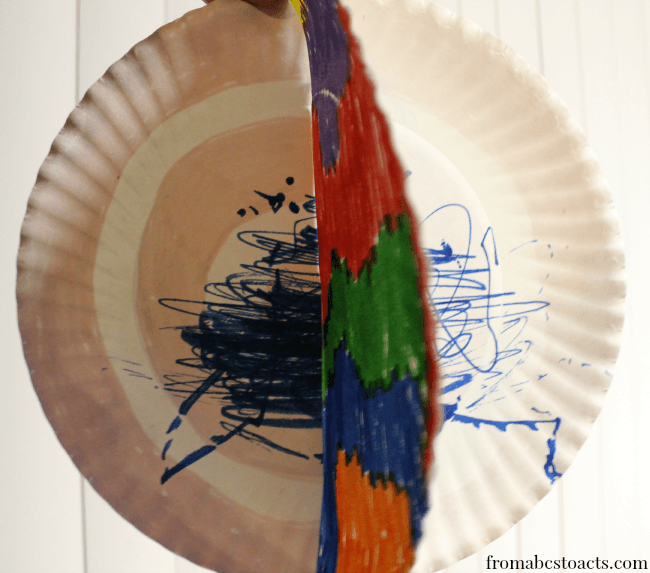
Now all you need to do is slide one of the plates into the slits you created earlier in the straws to hold up your balloon.
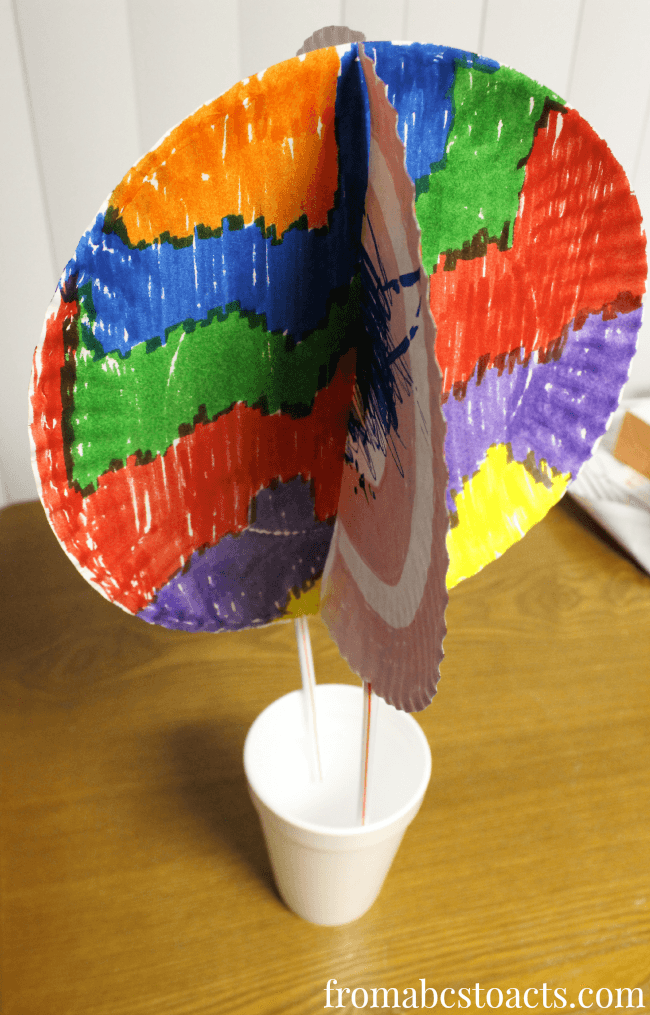
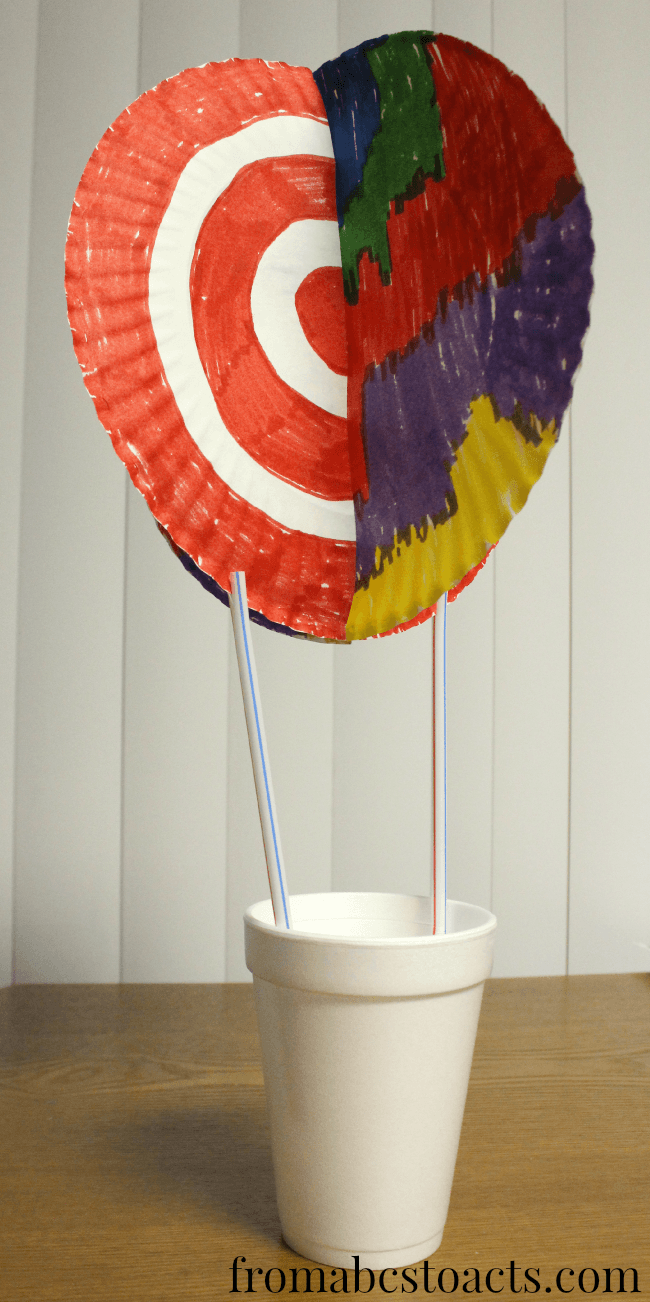
If you’ve colored all 4 sides of your paper plates, you should have a beautiful hot air balloon no matter which way you turn it :)
What would your hot air balloon look like?
And just in case you missed them, don’t forget to check out the rest of our projects!
5/26 – Glow Sticks (Glow in the Dark Sensory Slime Bag)
6/2 – Plastic Soda Bottles (Soda Bottle Speed Boat)
6/9 – Paper Grocery Bags (Paper Bag Wind Sock)
6/16 – Kool-Aid (Kool-Aid Painted Beach Towel)
6/23 – Ice Cream Cones (Ice Cream Cone Rocket Races)
6/30 – Pool Noodles (Pool Noodle Play House)
7/7 – Wax Paper (Wax Paper Nature Night Light)
7/14 – Puzzle Pieces (Puzzle Pictures)
7/21 – Paper Cups (Hot Air Balloon Craft for Preschoolers)
7/28 – Plastic Milk Jugs (Recycled Milk Jug Sun Catchers)
