This post may contain affiliate links. For more information, please see my full disclosure policy.
I don’t know about you, but arts and crafts time is definitely a favorite time in our house. My kiddos love getting their hands sticky with glue, mixing paint colors to make new ones, and snipping away with their scissors.
Freestyle art is usually what’s on the agenda, but at least once a week we will have a constructive art project. Having a constructive project can be very beneficial to your young learners as it requires sequencing of steps, paying attention to detail, while also stimulating their imagination to make their own project unique!
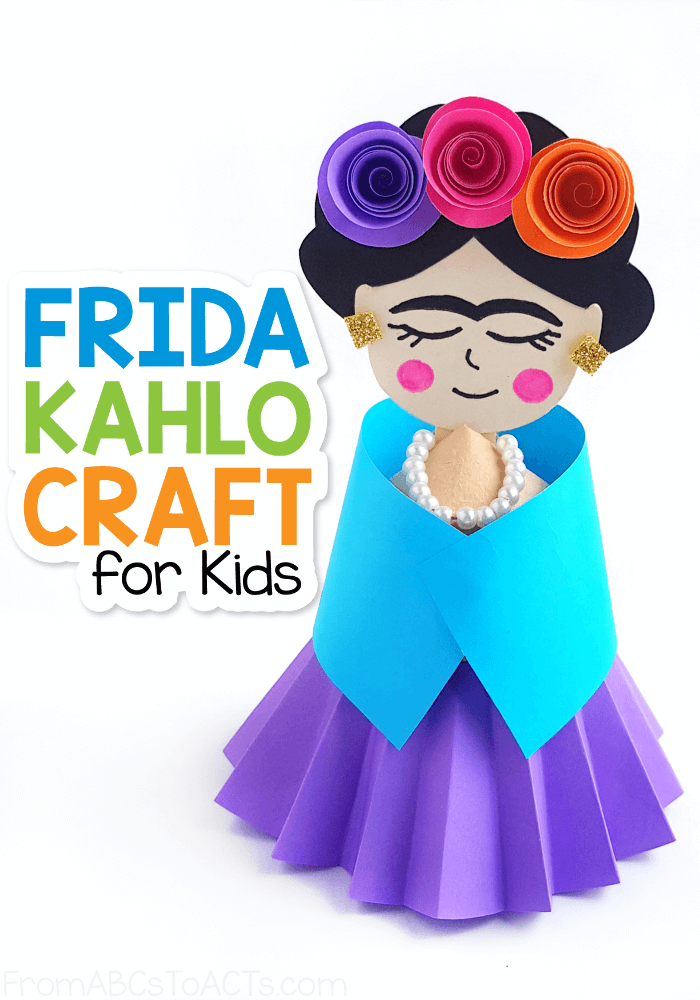
Frida Kahlo Craft
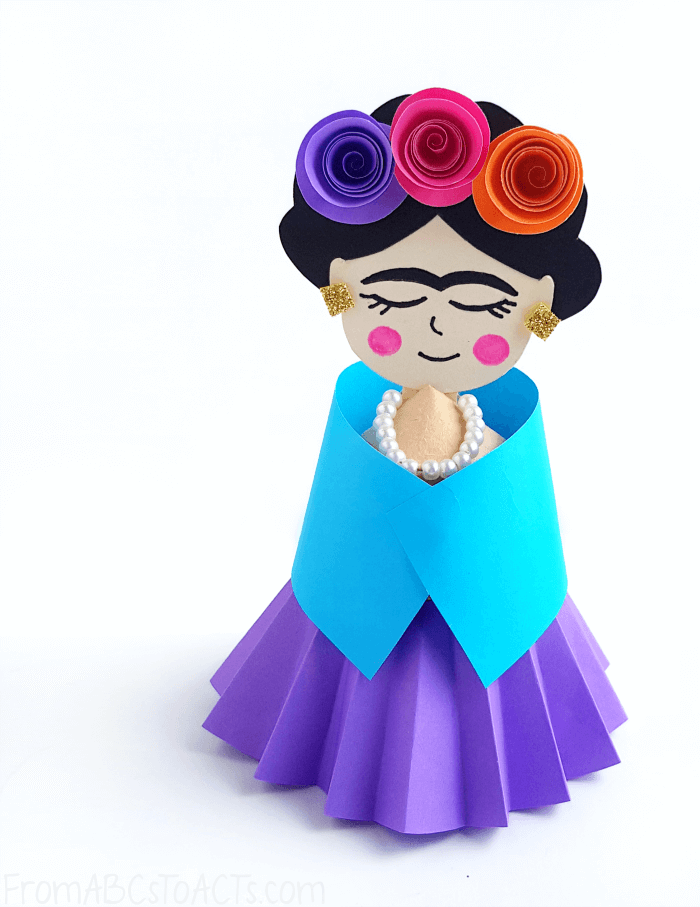
With simple, every day craft items, this adorable cardboard tube Frida Kahlo doll is the perfect craft for elementary-aged students! It fits in perfectly for a Famous Artist Unit, or even a full Frida Kahlo unit.
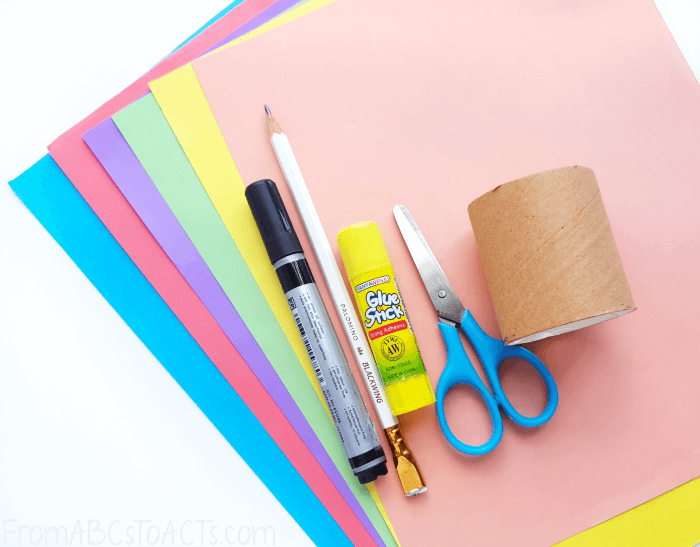
What You’ll Need
This simple craft is made with basic craft supplies that you probably already have!
- Cardboard Tube (Toilet Paper Roll)
- Colored craft papers
- Pencil
- Scissors
- Craft glue
- Marker Pen
- Template Patterns
To get started, print and cut out the template patterns. These will be used for tracing, so printing them off on thicker paper does make the craft a bit easier.
Assembling Your Dolls Body and Face
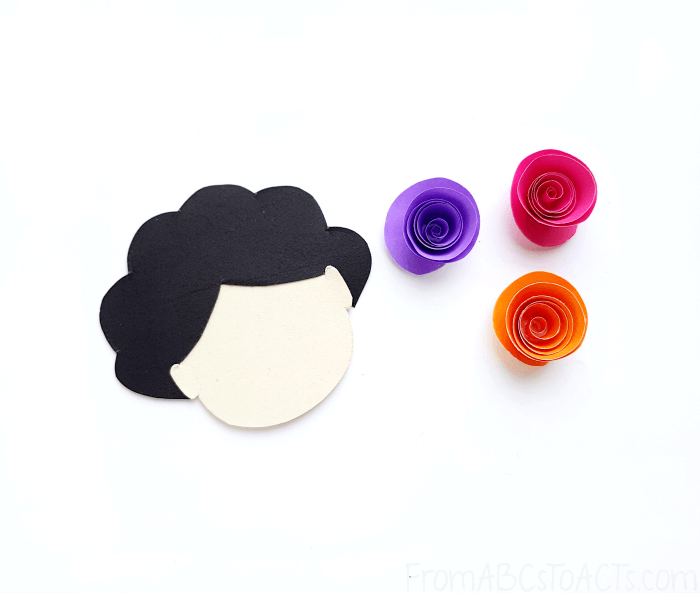
Once the templates have been cut out, select different colored craft papers for the flowers (the spirals), black paper for the hair pattern, and any colored paper for the head pattern. Using the stencil template cutouts, simply trace each part onto its respective paper.
After everything has been cut out, attach the hair pattern on the top side of the head pattern with glue. Roll the spiral cutouts from their outer ends and all the way towards the center to create rolled flowers and glue those atop the hair.
Once the face has been assembled, use a black marker pen or gel pen to draw the eyes, nose, and mouth on the paper Frida Kahlo. Don’t forget to add those distinguishing eyebrows!
Once your doll’s head is complete, it is time to move on to the doll’s body! Start by using a cardboard tube end to trace a circle on the same colored paper you used for your doll’s head. Cut the circle out and cut a slit from its outer end to the center of the circle.
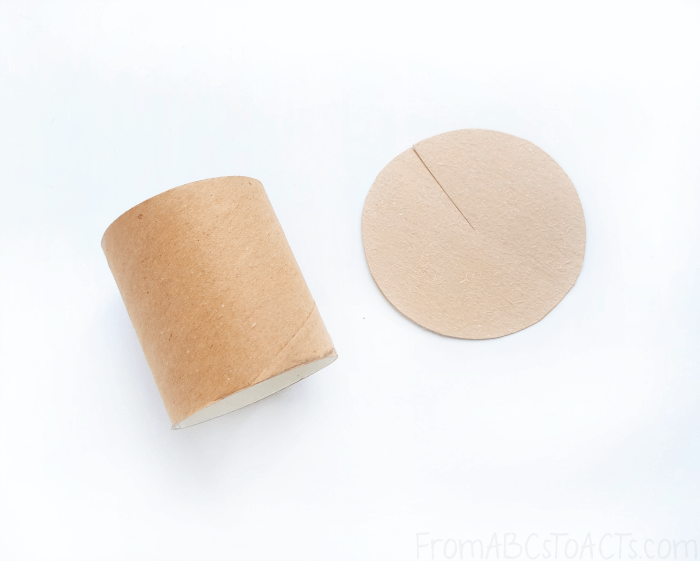
Next, roll and overlap the two sides of the slit to create a cone pattern. Apply glue on the overlapped part to secure the cone shape. Lastly, attach the cone on either open side of the cardboard tube. You now have your doll’s body!
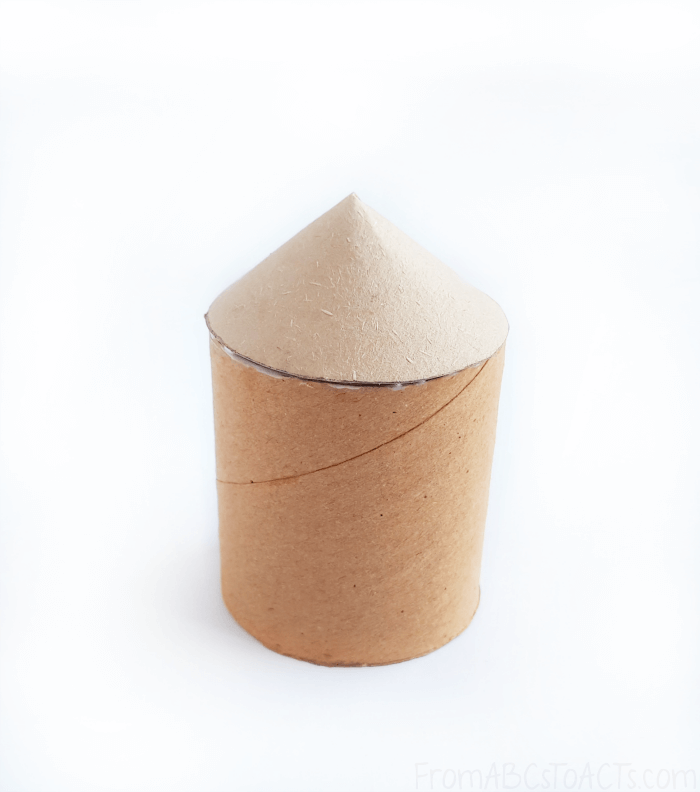
To attach the face of your doll to its body, simply cut a small slit on the top point of the cone and then insert the neck part of the paper Frida doll through the slit to attach the head with the tube.
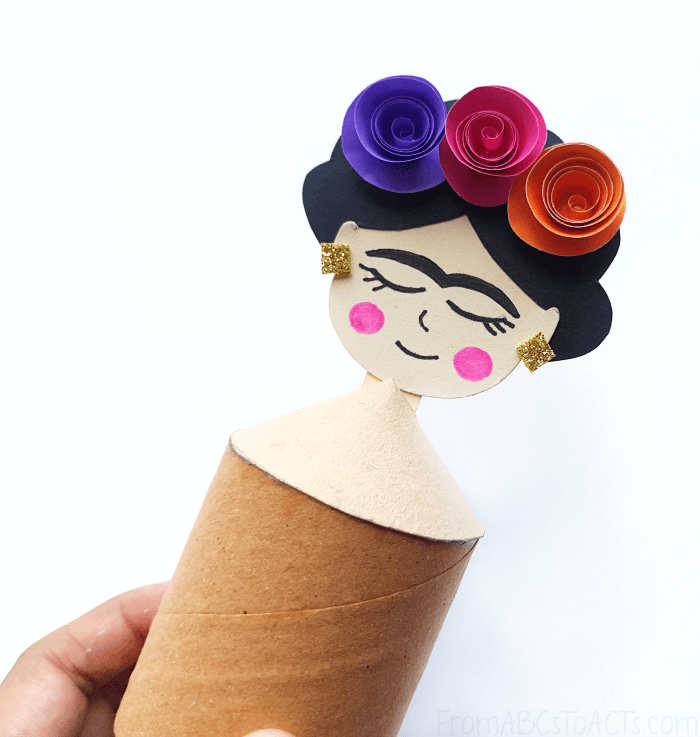
Finishing Touches to your Frida Kahlo Doll
Now that the doll has been assembled, it’s time to dress her!
Select a colored craft paper for the skirt and trace the outer border of the cardboard tube on the middle of the paper. Decide the length for the skirt and draw a big circle from the same center as the previous one, by keeping the skirt length between both circles. The best way to cut the circle out is to fold the paper in half, directly down the center of the circle. This makes it much easier to cut the middle circle out evenly.
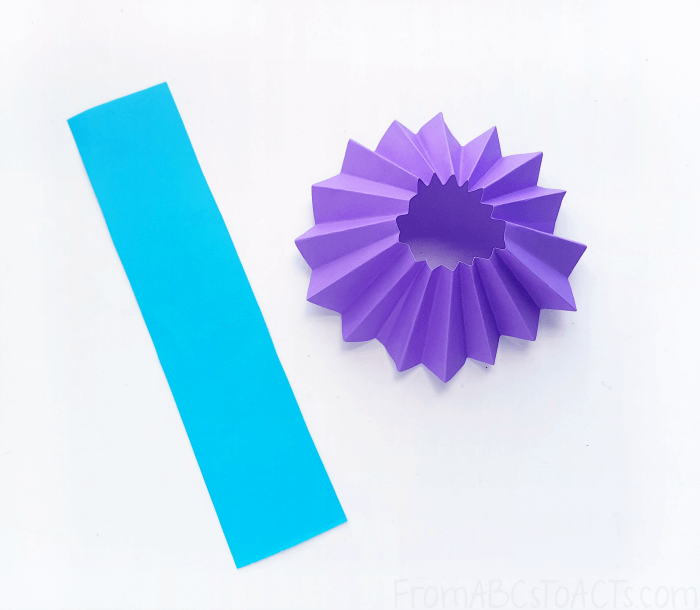
Next, you’ll want to add the folds to your doll’s skirt. This can easily be done by creating small and even accordion folds while the disk-shaped skirt is folded in half. This would also be the perfect time to let your learner get creative, allowing them to decorate the skirt if they want.
To attach the skirt to the doll’s body, carefully insert the accordion folded skirt through the bottom side of the tube and glue right below the neck to secure.
Finally, cut out a strip of at least 1.5 inches width and enough length to wrap the tube once, from another colored craft paper to create the doll’s shawl. Once cut out, take the shawl cutout and wrap it around the doll’s upper body. Apply glue to join the overlapping parts.
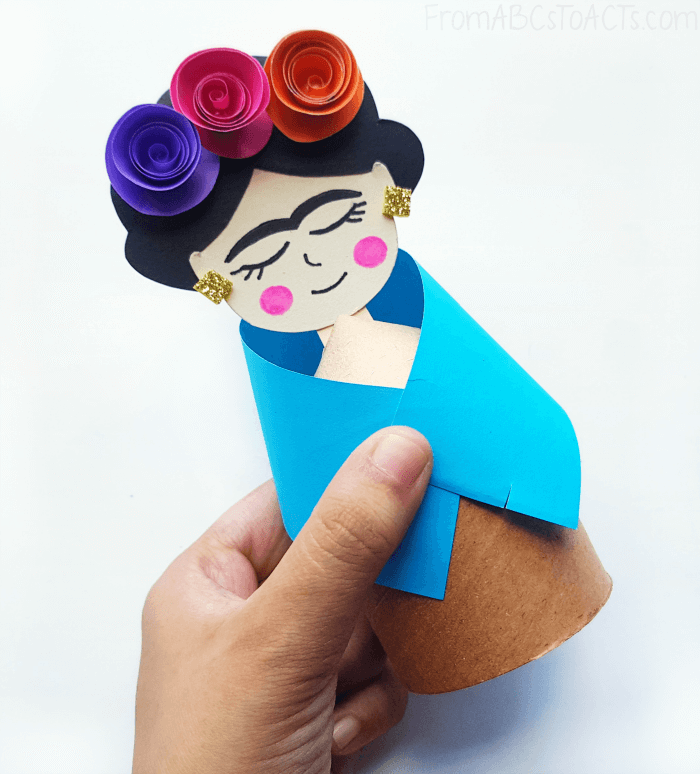
Although adding earrings and a necklace is by no means necessary, it does make a nice touch and can be fun! It also allows your learners to get creative and expressive in their own way and style!
