This post may contain affiliate links. For more information, please see my full disclosure policy.
Another Monday has rolled around and we are back for another week of Think Outside the Toy Box!!
It’s a little hard to believe that we’re already almost half way through the series, but don’t worry! There is still plenty more fun to come :)
In fact, this week’s item is none other than Kool-Aid, and if that doesn’t just scream summer fun, then I don’t know what will.
So, are you ready to see our Kool-Aid creation? Yay! Because I can’t wait to show you!
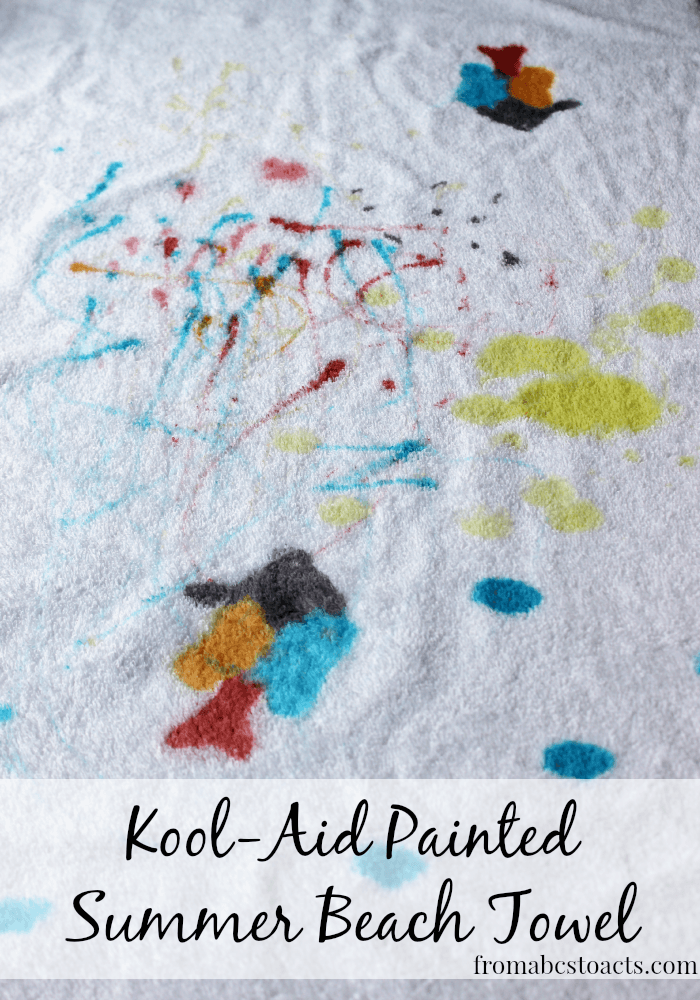
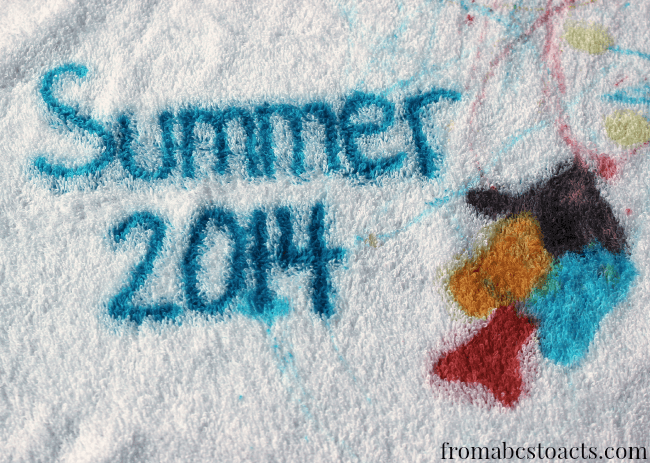
Making our own personalized summer beach towels was so easy and the Kool-Aid not only gives you nice vibrant colors, but it makes the whole room smell amazing at the same time!
Want to make one of your own? I promise, it’s super simple and your kids will have a blast making their beach towel their own personalized beach towel!
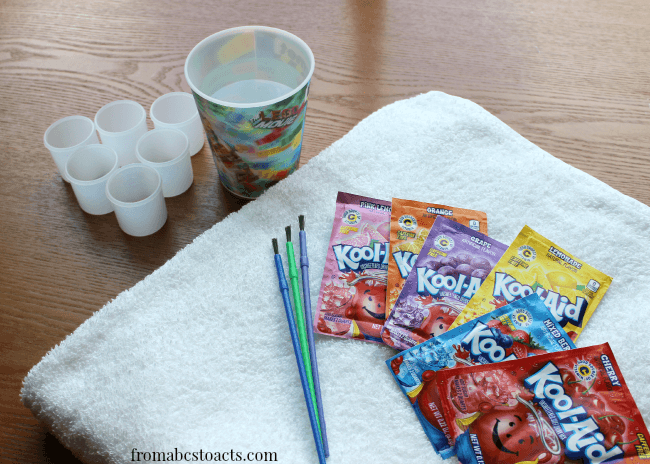
First, you’ll need to gather up some supplies.
You’ll need:
Cups for your Kool-Aid paint to go in
Different colors of Kool-Aid (make sure they’re different colors, not just different flavors)
Water
Paintbrushes
A big white fluffy beach towel
See! I told you this was going to be easy :) These are all things I’m sure you probably already have at home!
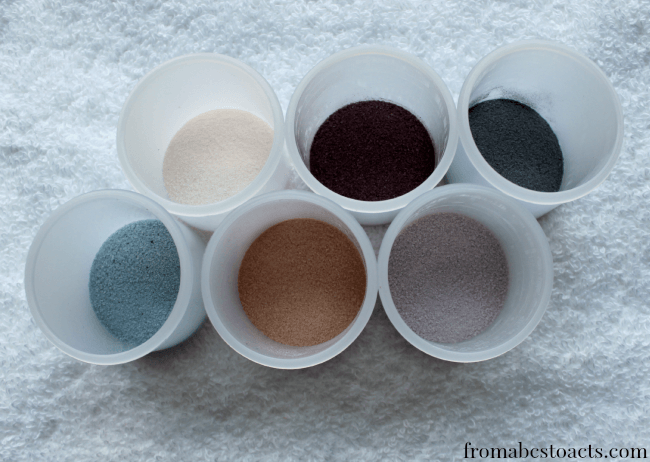
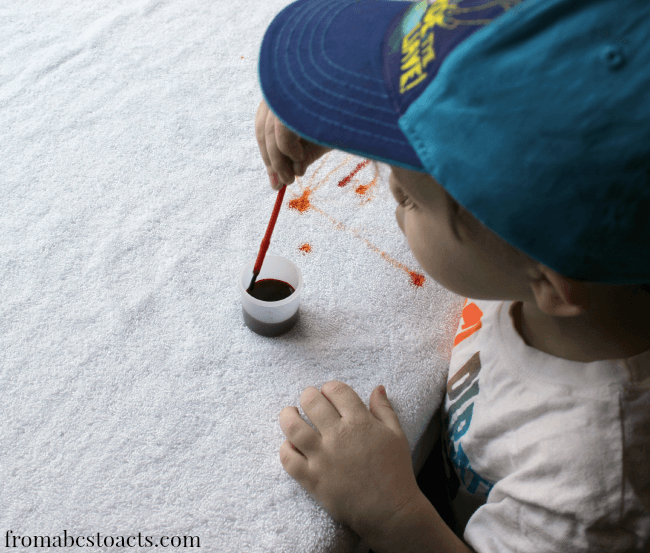
Next, pour your Kool-Aid into your paint cups. A different cup for each color.
They don’t look all that vibrant right now, but they will.
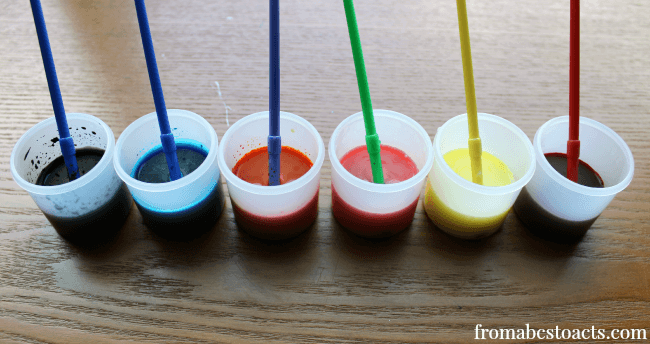
Add 1 tablespoon of water to each paint cup and stir. This will give your Kool-Aid just enough water to dissolve without deluding the color.
Now that you’ve made Kool-Aid watercolor paints (think of the possibilities!), lay your towel out flat on a table and get to painting!
You may want to put something down underneath your towel to protect your table in case it bleeds through.
But don’t feel like you have to just stop at paintbrushes either. Get creative!
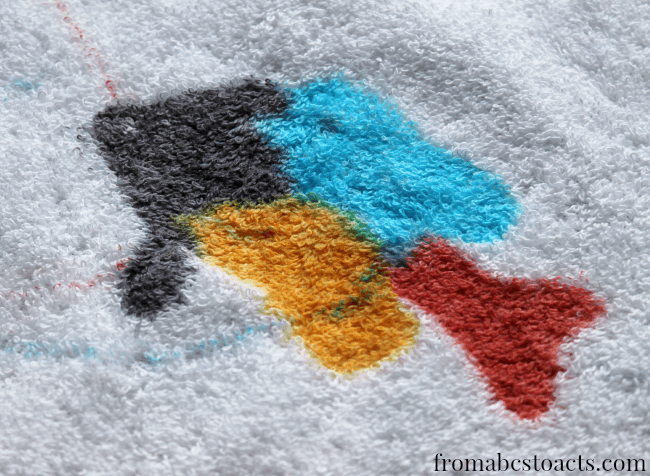
We decided to break out some fish shaped sponges that we had and see if we could add a little bit of the ocean to our beach towel.
Here’s a tip: If you decided to try sponges, paint onto the sponge using your paint brush and then apply it to the towel. Adding the Kool-Aid paint to a dish and then pressing the sponge into it just doesn’t seem to work well. Not with the watercolor consistency of the paint anyway.
By painting onto the sponge, it also allows you to add multiple colors of paint.
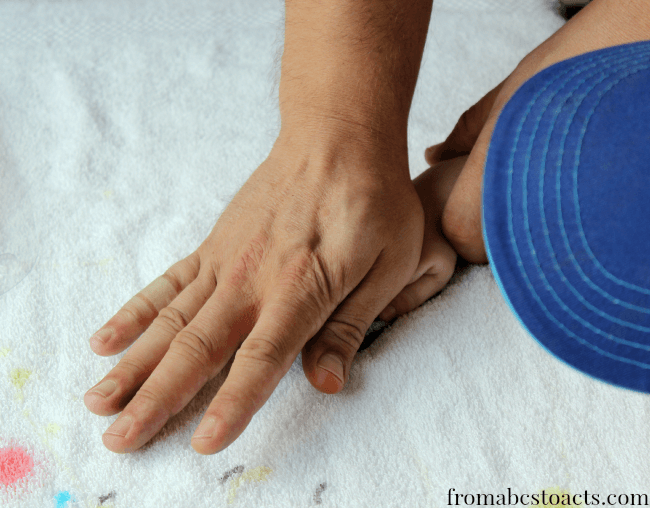
After the fish were added, Nicholas decided that he wanted some bubbles to go with them so we dug into our pom pom stash and let him lose.
Once you’ve finished painting and your towel is complete, lay it out completely flat to dry. We let ours dry overnight. I would recommend you wait at least that long before trying to do anything with your towel as mixing it with water or getting it anywhere near other clothes could stain other fabrics.
I think our kitchen will probably end up smelling like Kool-Aid for the next month or so but we had a blast with this project and can’t wait to try it out the next time we hit the pool!
For more fun ideas to try with the kids this summer, make sure you check out the rest of our Think Outside the Toy Box projects!
5/26 – Glow Sticks (Glow in the Dark Sensory Slime Bag)
6/2 – Plastic Soda Bottles (Soda Bottle Speed Boat)
6/9 – Paper Grocery Bags (Paper Bag Wind Sock)
6/16 – Kool-Aid (Kool-Aid Painted Beach Towel)
6/23 – Ice Cream Cones (Ice Cream Cone Rocket Races)
6/30 – Pool Noodles (Pool Noodle Play House)
7/7 – Wax Paper (Wax Paper Nature Night Light)
7/14 – Puzzle Pieces (Puzzle Pictures)
7/21 – Paper Cups (Hot Air Balloon Craft for Preschoolers)
7/28 – Plastic Milk Jugs (Recycled Milk Jug Sun Catchers)
