This post may contain affiliate links. For more information, please see my full disclosure policy.
Now that Halloween is over, we’re working on decorating a bit for the fall season and we started with the windows. Now, we’ve done window clings and sun catchers before, but this time we wanted something a bit different.
Not only are these poke pictures a ton of fun to make, they’re also a great way to work on those fine motor skills as well!

Getting Ready
To make your own set of poke pictures, you’re going to need a few basic supplies.
- The printable poke picture templates (below)
- Push pins
- Construction paper
- Either cardboard or something sturdier than printer paper to put behind your construction paper (this makes it easier for small hands to poke holes in their papers)
Making Your Fall Poke Pictures
To make your own fall poke pictures, print out the templates (below) and let your child choose which picture they would like to create.

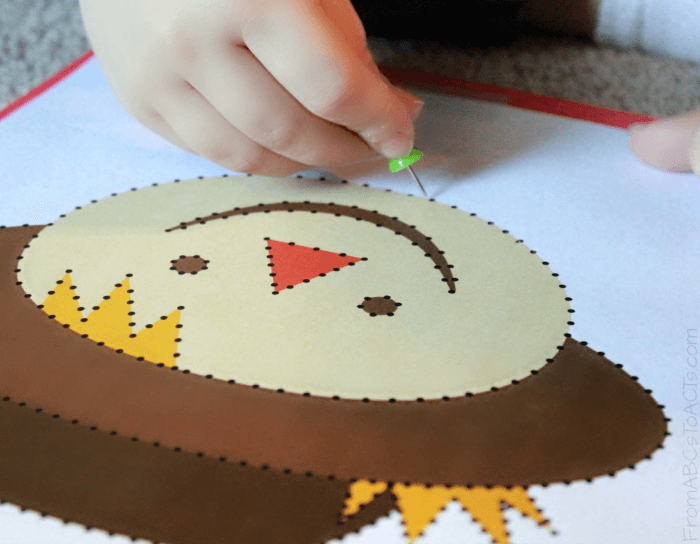
Lightly tape the printable template onto a sheet of construction paper and place both sheets of paper on top of your cardboard. Manilla file folders are also perfect for creating a sturdy backing.
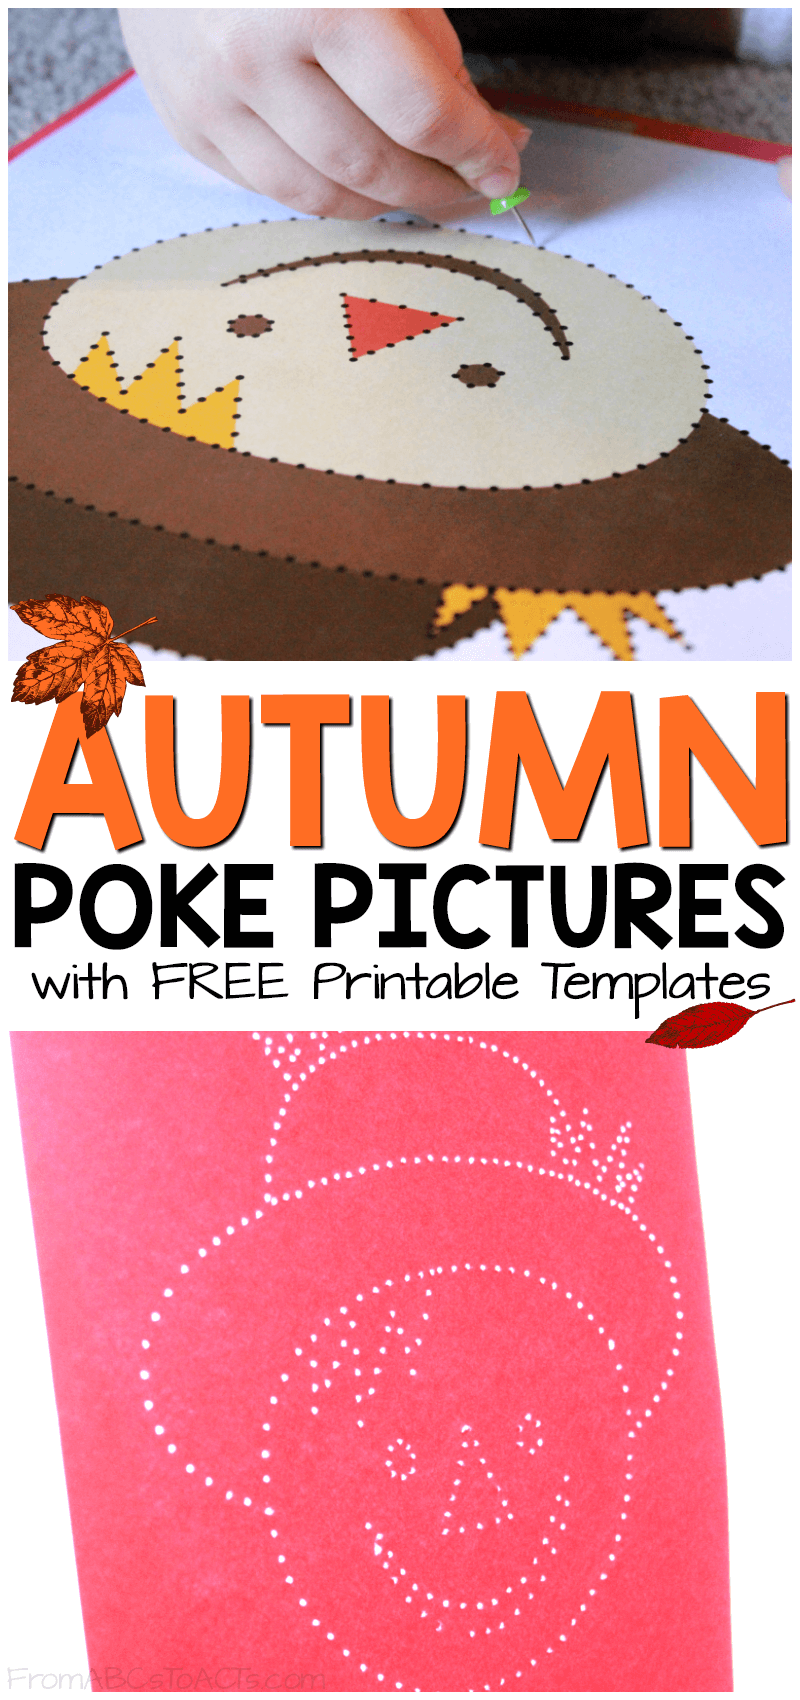
Once your setup is complete, give your child a push pin and show them how to carefully poke holes into the picture using the black dots as a guide.

The act of using the push pin to create the holes keeps the holes small enough as to not rip the construction paper while allowing your child to work on their fine motor skills and grasp.
While they are poking holes in their paper, show your child how to run their finger along the lines to see which holes have been made and which ones have not.
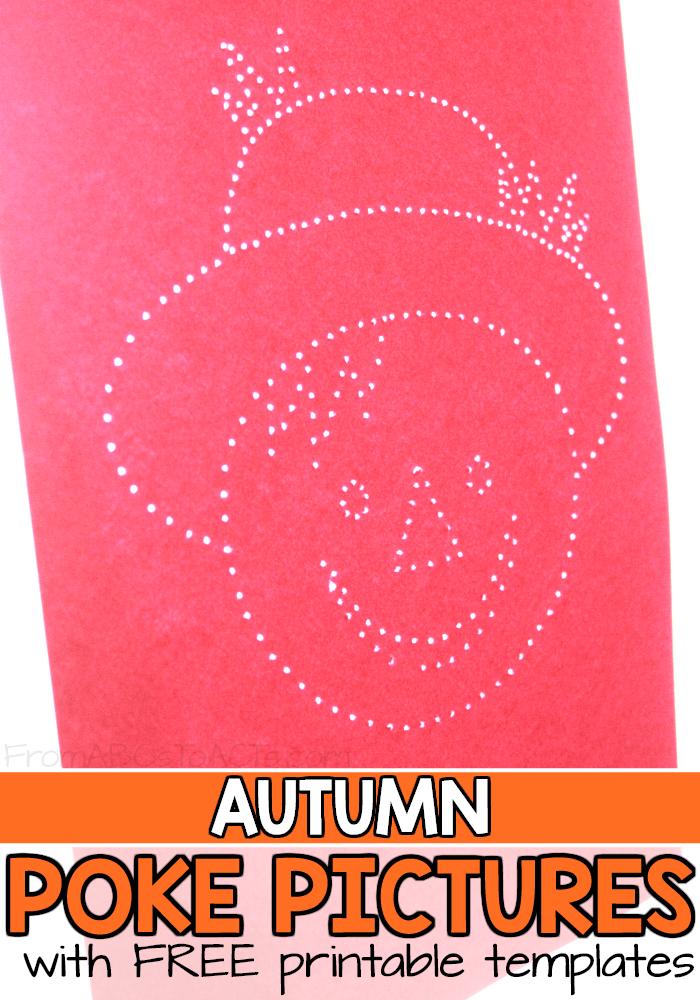
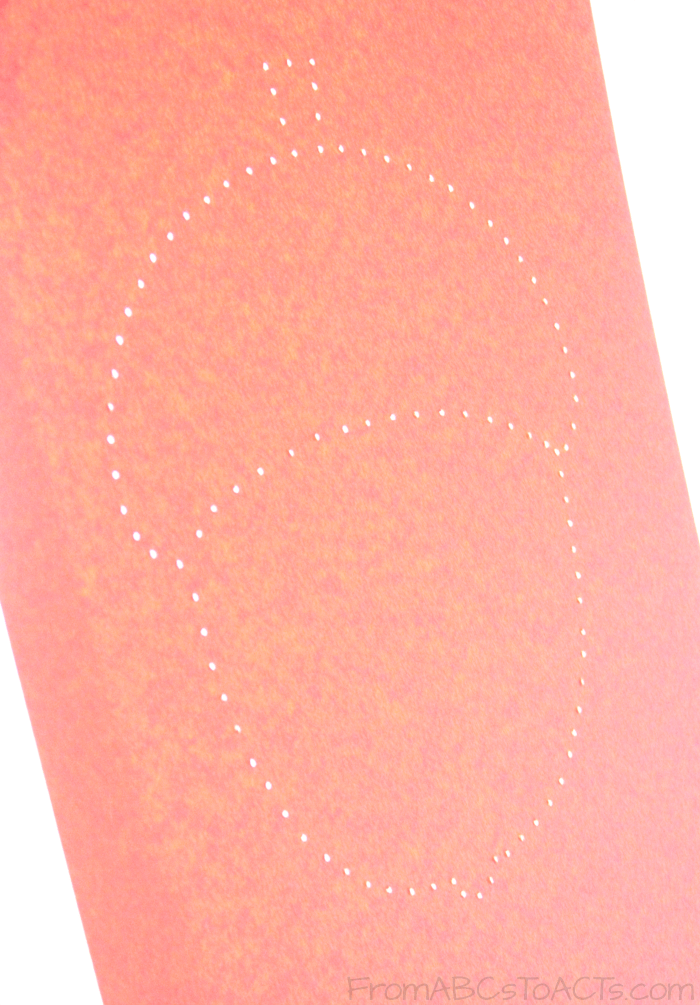
When they’re completely finished with their picture, carefully peel the taped template off of the construction paper and hold the construction paper up to the light.
Hang them up in a bright window or simply allow your child to look at their picture while holding it up to a light.

