This post may contain affiliate links. For more information, please see my full disclosure policy.
When you think of fall, one of the very first things that comes to mind is probably the leaves. That’s often how we (and our little ones) recognize the changing of the seasons, when the leaves start changing color and begin to fall.
My dear friend Echo said it best when she said that planet Earth has the prettiest palette. She’s right, Mother Nature is a fantastic artist!
The colors in the leaves really are gorgeous and I knew that we needed to find a way to use them for a little fall crafting. Of course, with Halloween coming up (like tomorrow), we wanted to incorporate that as well.
With the help of my 4 year old, we came up with a fun idea that let us celebrate both Halloween and the gorgeous colors of fall!
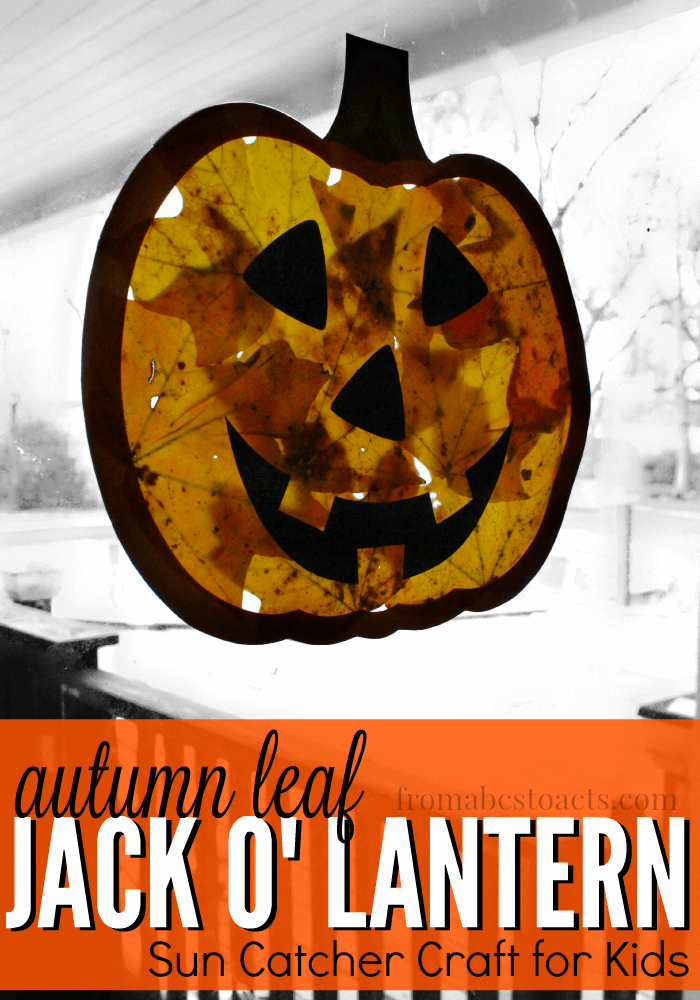
You won’t believe just how easy this Halloween sun catcher is to make! It takes only a few basic supplies and less than 30 minutes to come together, perfect for a little last minute Halloween crafting!
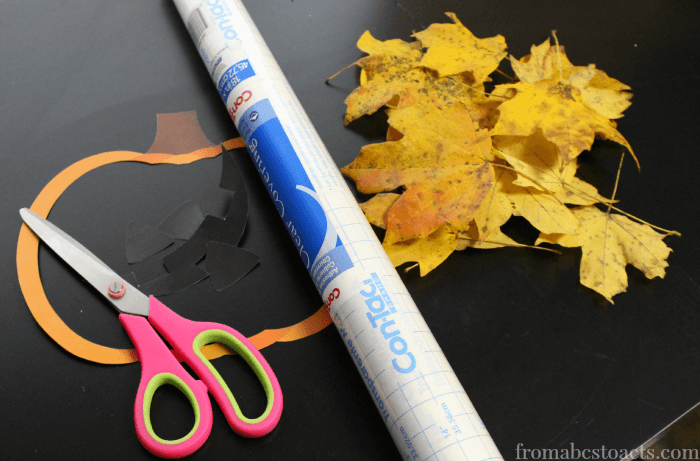
First things first, you’re going to need to go on a little nature walk :) Take the kids outside and let them pick their leaves. Look for leaves that have already fallen and changed colors, the brighter the better!
To make this fun jack o’ lantern, you’ll need:
- The leaves from your nature walk
- Contact paper
- Scissors
- The pieces from the printable template below
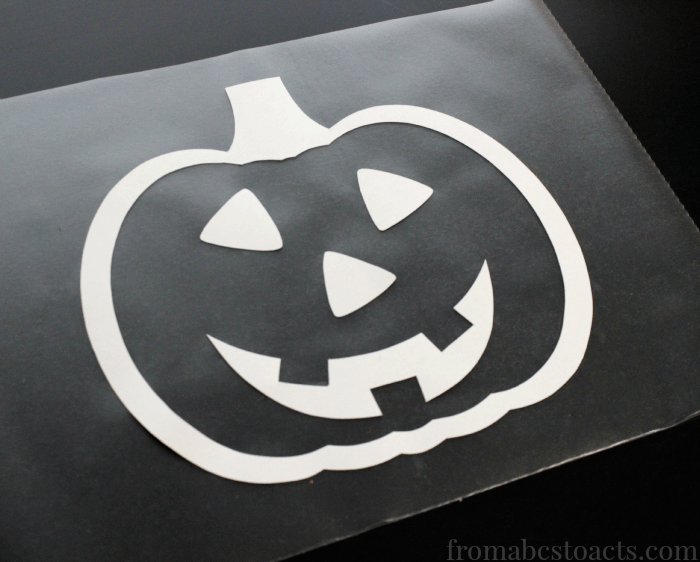
Start by cutting out the pieces in the printable template and have your child arrange them however they want on the sticky side of a piece of contact paper.
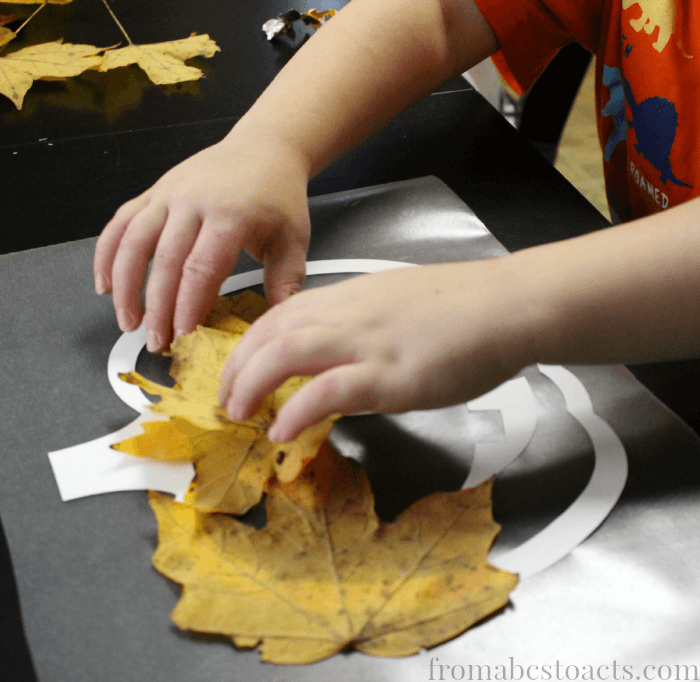
With a pair of child safety scissors, show your child how to cut the stems off of the leaves. This makes awesome scissor practice for them and keeps the stems from tearing holes in your contact paper.
Once you have the stems removed, have your child stick the leaves onto the contact paper. Try to avoid the outline of your pumpkin as this will make it easier for the second piece of contact paper to stick. If a leaf or two ends up covering one of the edges, don’t worry! You can fix this later :)
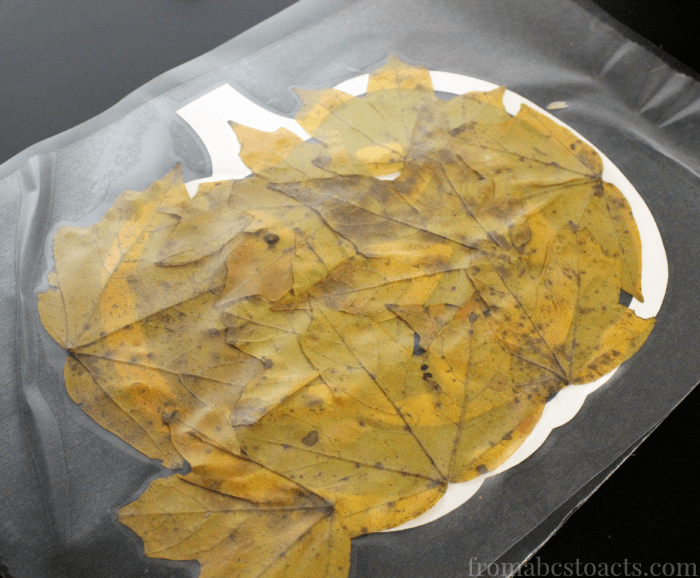
When you’re finished adding your leaves, cover the entire thing with a second sheet of contact paper and cut around the outline of your pumpkin. If there are a few spots that are not sticking once you cut (due to leaves covering the outline), just hold those closed and use a small piece of tape to secure them.
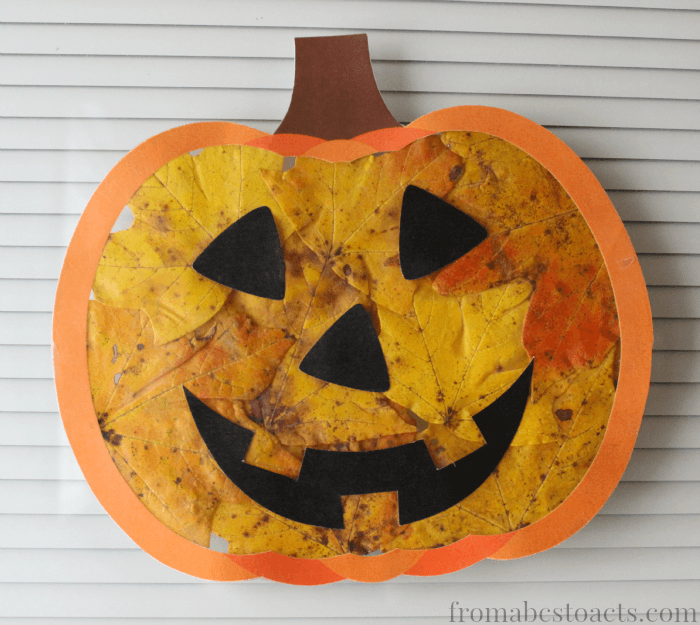
Finally, hang your nature creation up and enjoy a little Halloween inspired decor that looks awesome when the sun shines through it!

Looking for more fun Halloween ideas? Here are a few of our favorites!
