This post may contain affiliate links. For more information, please see my full disclosure policy.
When we first started making our alphabet book, it was just the preschooler and I working on the crafts. Now, the preschooler is getting ready to be a kindergartner and little Miss 3 has started joining us for some of our crafting sessions.
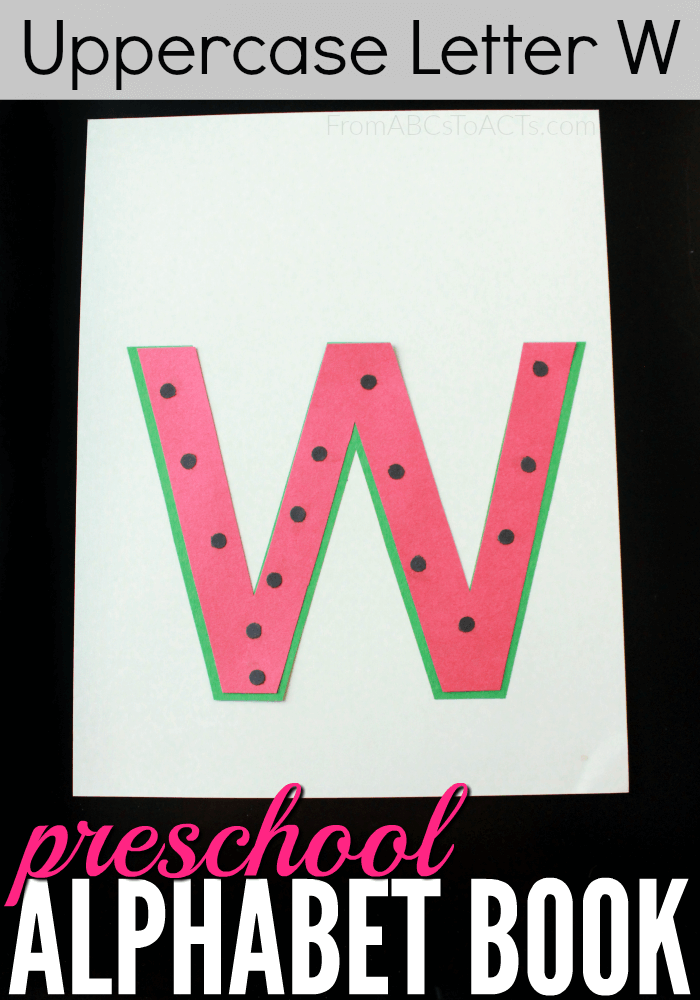
As we started talking about things that start with the letter W to figure out what we wanted to make, she latched onto the idea of making a watermelon and just didn’t want to give it up.
So, in the middle of winter, we made a watermelon :)
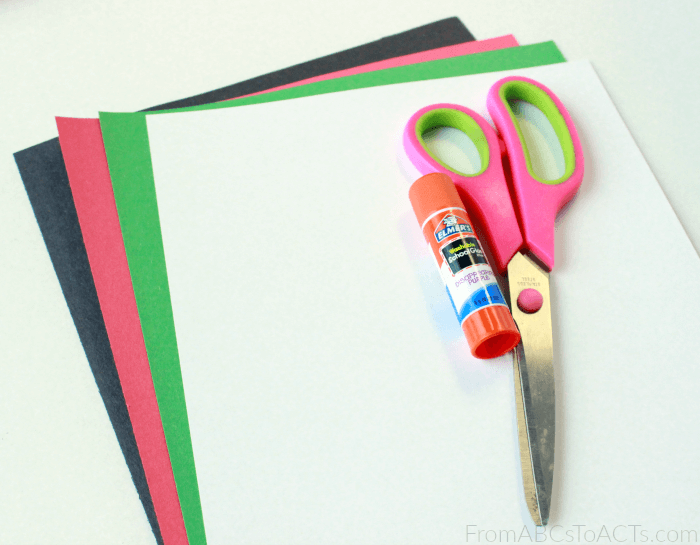
To make a letter W watermelon of your own, you’ll need:
- A sheet of white card stock
- Red, black and green construction paper
- Scissors
- Glue
- A hole punch
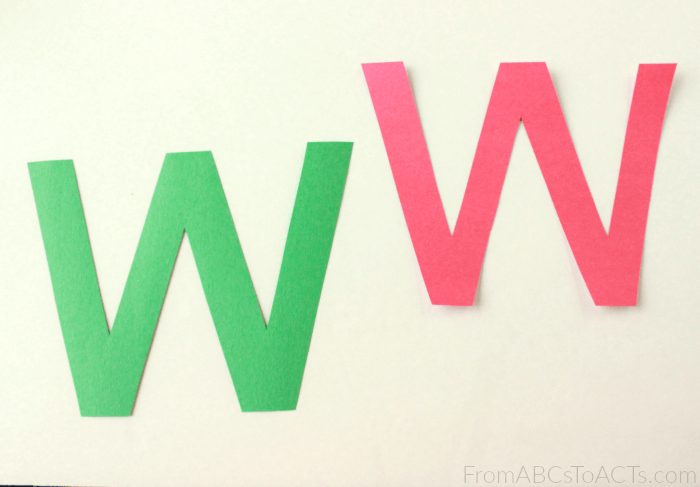
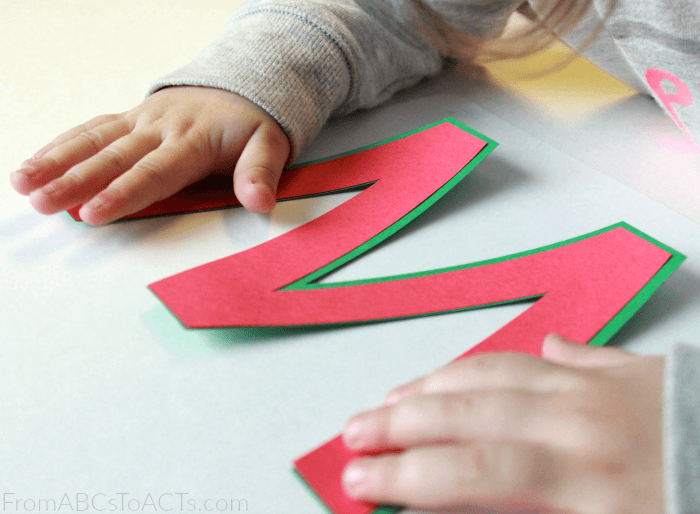
Cutting out the pieces is super simple as you’ll only need to cut out two uppercase letter W’s, one from the green construction paper and one from the red.
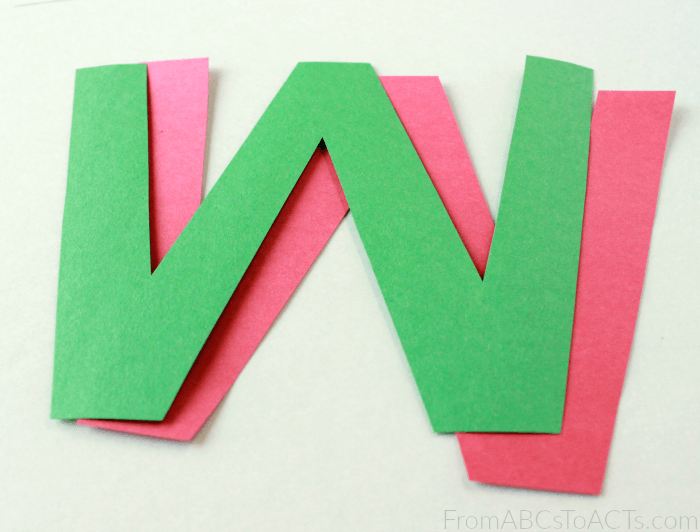
To turn those letters into a watermelon, cut a small strip off of the bottom of each side of the red letter W so that it will fit onto the green W with a little space to make the rind.
Lay the red W flat on top of the green one and glue it into place so that the tops of each letter match up and leave that space at the bottom.
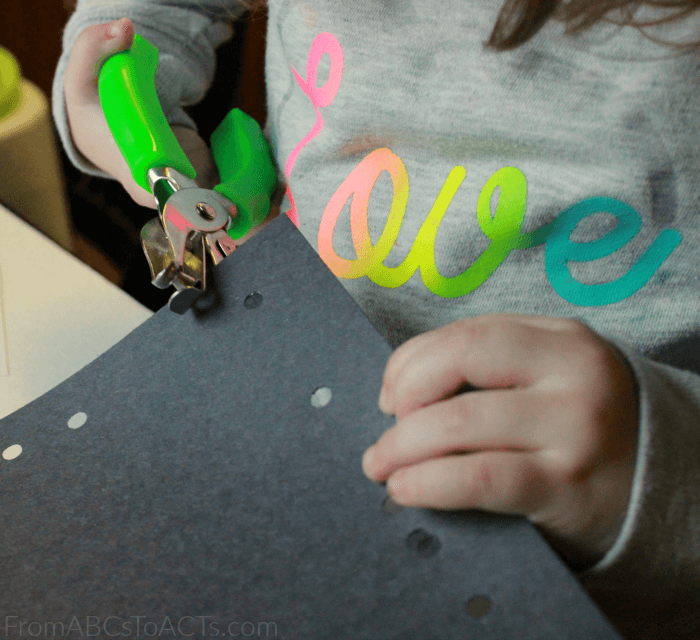
When you’re ready to add your “seeds,” grab your black construction paper and your hole punch and show your child how to use it. Make sure that while holding the paper they keep their hands far enough away from the hole punch so that you don’t wind up with any pinched fingers.
Have them exercise those fine motor skills by squeezing the hole punch to cut out some circles.
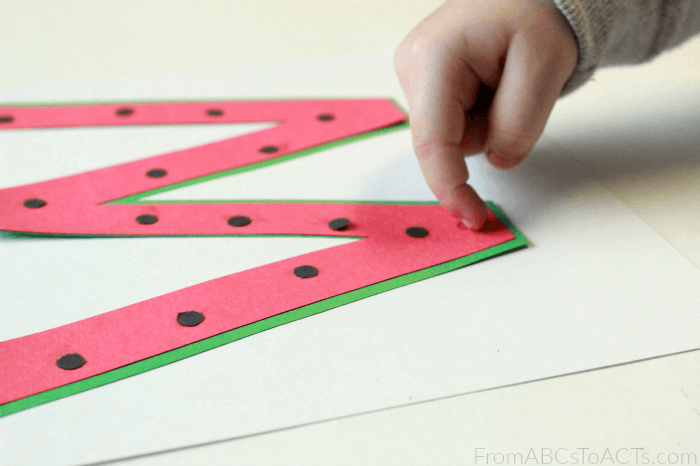
When your “seeds” are cut out, go ahead and have them stick them onto their watermelon craft however they’d like.
Once they’re done, grab the printable uppercase letter W page from the bundle of interactive alphabet pages and add it, along with your craft, to your book!
