This post may contain affiliate links. For more information, please see my full disclosure policy.
Another week, another set of alphabet book crafts!
More often than not, you’ll find my oldest and I working on these during little sister’s nap time. Of course, when she’s on a nap strike like she was a few weeks ago, we tend to get a little bit behind but as of right now, it seems that strike has come to an end.
Fingers crossed!
Hopefully now, we can get and stay caught up with these fun letter crafts and keep our book going.
And today, we’re continuing on with the uppercase letter L!
This was probably the most fun we’ve had while making these so far as the 4 year old really got into making it his own.
Normally, he loves making the letter crafts but really could’t care less as to what they look like (with the exception of the occasional mustache).
While I’m not entirely sure what his obsession with mustaches is all about recently, it’s keeping him engaged so I’m not going to question it :)
With this page though, he knew just what he wanted.
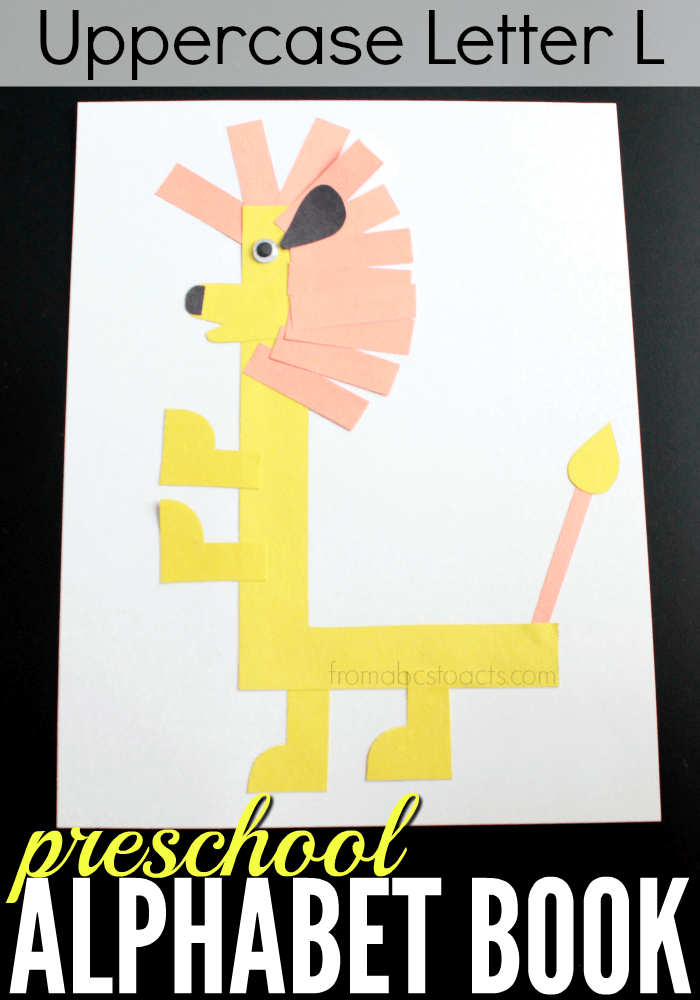
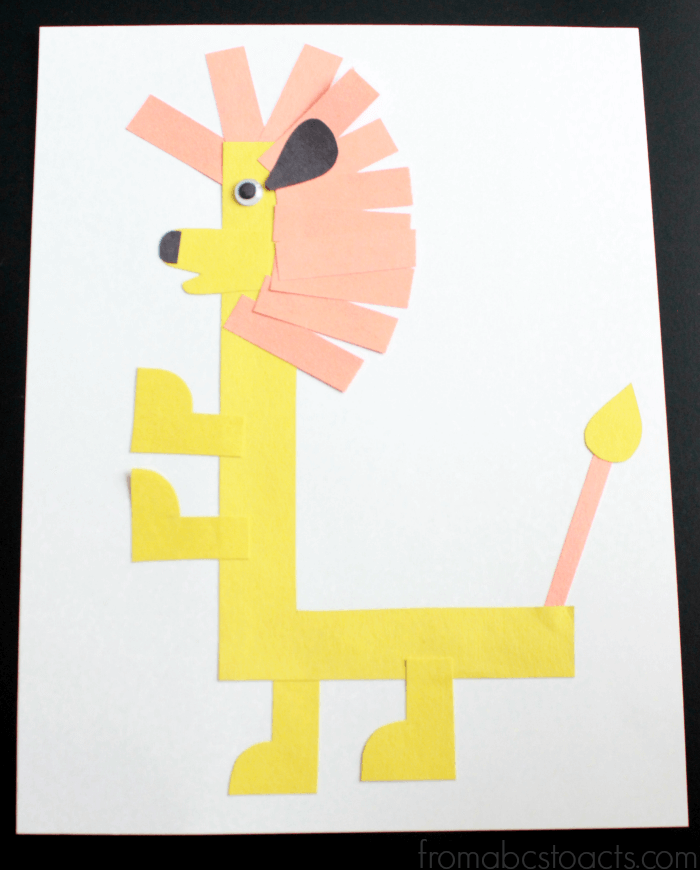
He wanted a yellow lion with orange hair (because that’s how lions are according to him), he needed a black nose, and when it was time to add the feet, his lion would be climbing.
Who am I to argue with that!
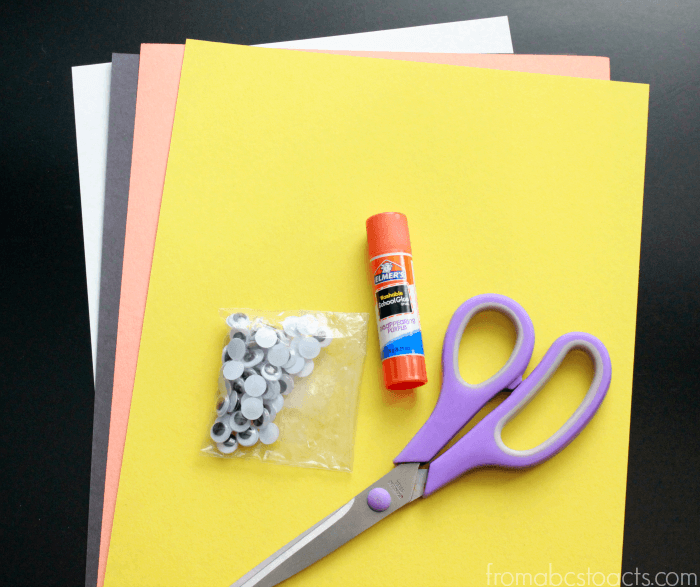
To make an uppercase letter L lion of your own, whether he is climbing or not, you’ll need:
- Yellow, orange, and black construction paper
- A sheet of white card stock
- Scissors
- Glue
- Googly eyes
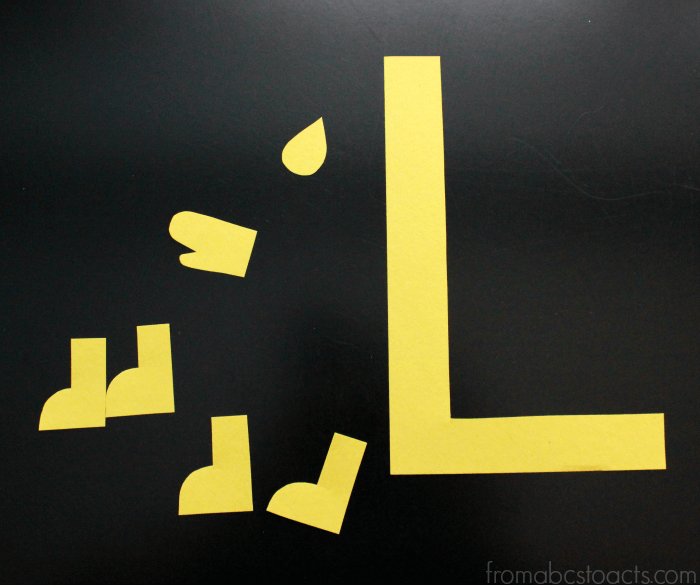
As always, start off by cutting out your pieces.
From the yellow construction paper, cut out your uppercase letter L, a teardrop shape for the tail, 4 feet, and a shape that looks a little like a mitten for the mouth.
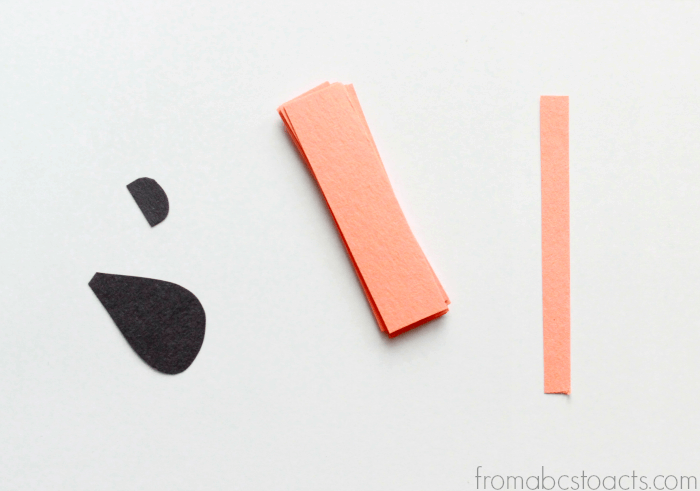
From the black, cut out a half circle shape for the nose and a teardrop with the tip cut off for an ear. Out of the orange, you’ll need one tall and thin rectangle for your lion’s tail and multiple shorter and wider rectangles to make the mane.
While we would normally glue the letter right onto our sheet of card stock, for this craft set the card stock aside for a second and grab your letter and a few of those shorter and wider rectangles.
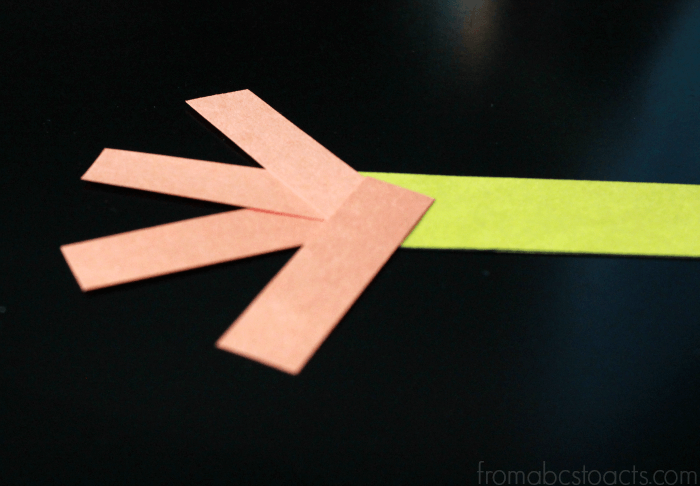
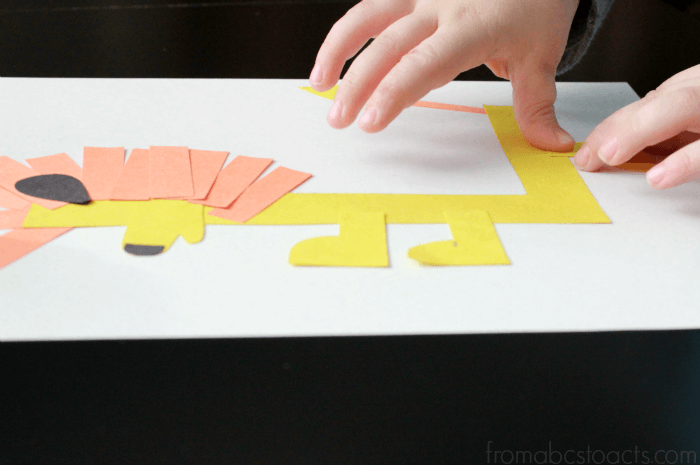
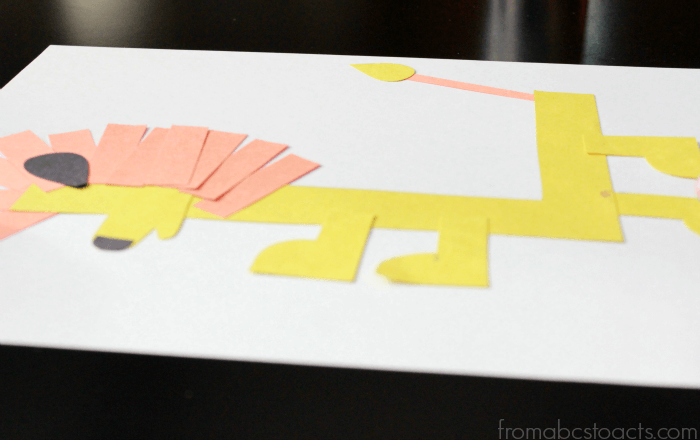
Turn your letter over so that you’re working on the back and glue a few of those rectangles in a fan pattern around the top of your letter L.
That will give you a place to start once you flip the letter back over and glue it on to your card stock.
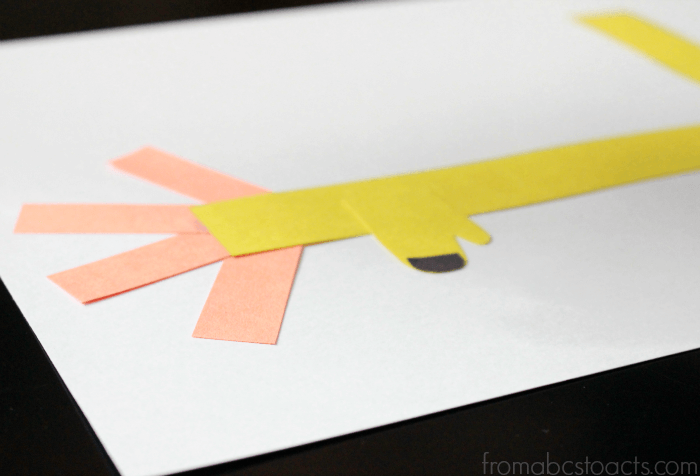
Once your letter is glued down, add the mitten shape for the mouth and glue the nose on to the tip.
Finishing up the mane is a little tricky to explain so try to bear with me :)
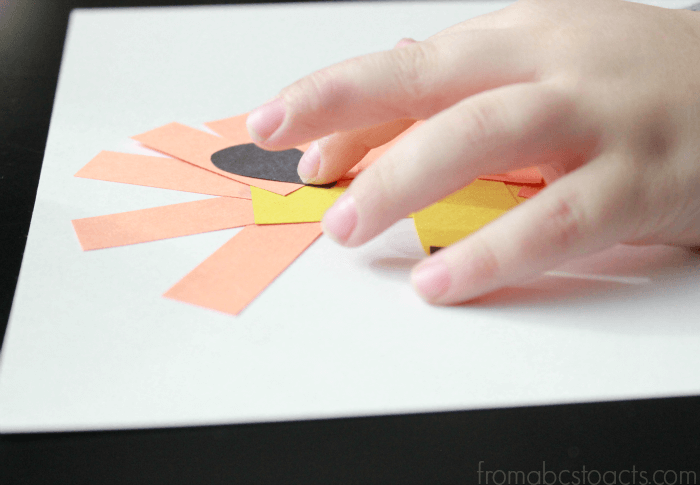
You started it on the back side of your letter but now that you’ve flipped it and glued it on to your card stock, you’re going to go ahead and finish it on the front.
The reason you glued on the mouth before finishing, is so that you now have a guide as to how far down you’ll want to continue the mane.
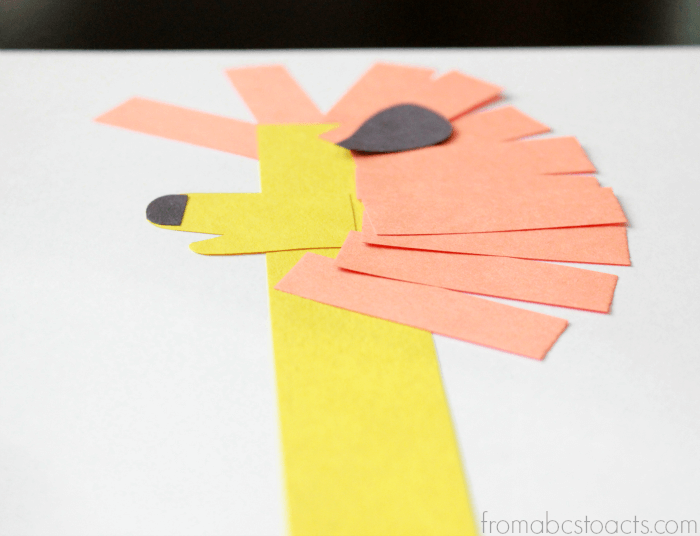
Keep gluing those rectangles in a fan pattern down the back of your lion’s head and underneath his mouth to finish. While you’re there, go ahead and add his ear as well.
Now it’s time to finish him up with the last couple of pieces.
To make the tail, just glue the yellow tear drop shape on to the end of your long, skinny rectangle and attach it to the end of your letter L.
Finally, add the four feet that you cut out earlier.
You could easily add all four of these to the bottom of your letter, or (if your child has an imagination like my 4 year old’s) make your lion look like he’s climbing with two on the bottom and two on the side.
Grab some glue and a googly eye and you’re all done!
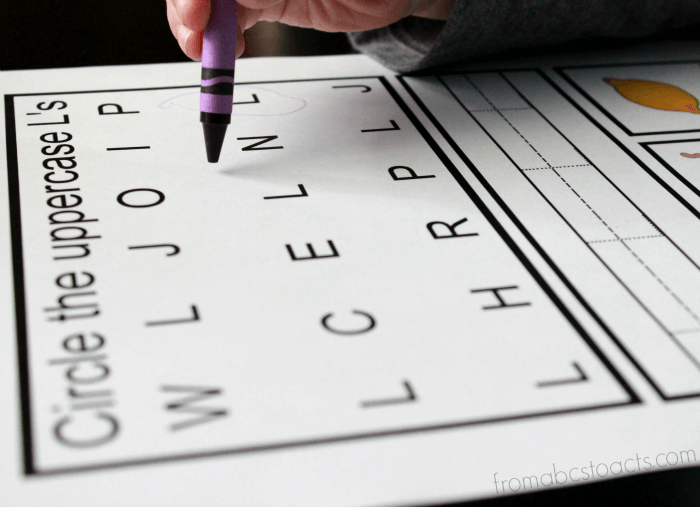
Continue your learning by grabbing a book and reading about lions for a while or grab the printable uppercase letter L page from the bundle of interactive alphabet pages!
Either way, enjoy!
