This post may contain affiliate links. For more information, please see my full disclosure policy.
We’re finally reaching the final few crafts in our alphabet book! Yay!
I had big plans for getting this whole thing up on the site so much faster than it has been added but, as it will, life happened.
Fortunately, though, we have our last few letters done and added to our own book at home, so getting these last few posted here should be easy peasy.
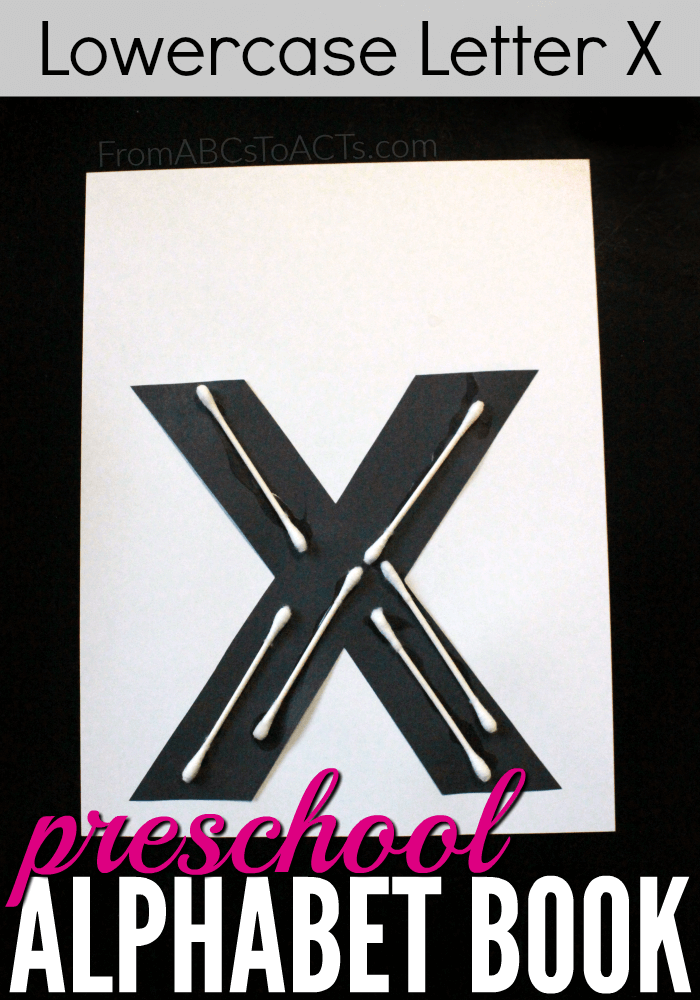
For the lowercase letter X, we decided to go simple. There aren’t really a ton of things out there in the world that start with the letter X and would be easily recognizable to a preschooler, but we didn’t let that stop us!
We’ve made a few x-ray crafts before and the kids absolutely loved them, so for the letter X, it seemed fitting.
And did I mention that it couldn’t be simpler?! Really! Just a few simple materials and you’re good to go!
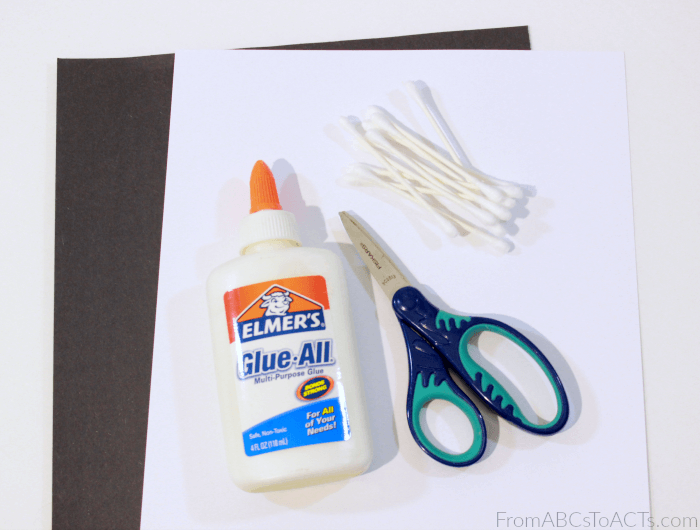
To make your own letter X x-ray craft, you’ll need:
- Black construction paper
- A sheet of white card stock
- Glue
- Scissors
- Q-Tips
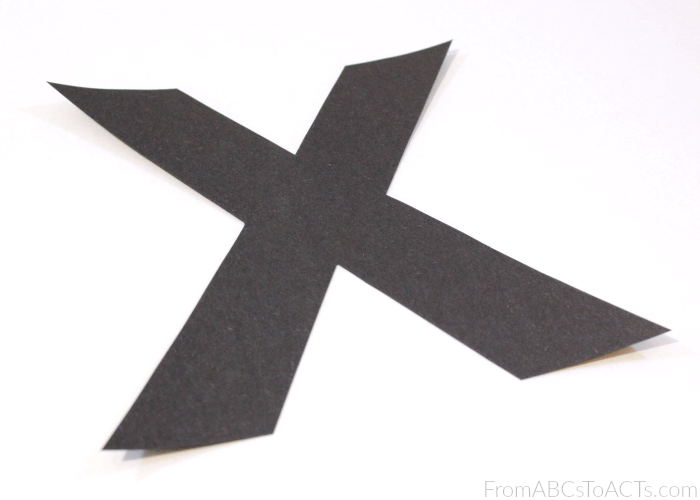
Start, like always, by cutting out your letter X from your black construction paper. If you’re feeling confident, go ahead and freehand it. If you’re anything like me, you can print yourself off a template to trace around.
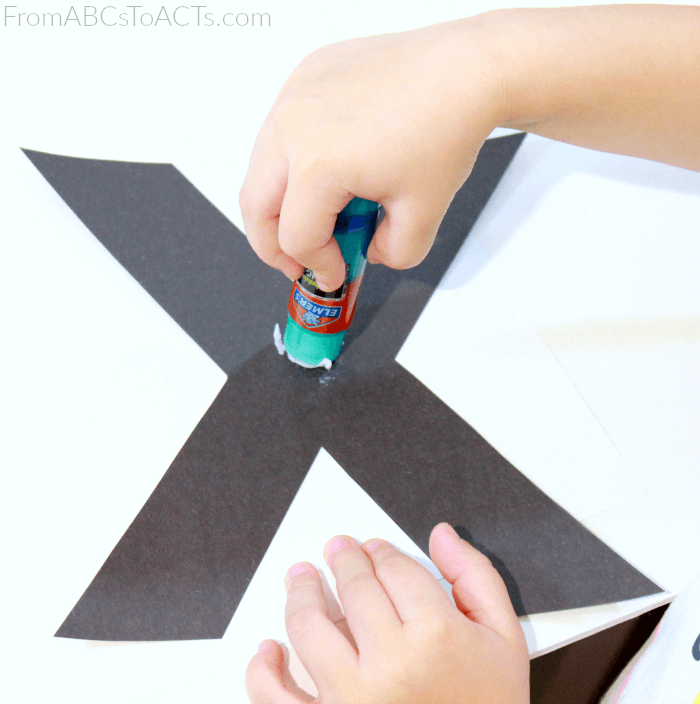
Once your letter has been cut out, have your preschooler glue it down onto your sheet of card stock.
Now for the fun part!
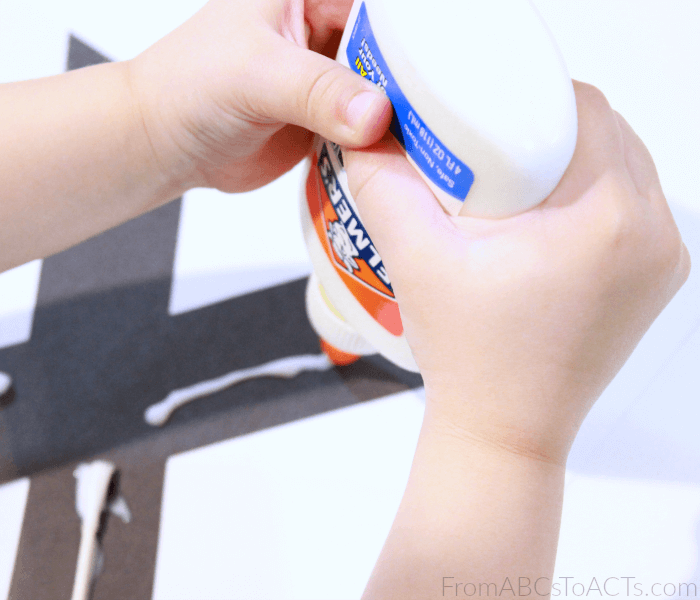
Give your little one that bottle of glue and let them work those fine motor skills! Just have them add lines of glue to their letter X where they want to add “bones” to their x-ray.
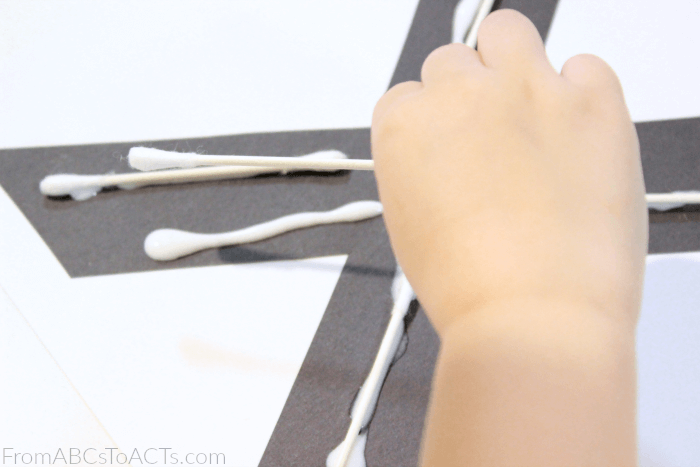
Once your glue lines are ready, start adding bones!
Hand over the Q-Tips and let your child add them to their craft however they’d like.
When they’re happy with their finished product and you’re waiting for the glue to dry, go ahead and grab the lowercase letter X printable page from the bundle of interactive alphabet pages to complete before adding them both to your alphabet book!
