This post may contain affiliate links. For more information, please see my full disclosure policy.
So, it’s been a little bit since we added any new projects to our preschool alphabet book. In fact, we’ve had out lowercase letter T craft finished and ready to be added to the blog for almost a month now.
I promise I have not forgotten about them for those of you that are following along to create your own book, but we do have a pretty good reason as to why they’ve taken a back seat over the past couple of weeks!
The newest member of our family decided to join us just bit earlier than expected and we’ve been simply enjoying our time with our newest little one and adjusting to being a family of 5!
But now, let’s get back to our regularly scheduled programming!
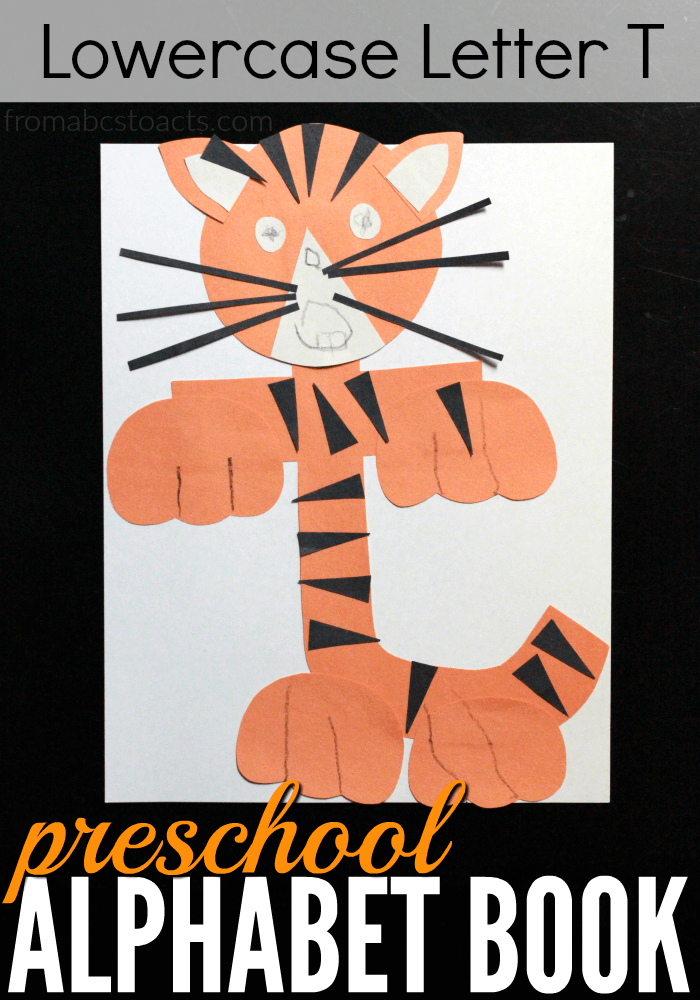
Lowercase Letter T Tiger Craft
This particular craft is a bit more involved than many of our others have been. While it still uses basic supplies like construction paper, crayons, and glue, there are quite a few more pieces and parts that you’re probably used to with our alphabet crafts.
They’re all still very simple shapes that your child should be able to cut if they are the ones cutting out the pieces, there are just a few more of them this round.
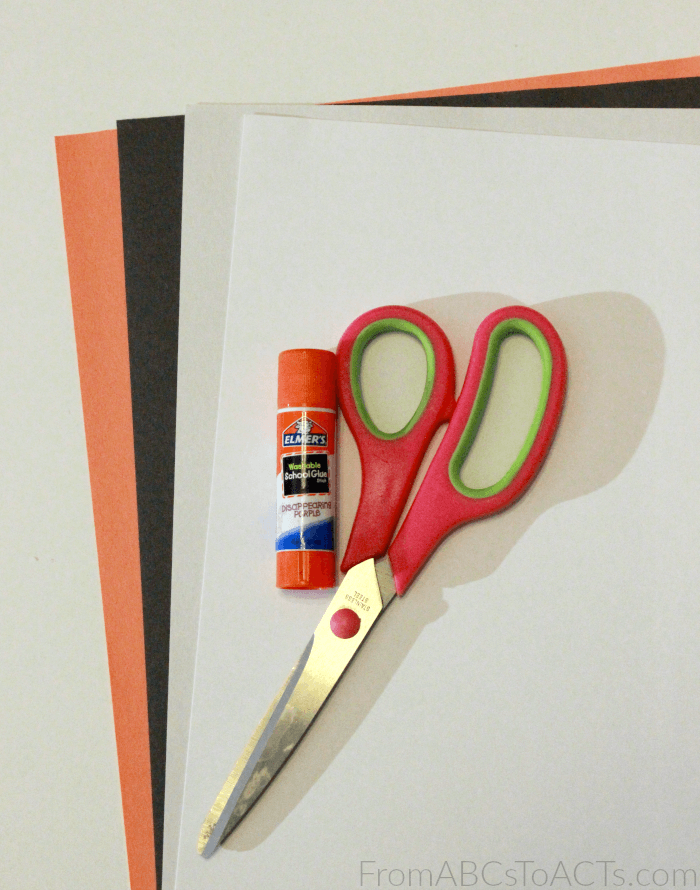
To make your own, you’ll need:
- Black, white, and orange construction paper
- A sheet of white card stock
- Scissors
- Glue
- Crayons
As always, you’ll want to start off by cutting out all of the pieces that you’ll need to create your tiger.
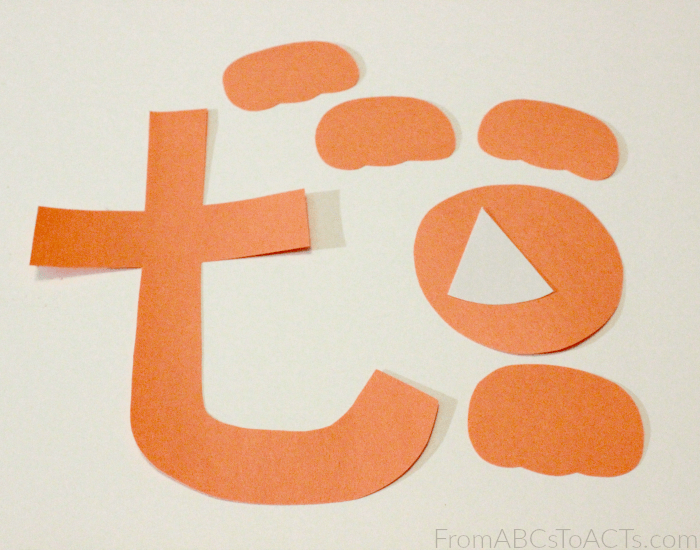
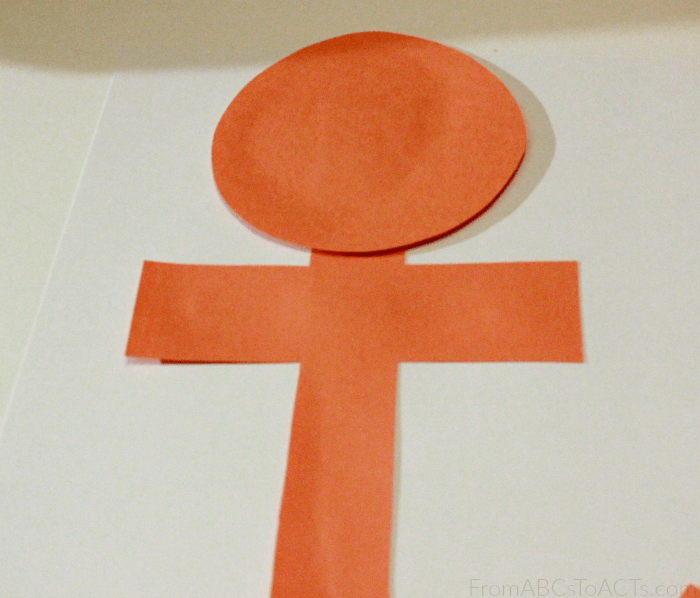
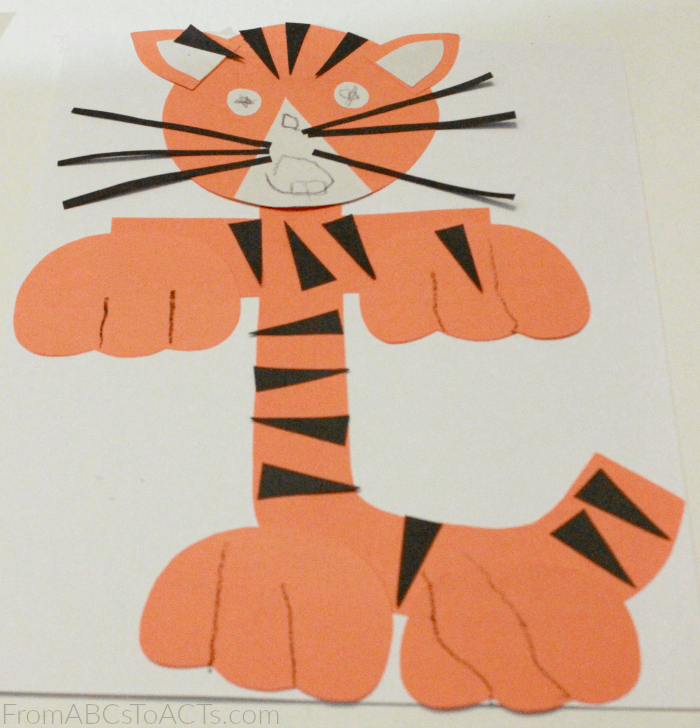
From the orange construction paper, cut out your lowercase letter T (one with a bit of a tail at the end works best for this project), a circle shape for the head, and four oval shapes with small notches cut into the bottoms for the paws.
From the white construction paper, you’ll want to cut out a triangle with a curved bottom that matches up to your circle.
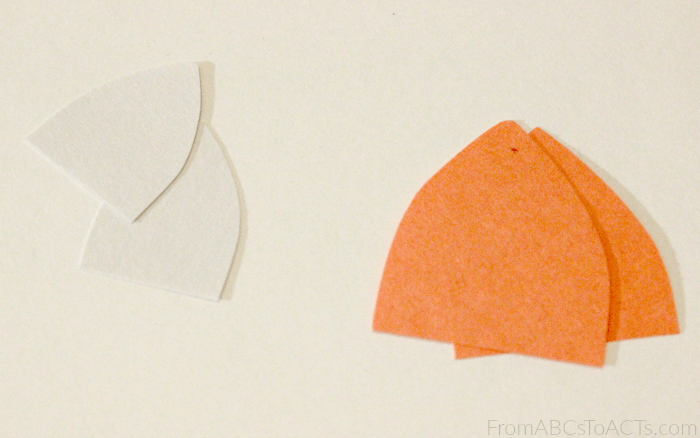
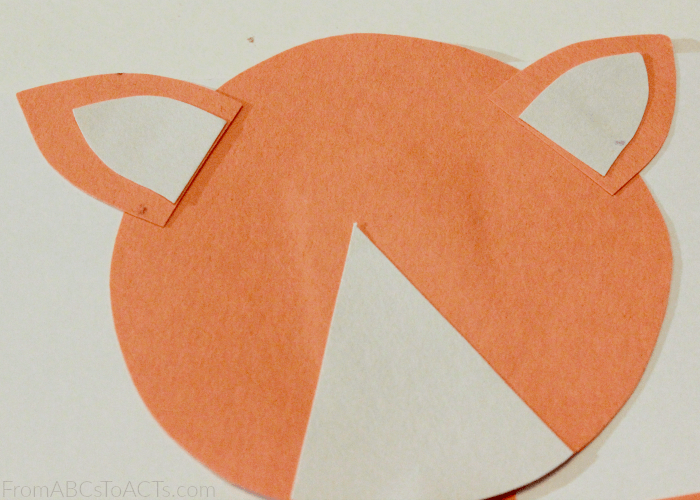
You’ll also need a few rounded triangle shapes for the ears cut from both the orange and the white construction paper. They don’t need to be exactly the same shape or anything, just make sure that your white triangles are slightly smaller than your orange.
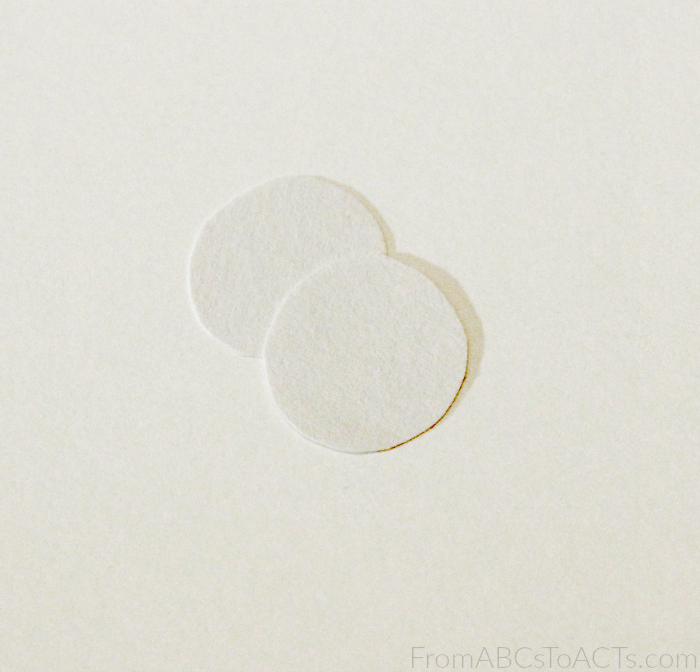
Finally, the last thing you’ll need from the white are a pair of small circles that you’ll use for your tiger’s eyes when we reach that step.
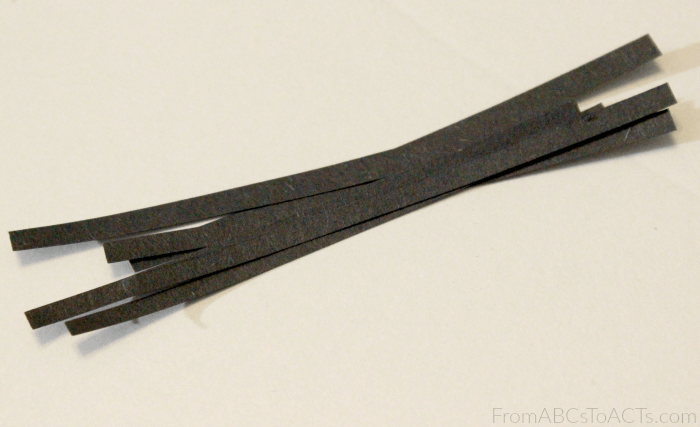
From the black construction paper, you’ll need two things. These long skinny rectangles will make the perfect whisker for your tiger when he’s all finished…
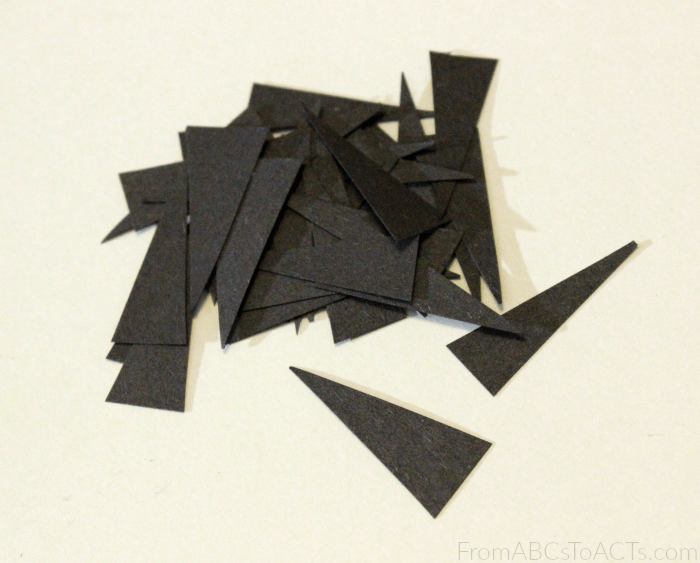
And a pile of simple black triangles will make excellent stripes.
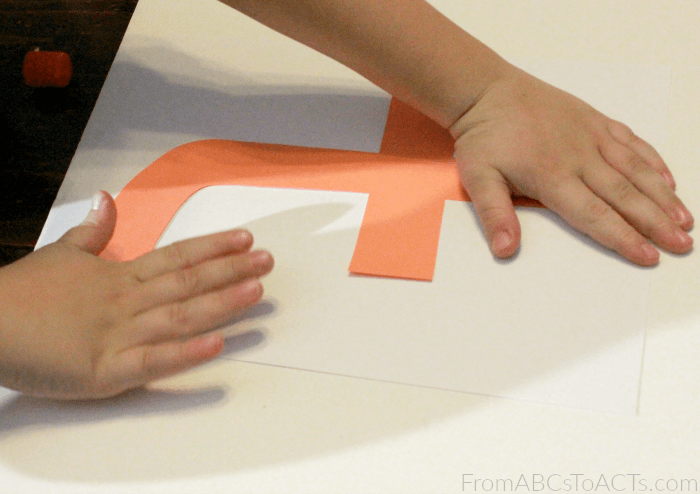
Now, to start putting the whole thing together, grab your lowercase letter T that you cut from the orange construction paper and glue it on to your sheet of card stock. Try, if you can, to keep it as close to the center as possible so that you’ll have plenty of room to glue on the rest of your pieces.
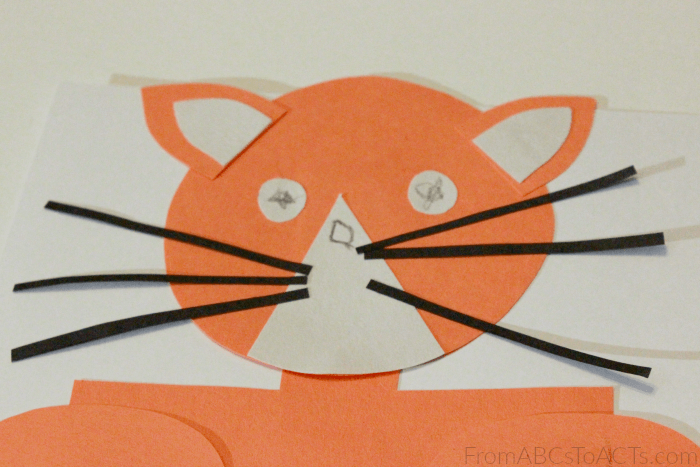
Right up top, add the orange circle that you cut out for the head of your tiger.
Once that has been glued down, grab the pieces that you cut out for the ears and the larger white triangle as well.
To make the ears, simply glue one of the smaller white triangles on to one of your larger orange triangles and then glue the whole thing onto the top of your tiger’s head. Repeat with the other ear.
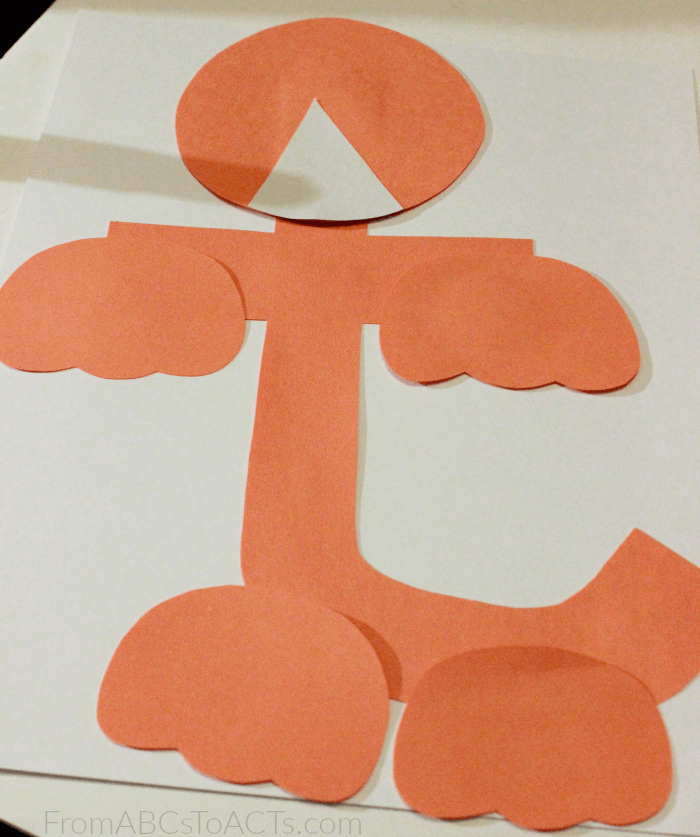
For the larger white triangle shape, simply glue it to the bottom of your orange circle, matching up the bottoms, as close to the middle as you can get it as this will be where your tiger’s nose and mouth will go.
Next up, grab the four oval looking paw shapes that cut earlier and start gluing them down. For the top two, one should go on either side of the letter T’s cross bar and the other two should be added right along the bottom of your letter T’s tail.
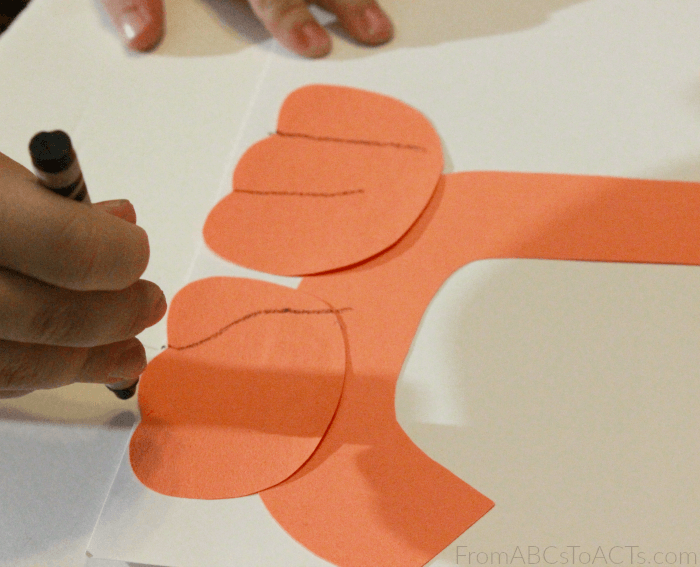
Adding a little detail is super easy with the help of a black crayon.
From the small notches that you cut into the paw shapes, simply draw a line straight up to make them look a lot more like a set of tiger paws.
Now head back up to the top of your tiger and add the two small white circles that you set aside earlier to your tiger’s face for eyes. Use your black crayon to add pupils to the eyes and to draw on a nose.
Grab a few of your long black rectangles and add a couple of them to each side of the nose to make whiskers for your tiger.
Finally, finish your adorable little tiger off with a hand drawn mouth and some black triangles for stripes. There is no right or wrong way to add them, just let your little one be creative!
When you’re finished and while you’re waiting for the glue on your newest alphabet craft to dry, grab the lowercase letter T printable page from the bundle of interactive alphabet pages to complete and add to your book as well!
