This post may contain affiliate links. For more information, please see my full disclosure policy.
As we’ve worked our way through the various crafts in our alphabet book, we’ve had a lot of fun making each one unique and I’ve loved finding new ways to make cute new crafts using some pretty basic materials.
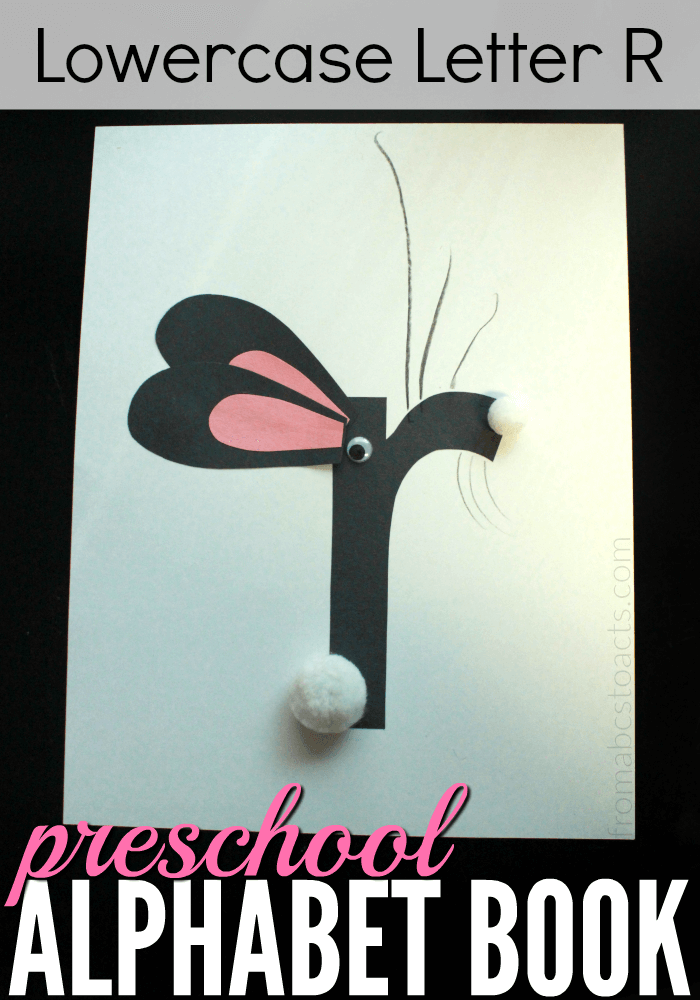
This lowercase letter R craft is no different. The base of our adorable little rabbit is made from construction paper, just like the others in our book, but when making this particular craft, we made sure to add some fun texture as well.
From beginning to end, there are so many parts of this little letter R rabbit that your little one can customize however they like.
Since our card stock is white, we decided to make our bunny black so that he could be easily seen, but if you have other colors, go ahead and use them! Feel like making your rabbit white? How about brown? Go for it!
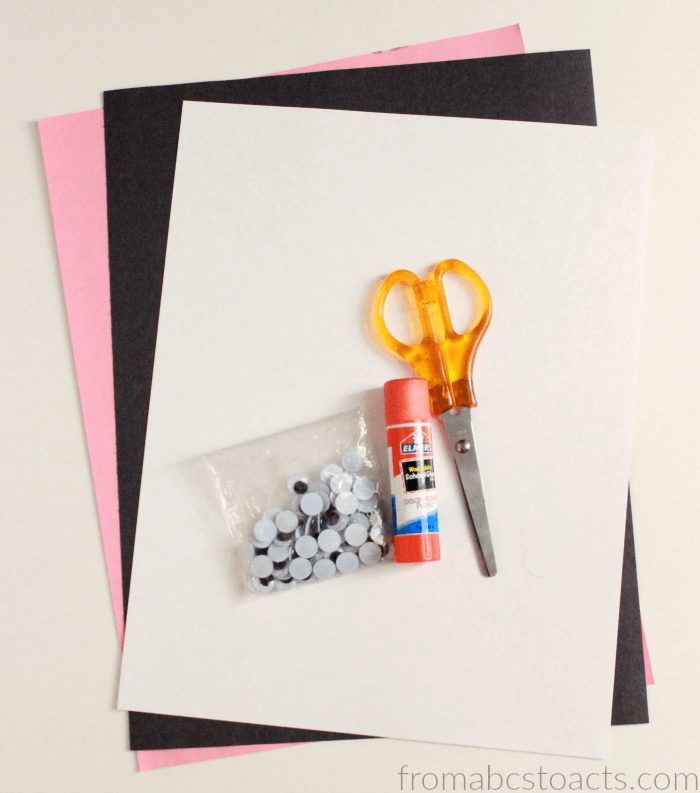
For ours, we went with:
- Black and pink construction paper
- A sheet of white card stock
- Glue
- Scissors
- Googly eyes
- White pom poms (not pictured)
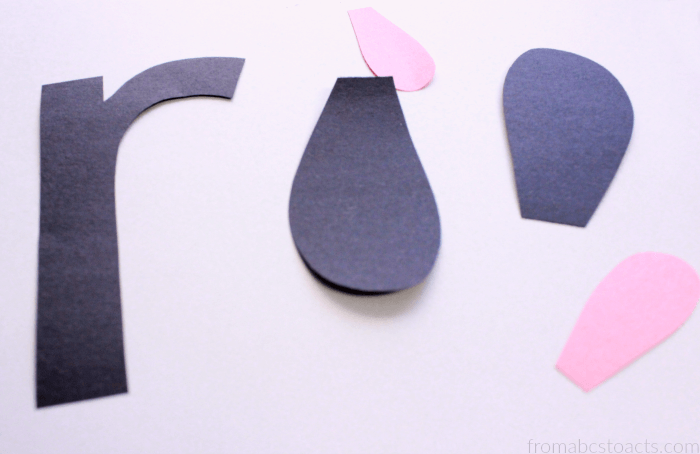
To start, as always, you’ll need to cut out your pieces.
Of course, this will depend on what colors you chose, but from one color you’ll need to cut out your lowercase letter R and two larger shapes for the ears. To make these easier, simply cut out a couple of rain drop shapes and snip the tip of each off.
From the second color of construction paper, cut out two more of the ear shapes, just make these a bit smaller so that they’ll fit onto the larger versions.
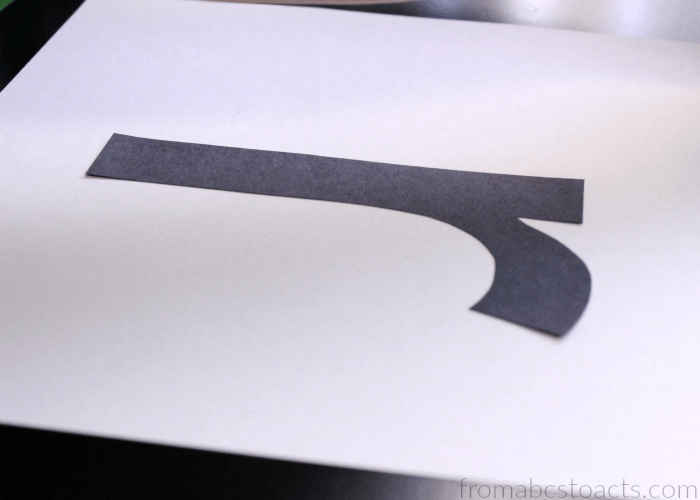
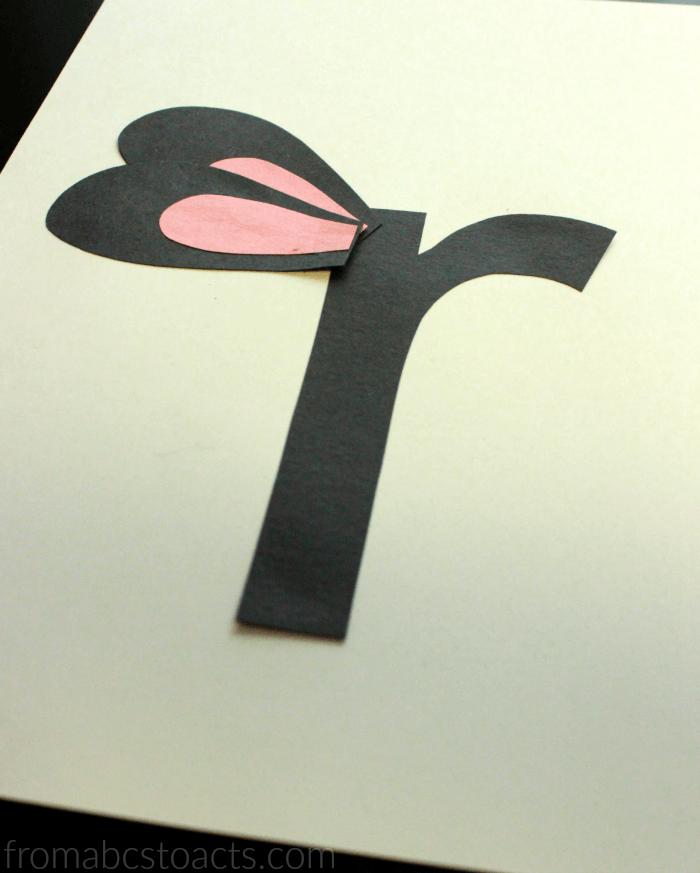
To assemble your rabbit, start by gluing your letter R to your card stock. If possible, have your child try to keep their letter towards the right side of the page so that you have plenty of room to add the ears.
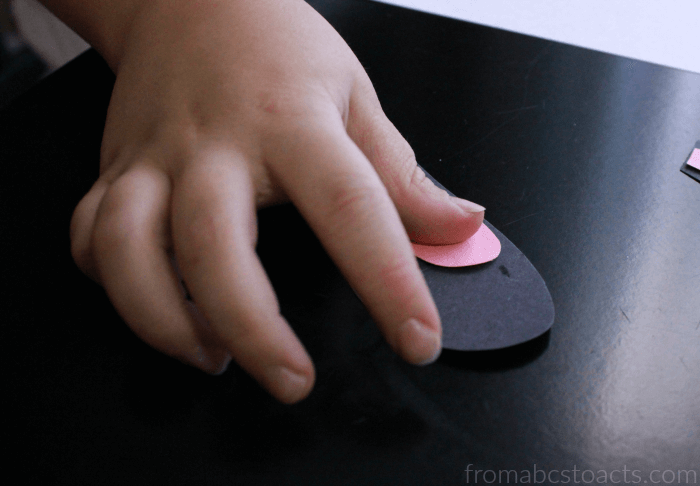
To make those ears, have your child glue the smaller ear shapes right into the middle of the larger shapes.
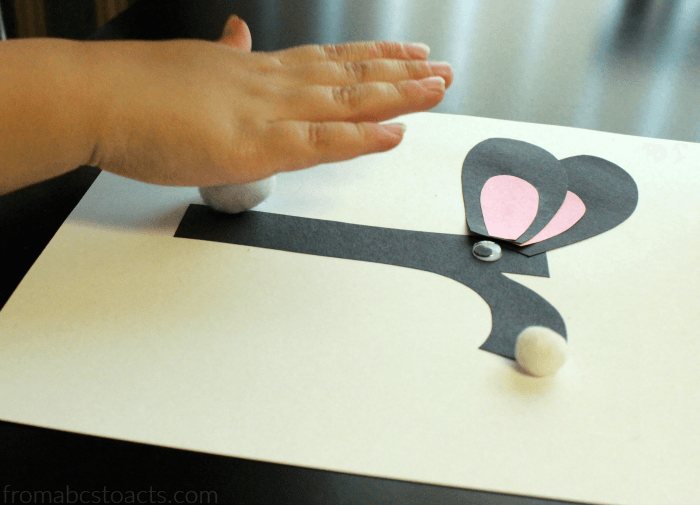
When both of your ears are glued together, add them to your letter R. We made ours so with one ear slightly on top of the other so it looks like you are seeing the rabbit from the side (mainly because the little guy wanted to be able to see the bunny tail), but however your child prefers to make their own is perfect!
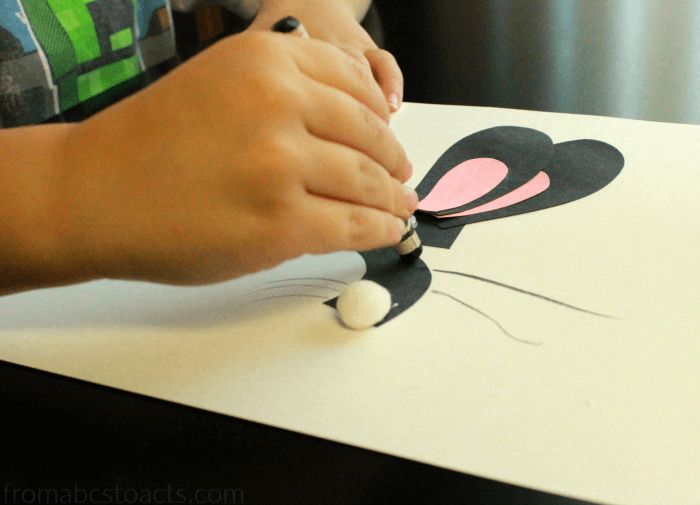
Next up, add a googly eye, or two, a smaller pom pom for the nose, and a larger one for the fluffy tail.
Finally, finish him off with a set of hand drawn whiskers. What could be cuter?!
When you’re ready, grab the printable lowercase letter R page from the bundle of interactive alphabet pages and add it, along with your rabbit craft, to your alphabet book.
