This post may contain affiliate links. For more information, please see my full disclosure policy.
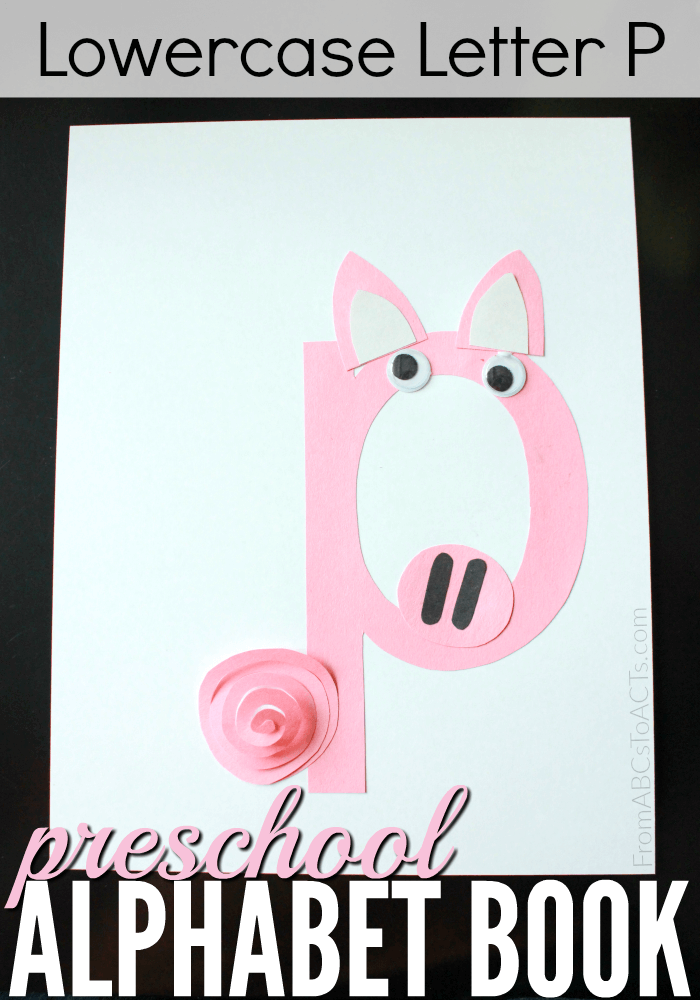
Whether you and your preschooler are working on learning all of the letters of the alphabet, or you’ve been following along with our recent farm theme, the most recent addition to our preschool alphabet book is going to be right up your alley!
It’s really worked out perfectly for us this time as we just happened to be learning all about farm animals and pigs are pretty adorable when made out of the letter P.
I mean, we’ve already included them in a sensory bin, a counting book, and even made our own muddy pigs at this point. So we couldn’t possibly have picked anything other than an adorable little piggy to add to our book.
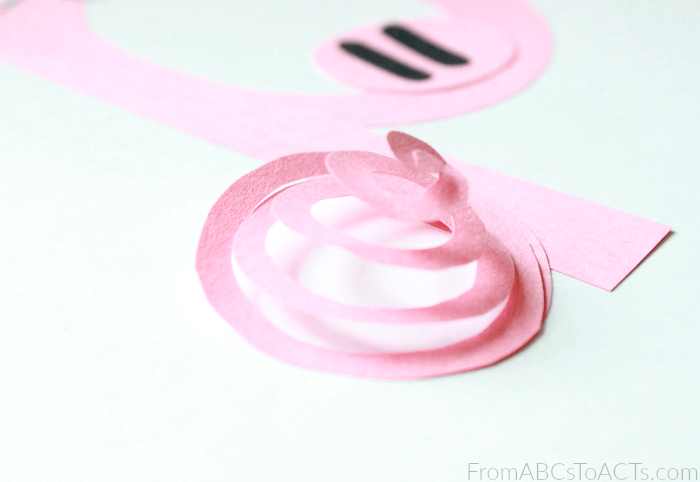
It doesn’t get much cuter than those loopy, curly tails, right?!
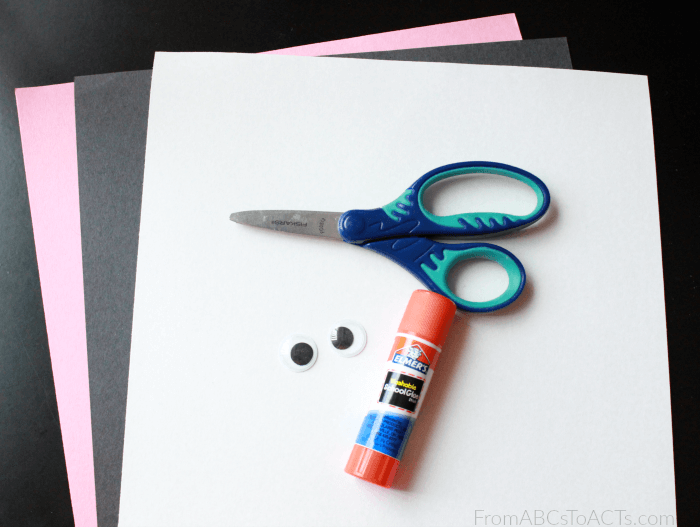
Of course, to make this perfectly pink little guy, you’ll need a few supplies!
- A sheet of white card stock
- Pink, black, and either white or light pink construction paper
- Glue
- Scissors
- Googly eyes
This alphabet craft will start like all of the others :) By cutting out the pieces.
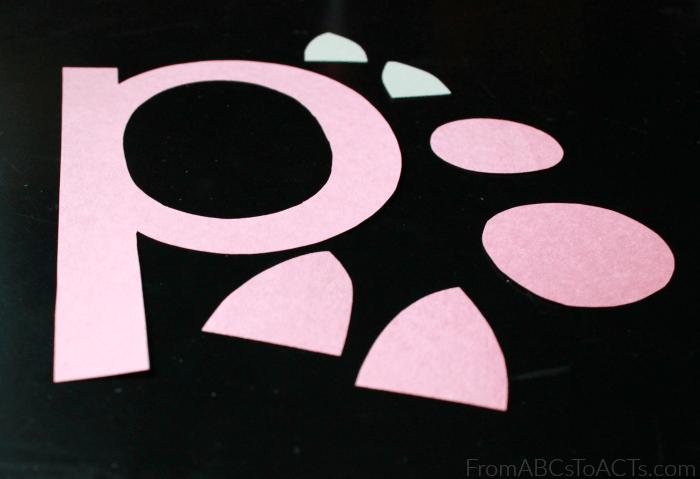
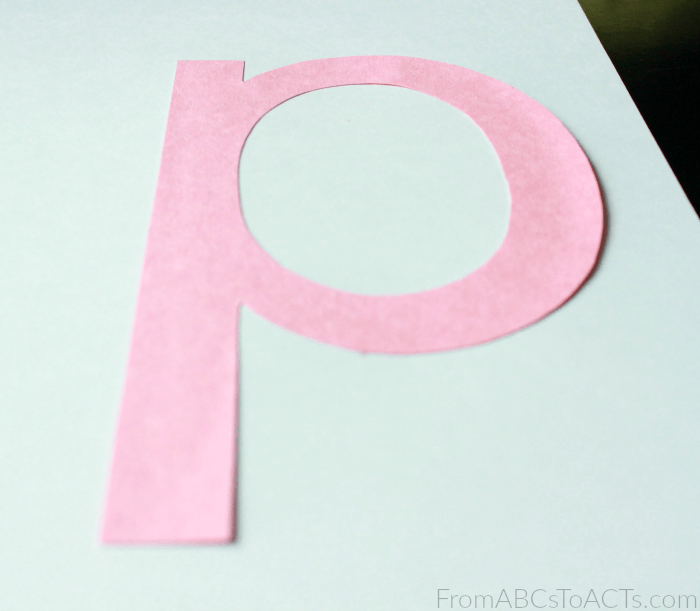
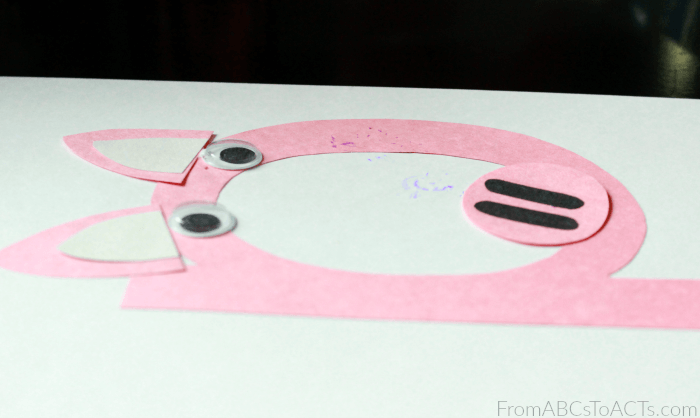
From the pink construction paper, you’ll need to cut out your lowercase letter P, 2 triangular shapes for the ears, and two circles (one a little smaller than the other).
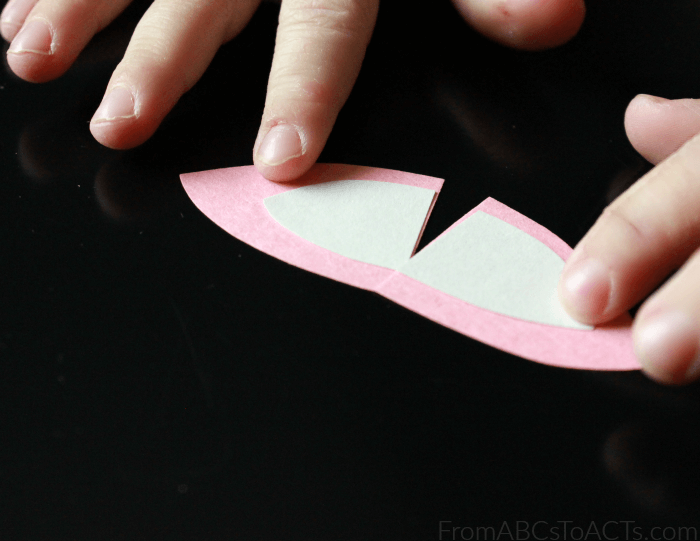
From the white (or light pink) construction paper, cut out 2 slightly smaller versions of the triangular ear shapes that you just cut out of the pink.
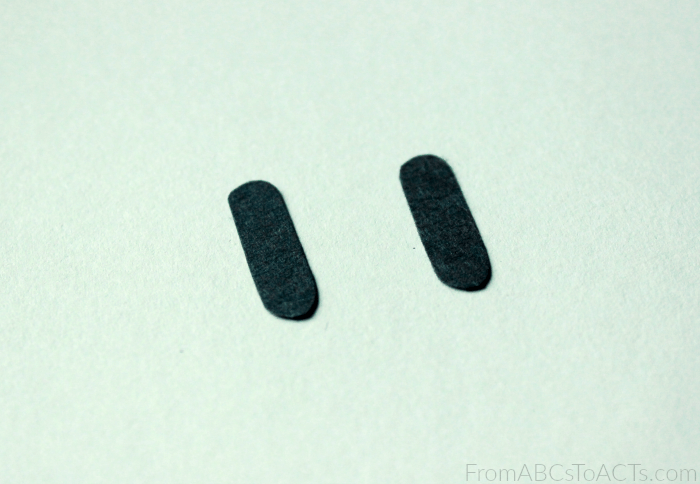
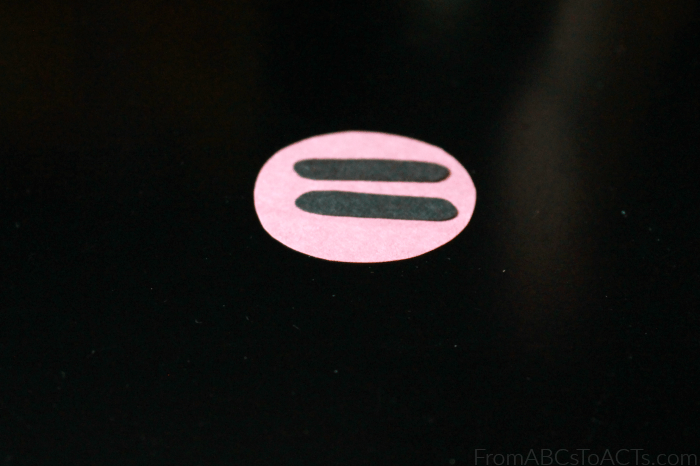
From the black, cut out 2 small rounded rectangular shapes for the nostrils of your pig. These should be a good size but small enough to fit into the middle of the smaller pink circle that you cut earlier.
As always, once your pieces are cut, start by gluing your lowercase letter onto your sheet of card stock. Make sure that you leave enough room on the top and the left hand side for the tail and ears.
Next up, glue the parts of your pieces together. These include gluing the smaller white (or light pink) triangles onto the pink ones.
And adding the black rectangular shapes onto your smaller pink circle, right in the middle.
Once you have those pieces assembled, it’s time to start putting together your pig!
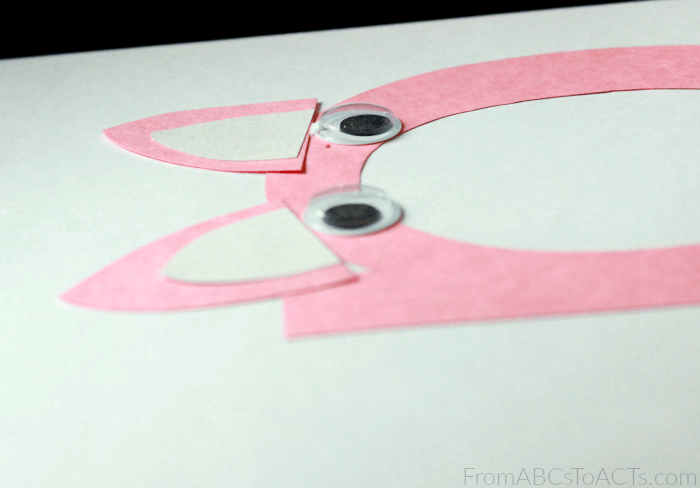
Start by gluing your googly eyes onto the top of your letter P and adding the ears just above those eyes.
Next, move on down to the bottom part of the P curve and add your piggy’s nose.
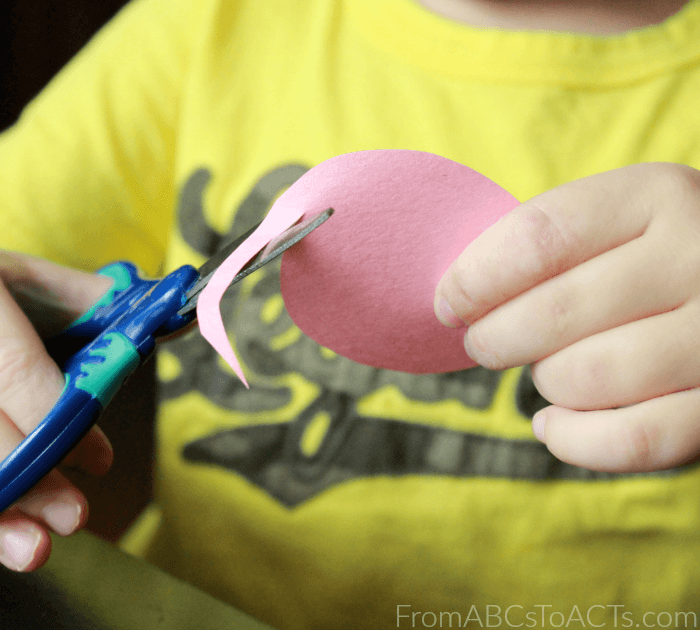
Now that you’ve got that done, we’re ready for the fun part! Cutting a spiral.
This is such a great way to work on those scissor skills with your preschooler and they love the bounciness to a paper spring when they’re all finished.
If your child has never cut a spiral before or has a bit of trouble knowing where to cut, try drawing a guide with a pencil or pen on one side of your large pink circle for them to follow. When you’re ready to glue the tail on, just glue them side with the pen marks face down.
Now, spirals are a ton of fun as is, but to give your piggy a little extra spring and make your spiral stand out a bit from the page, hold the paper and both ends and gently pull so that the spiral unwinds a bit.
Be careful so that you don’t accidentally wind up ripping it in half!
Once it’s ready, just glue a small portion of the end of the spiral down to the bottom of your letter P and you’re all set!
You’ve got yourself an adorable little barnyard pal that is perfect for practicing the letter P!
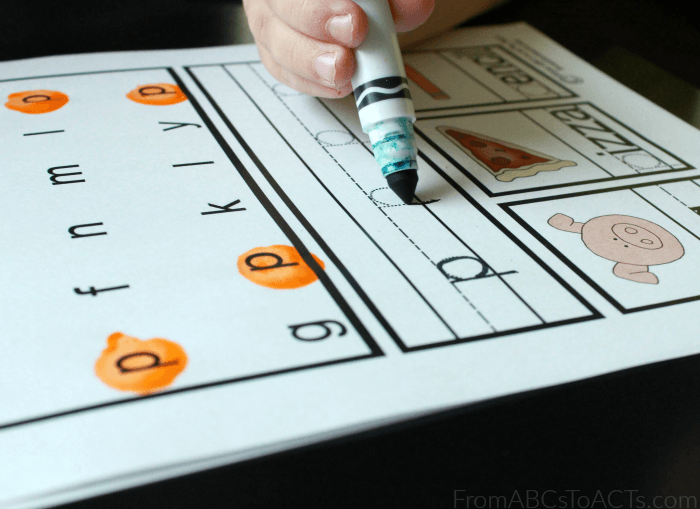
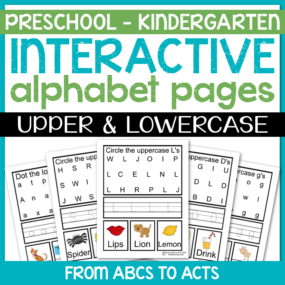
And if you’re looking for a little extra practice, don’t forget to grab the lowercase letter P printable page from the bundle of interactive alphabet pages to add to your alphabet book!
