This post may contain affiliate links. For more information, please see my full disclosure policy.
It’s time for another set of pages from our preschool alphabet book!
Things have been so busy around here for the past couple of weeks with the 4th of July holiday and the launch of our new resource site (a collaboration with one of my best blogging friends Echo), that we have fallen a little behind on getting these up. With the holiday behind us now and Homeschooling 4 Free up and doing very well, it’s time to dig back into our alphabet book!
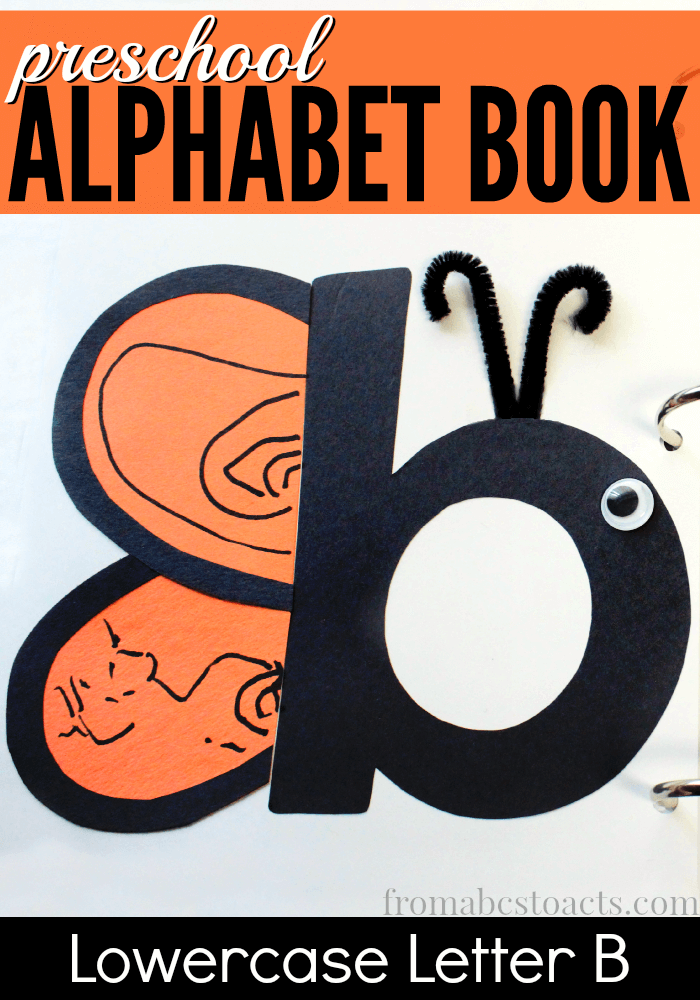
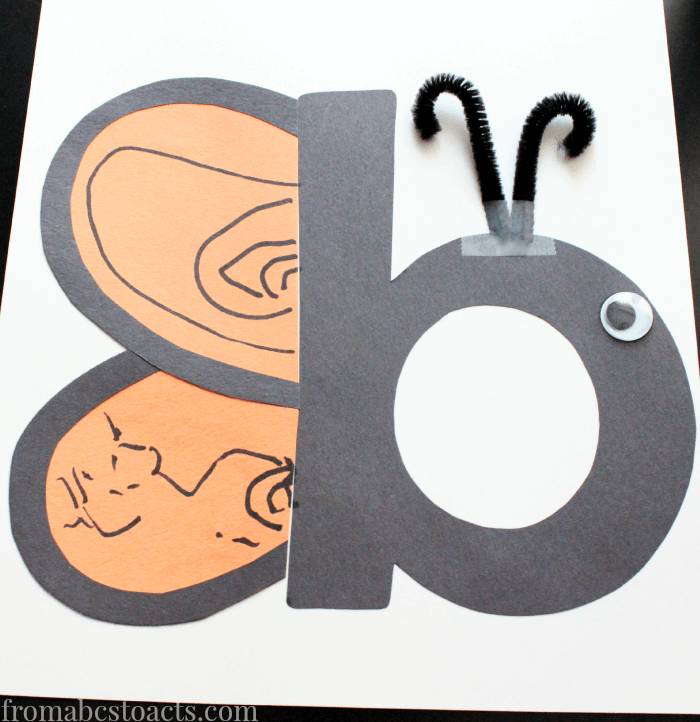
This little letter B butterfly was so much fun to make and, as always, is perfect for practicing scissor skills with your toddler or preschooler.
With just a few sheets of construction paper, some googly eyes, and a pipe cleaner, you can create a beautiful butterfly that would fit perfectly into any bug or spring themed unit!
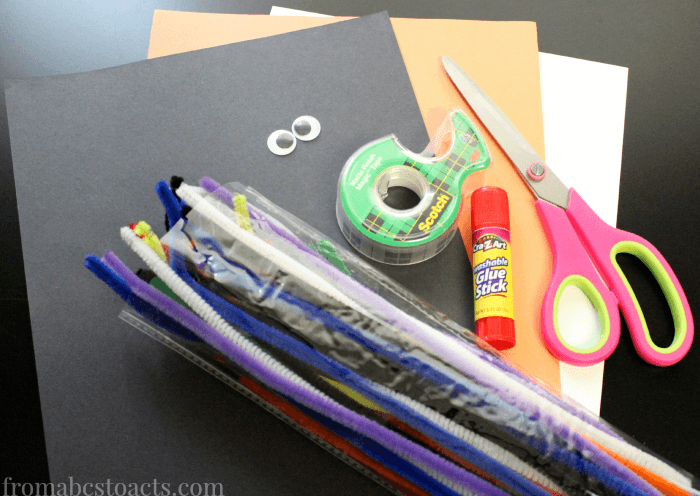
To make this adorable little guy, you’ll need:
- White sheet of card stock
- Black and orange construction paper (or any color for your butterfly’s wings)
- Pipe cleaners
- Glue
- Scissors
- Googly Eyes
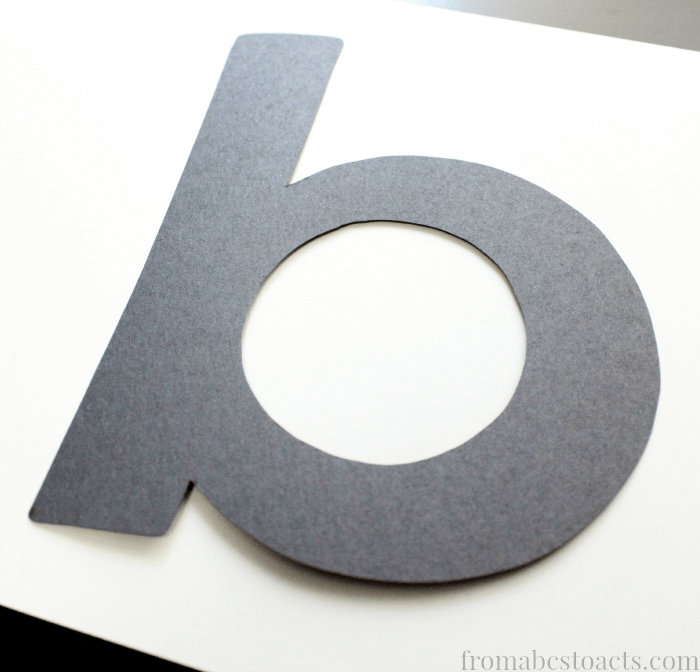
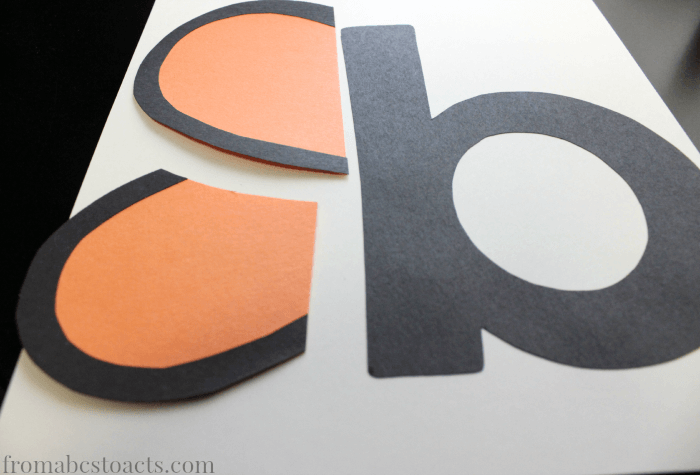
The first thing you’re going to want to do is cut out your lowercase letter B from your black construction paper. You can do this free hand or print out a template and trace around that. Once your letter is cut, glue it onto your white card stock towards the right side of the sheet so that you have plenty of room left to add your wings.
Now, cutting out the wings is a little tricky to explain but if all else fails, just get creative!
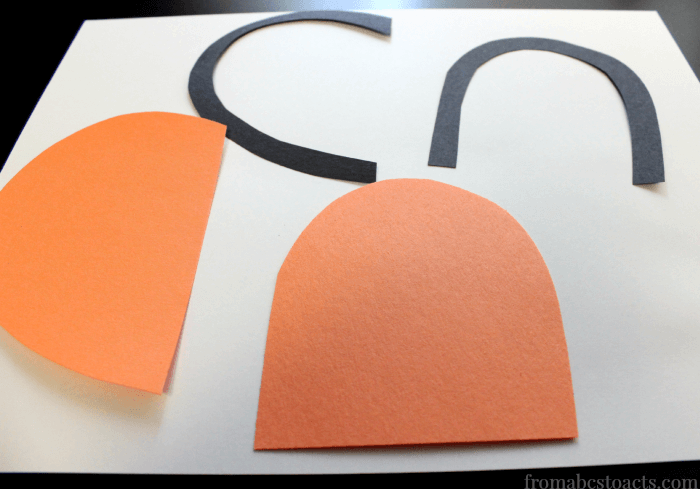
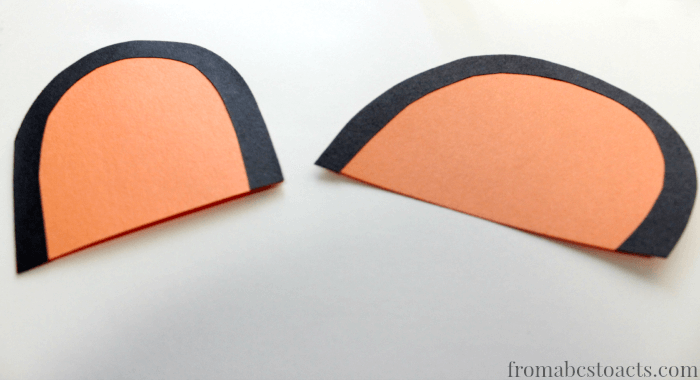
To cut them like we did, take a sheet of orange construction paper and lay it on top of a sheet of black. Fold them in half and cut along the open end (not the fold). Cut two slightly different shapes, one for the top wing, one for the bottom). You should end up with black and orange shapes that are exactly the same.
Now, take your black shapes and cut about 1/2 inch in, like in the photo above so that you basically create a border that fits perfectly onto your orange shape along all but the bottom side.
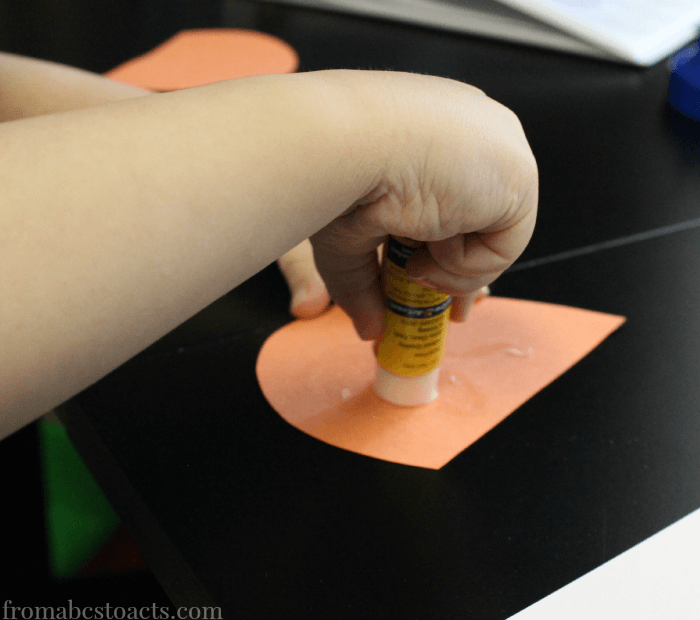
Next, just glue those black borders right onto your orange wings.
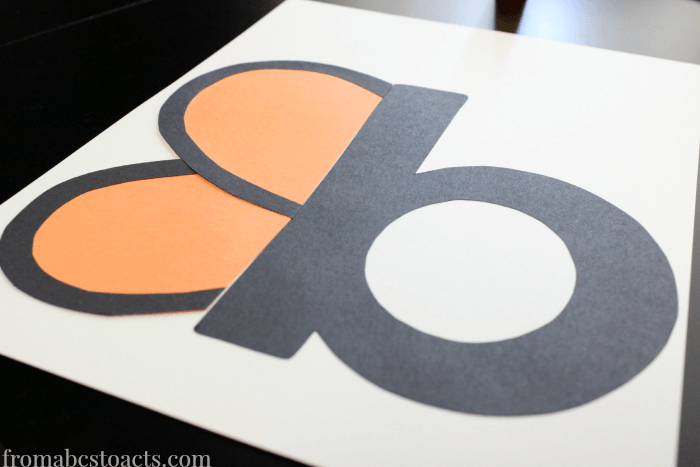
When adding your wings to your butterfly, add the top wing as is. For the bottom, so that it looks like it is being seen from behind the first, just figure out where it would meet up with the top wing and cut along that line so that they will essentially fit together like a puzzle when you’re finished and have your little one glue everything together.
All that’s left for you to do is finish your butterfly off! To make the antenna, cut a pipe cleaner in half and then cut one of those halves in half again. Bend the tops and stick them on. We tried gluing them this time with tacky glue and after multiple attempts and having them fall off again and again, we finally just went back to taping them on.
Have your child glue on a googly eye (or more than one if they want) and give them some crayons or markers to decorate the wings. It’s a lot of fun to see what they come up with :)
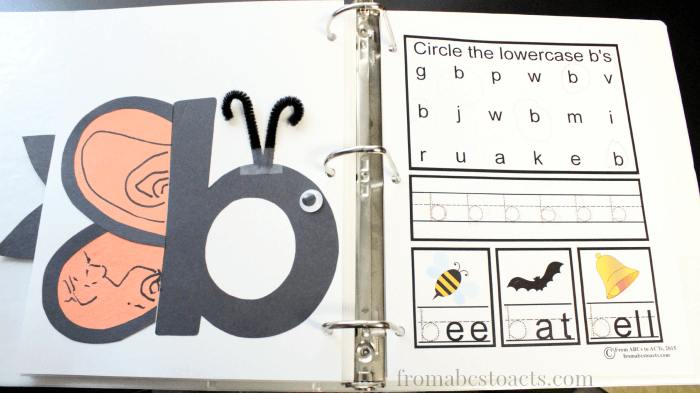
Finally, if you’re adding yours to a 3 ring binder like we are, hole punch your card stock and stick him in the book along with the lowercase letter B printable. To extend the activity a little more, we went through our crayons to find those colors that started with the letter B and used those to complete our letter B page.
