This post may contain affiliate links. For more information, please see my full disclosure policy.
When we first started making the crafts for our preschool alphabet book, we did so with the intention of focusing on a single letter at a time for a little bit more alphabet practice.
Since then, the preschooler has not only mastered those letters as I figured he would, but we have made so much more progress in other areas than I ever could have imagined as well!
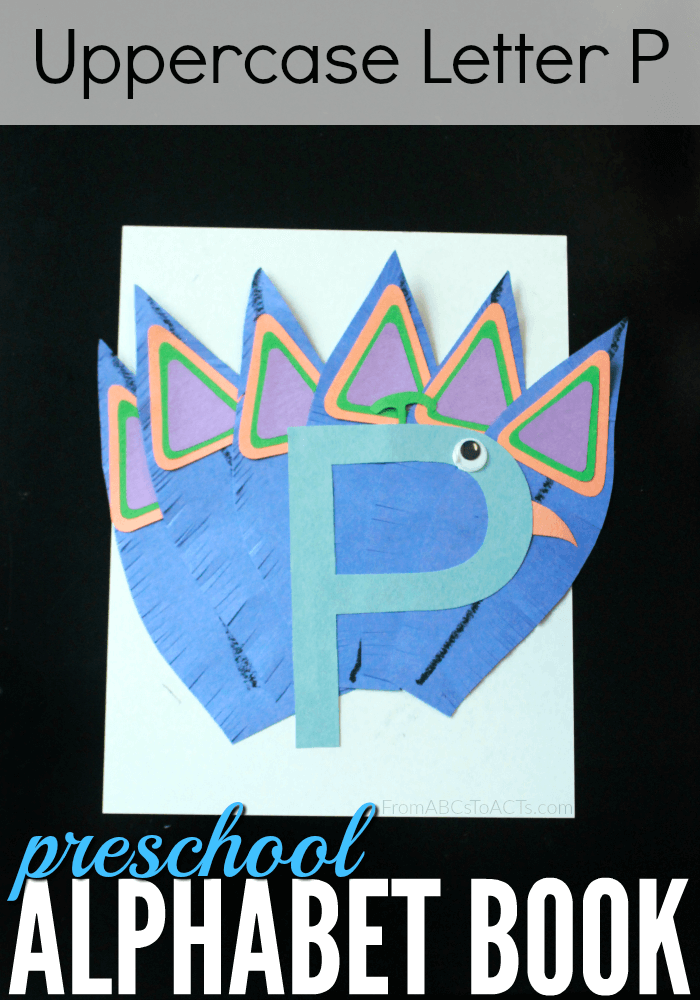
This particular letter P craft showed me just how much when it came time to work on those, sometimes tricky, scissor skills. Let me tell you, if your preschooler is struggling with scissors, this super cute letter P peacock is the perfect craft for a little extra practice!
And trust me, it may look like there is a lot to this one but really, a lot of it is simply repeating a step that you’ve already done.
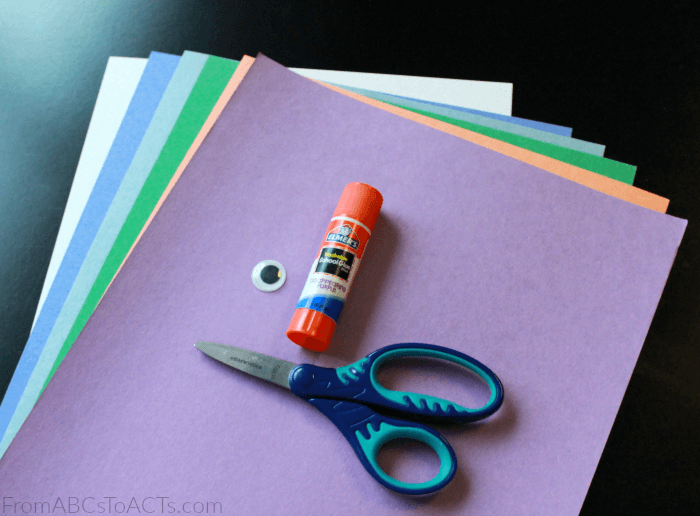
To make your own, go ahead and grab your supplies. You’ll need:
- A sheet of white card stock
- Googly eyes
- Glue
- Scissors
- Various colors of construction paper
The colors that you use are entirely up to you! We chose to use light blue, dark blue, green, orange, and purple but whatever combination you decide on is fine.
Now, first things first, you’ll need to cut out all of your pieces.
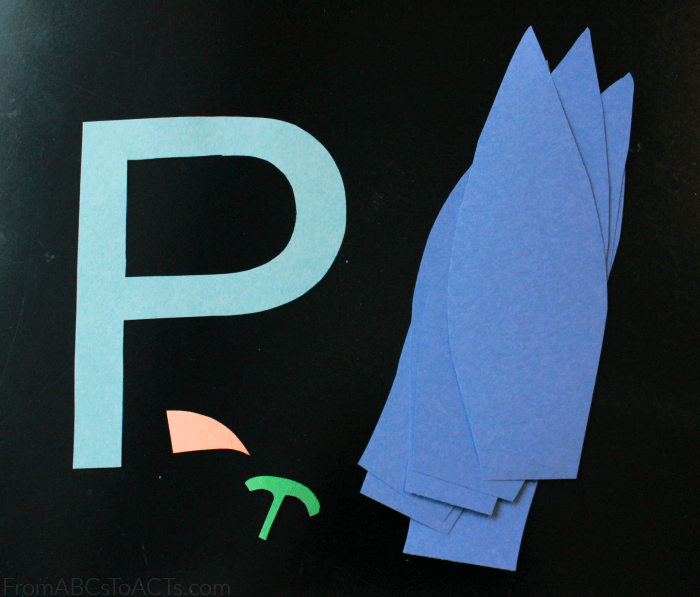
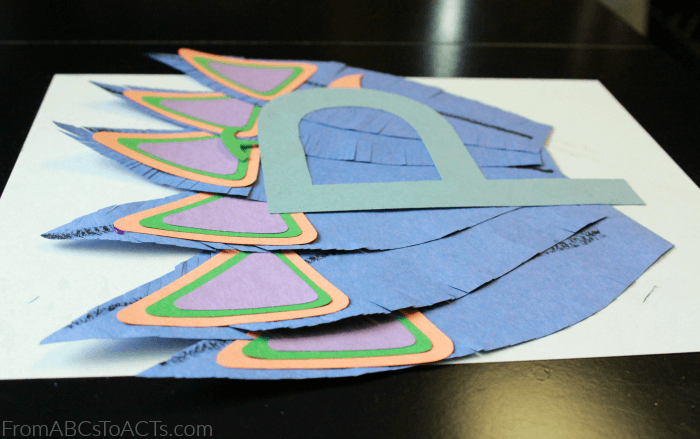
Start by deciding what colors you want to use for what and dividing them up. We chose to cut our uppercase letter P out of light blue paper and used the dark blue for the feathers. You’ll need 5 or 6 feathers depending on how big you make them.
From the orange we cut out a shape for the beak and used the green for making the crest for the top of the peacock’s head.
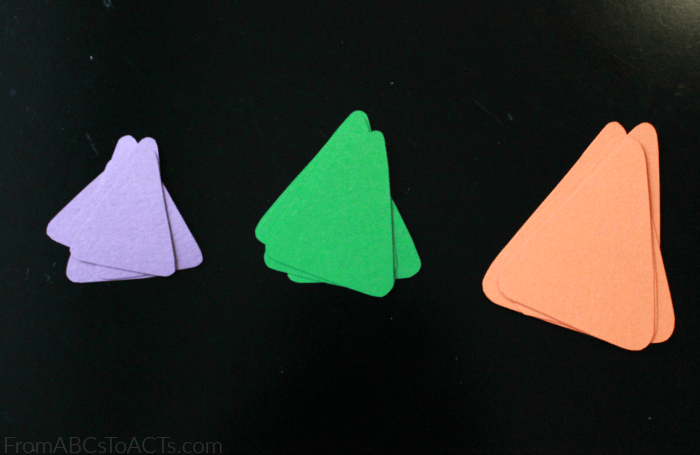
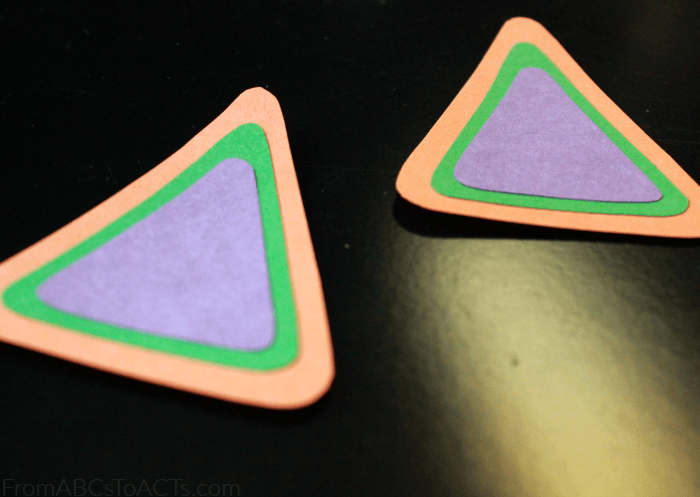
For the tips of the feathers, pick out three of your paper colors and cut out some rounded triangles from each.
For these to work, you need to cut out as many triangles (from each color) as you have feathers and they need to get smaller as you go.
For our peacock for instance, since we have 6 feathers, we cut out 6 of each colored triangle with the orange being the biggest, the green being the medium triangle, and the purple being the smallest.
When you have all of your triangles cut out, they should all fit together like this. Each one fitting nicely into the one that is just a bit bigger than it.
For how ever many feathers you have, glue together the same number of these layered triangles.
Now, it’s time to move on to the feathers, and some excellent scissor practice for your preschooler if they need it!
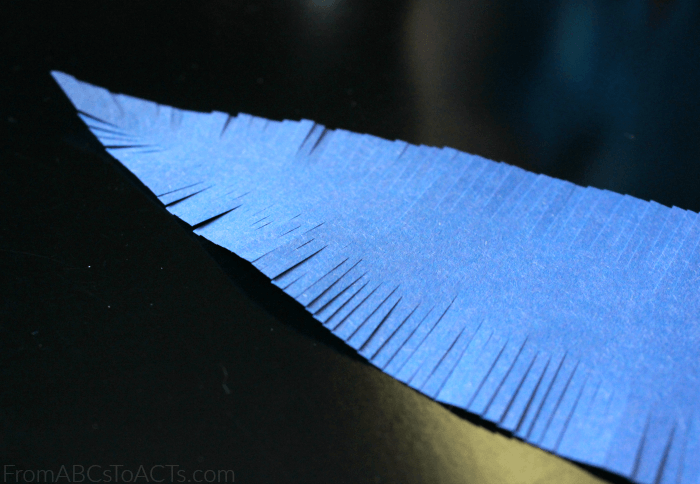
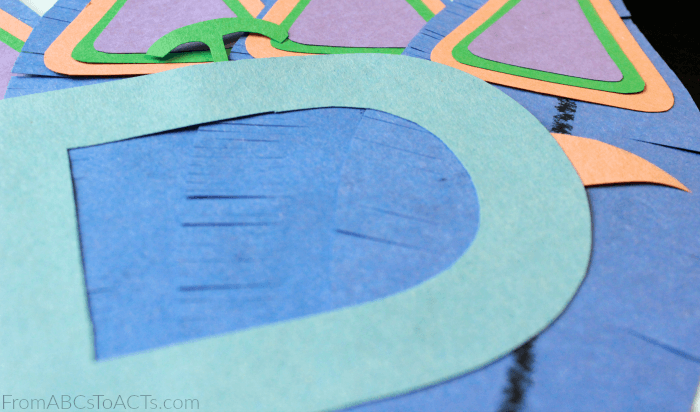
Just take your feather shapes and start making slits in the sides of them with a pair of scissors. Try not to cut all of the way into the middle as you might accidentally cut your feather in half.
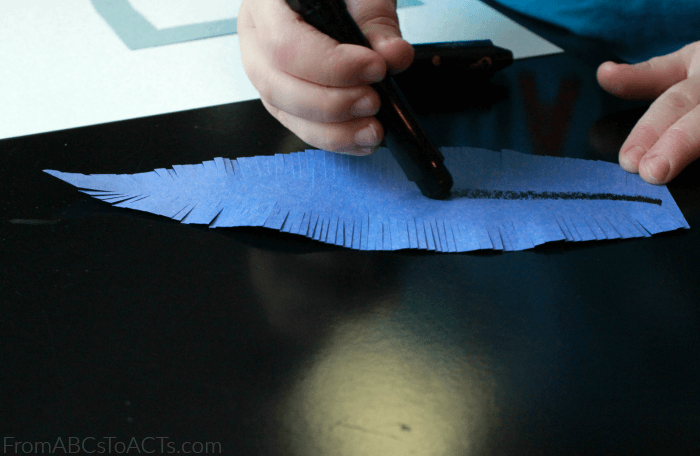
Once all of your feathers are complete, have your child use a pen or crayon to draw a line from one end to the other so they look a little more like a real feather would.
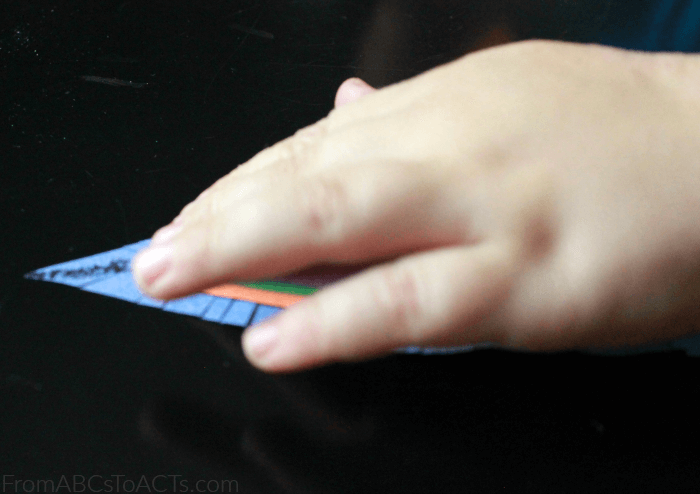
When you’re ready, start gluing your layered triangles to the tips of your feathers, one triangle per feather.
When your feathers are all ready, fan them out across your sheet of white card stock and glue them all down.
On top, add your uppercase letter P so that you can create the face for your peacock.
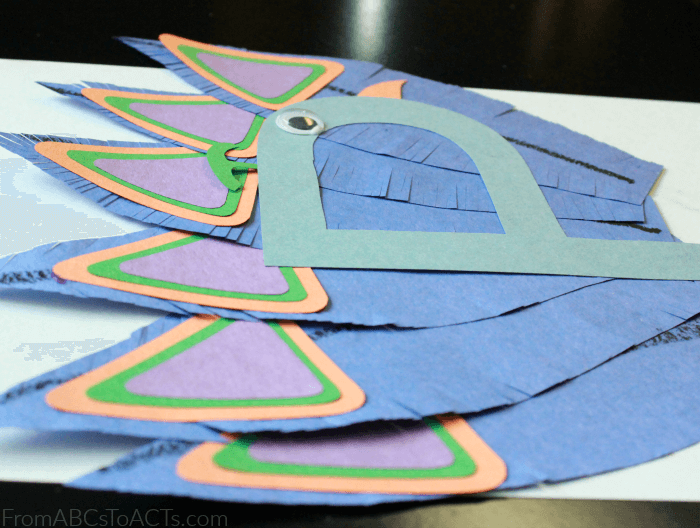
Almost done! Grab the crest and the beak shapes that you cut out earlier and add those to your uppercase letter P.
Finally, finish the whole thing off with a googly eye and your peacock is ready to join the rest of your creations in your alphabet book!
While his glue is drying though, go ahead and grab the uppercase letter P page from the bundle of interactive alphabet pages and add that too!
