This post may contain affiliate links. For more information, please see my full disclosure policy.
Have you started your Christmas crafting yet?
With Thanksgiving behind us and the Christmas holiday a little less than a month away, now would be the perfect time to get started!
Now, I love Christmas. Fall may be my favorite season of the year, but Christmas is, by far, my favorite holiday. With that in mind, it should be no surprise that we’ve already busted out the crafting supplies :)
First up, we decided to continue our tradition of making salt dough ornaments for our Christmas tree. The kids love molding the dough and cutting it and while they always end up with quite a fun assortment of shapes by the time they’re through, we try to make sure that we have at least one good hand print one for each of them that we can keep for years to come.
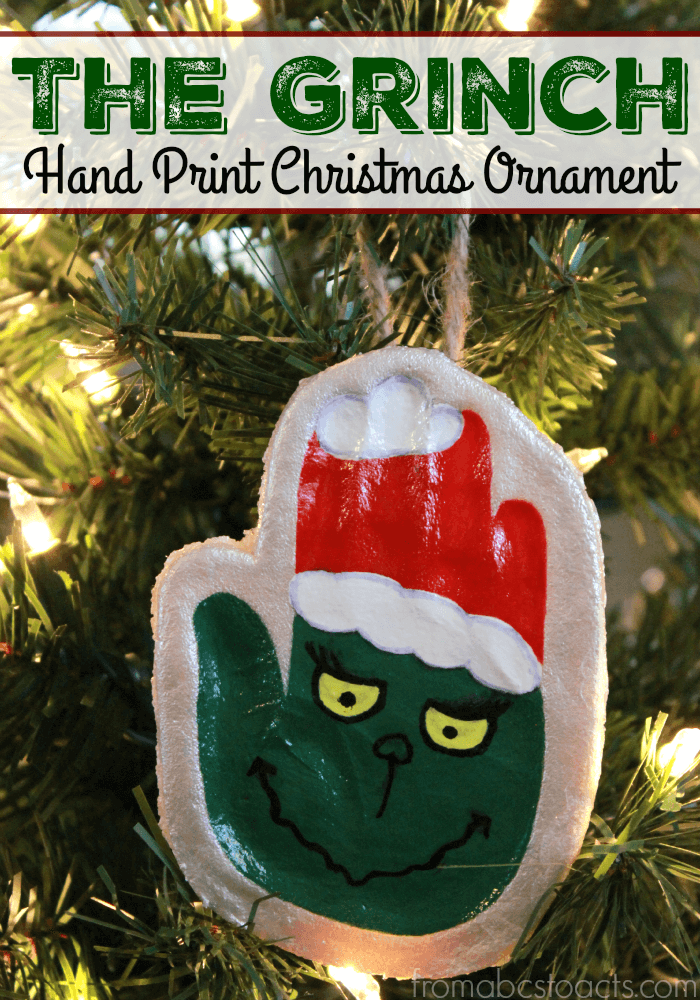
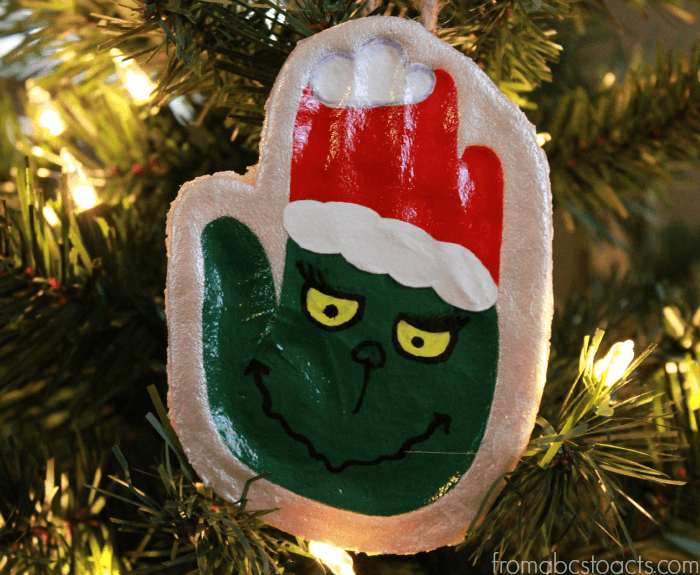
Last year we turned those hand prints into a Santa Claus keepsake, but this year, we went for The Grinch!
If you thought making a Santa was easy last year, this one is going to be even better!
He just looks so adorable handing out up there on the tree and really, using the hand prints of your little ones? It doesn’t get much cuter!
To make one of your own, you’ll need:
- Batch of salt dough
- Green, red, white, yellow, and black paint
- Mod Podge
- Paint brush
- Ribbon or yarn
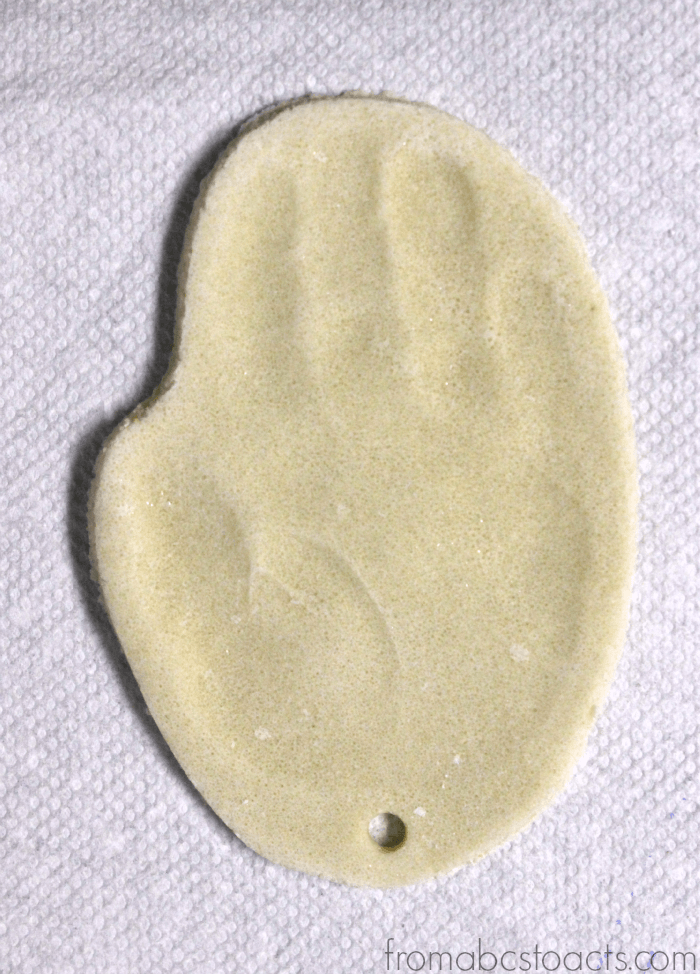
To start, you’ll need to mix and dry your salt dough. Now, to make this ornament so that you can hang it, you can either use a straw to poke a hole through it before you put it into the oven or you can leave it and hot glue either ribbon or yarn onto the back when you’re all done painting. We’ve tried it both ways and they both look great!
Have your child make their hand print in the salt dough and use a knife dipped in flour to cut it out. To dry it out, stick it into the oven at 200° for about 3 hours (depending on the thickness).
A quick salt dough tip! If your ornaments are puffing up instead of drying out, you’re more than likely baking them. You don’t want to cook them, just dry them out. Try dropping the temperature of your oven a bit and upping the time that they’re in there. Should solve the problem pretty easily :)
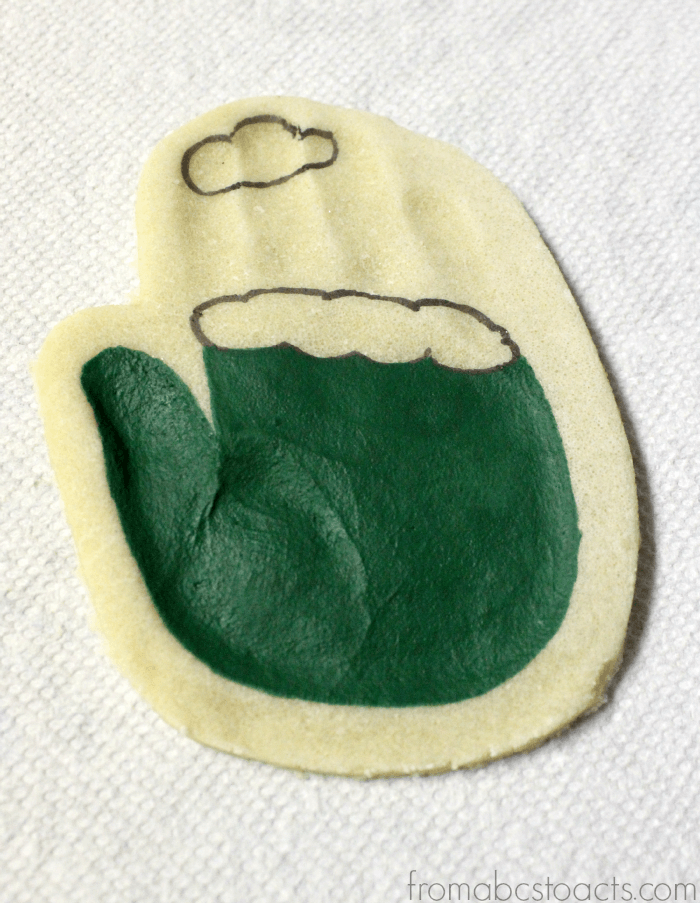
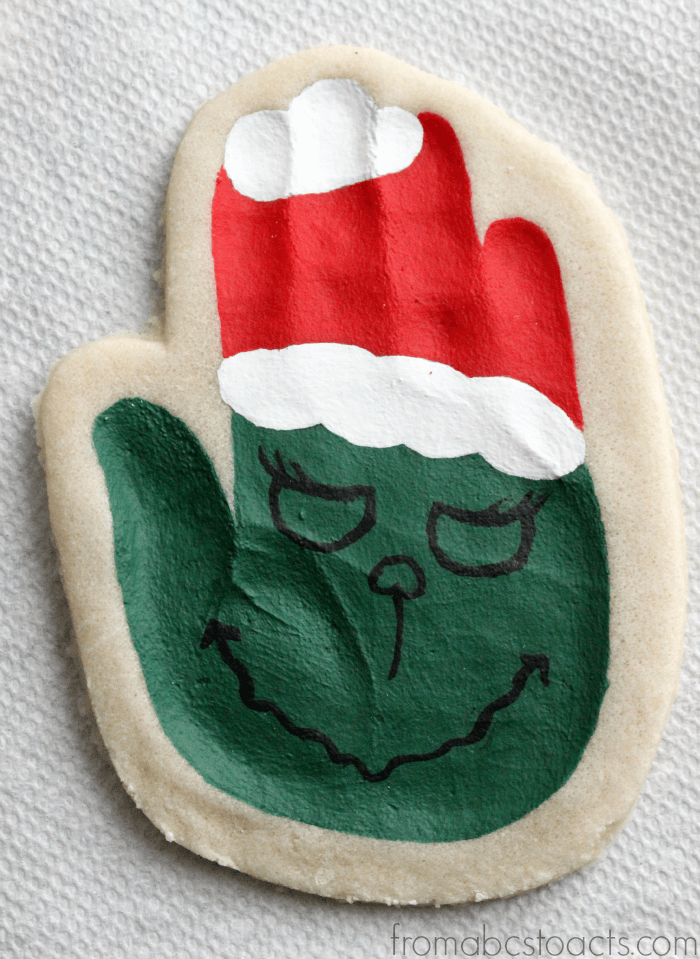
To make the Grinch, divide your hand print into three sections. The fingers, the palm, and halfway in between those two.
We just used a permanent marker to section that middle part off. You can even draw a cloud like shape on their with your marker to help you keep them separate. This section will be the bottom of the Grinch’s hat.
The tips of the fingers will be the top of his hat and the palm of the the hand print will be his face, so start by painting that palm area green.
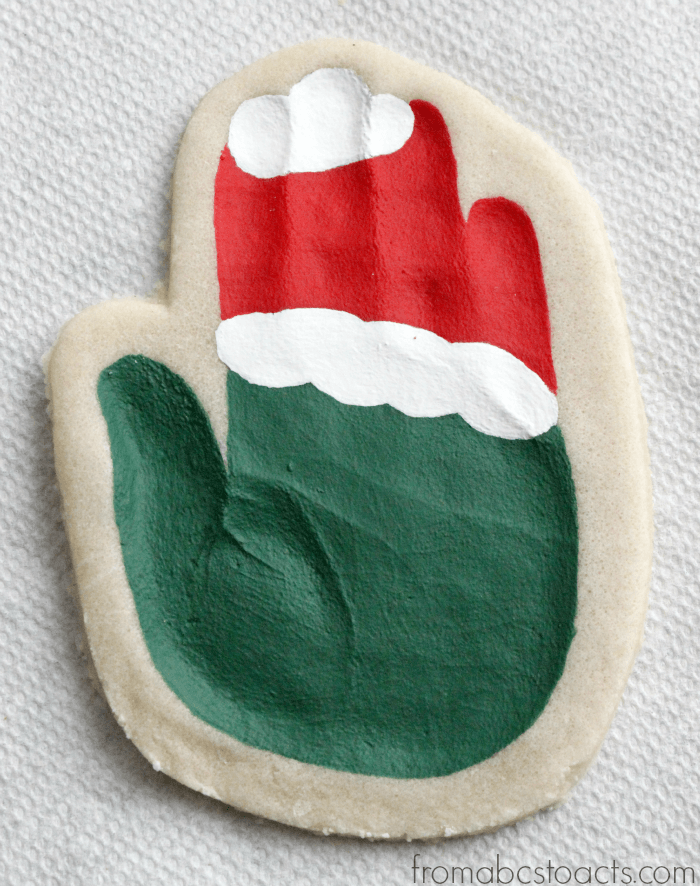
Those two sections you marked off earlier? Paint those both white for the hat and the section between those two red.
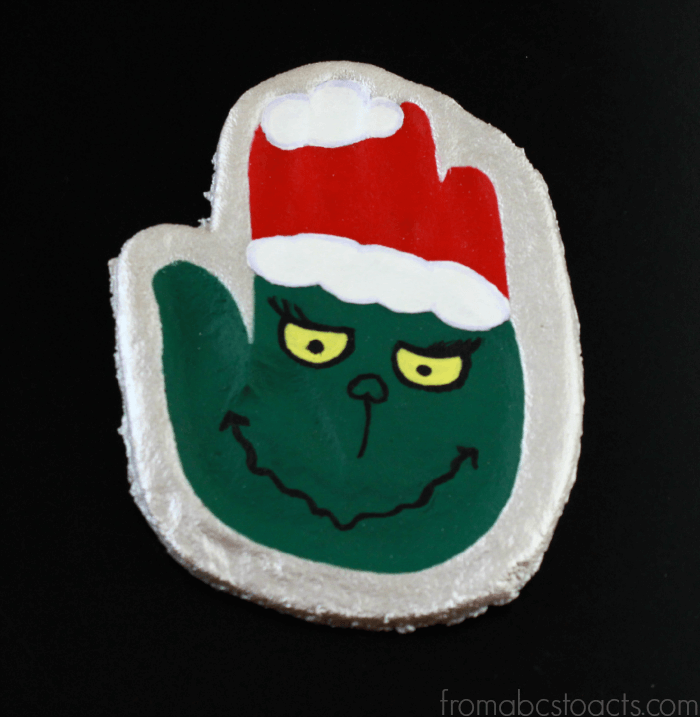
Next, you’ll need to give him a face. Using a little bit of your black paint, give your Grinch a set of eyes, a nose, and a mouth.
Fill in the eyes with a little yellow paint and finish off the salt dough border around your hand print with a little metallic silver paint for a little bit of sparkle!
Finally, cover the entire thing, front and back, in Mod Podge to seal your ornament. This will take a little while to completely dry so make sure that you allow it enough time. We left ours overnight just to be sure and that worked out perfectly.
When you’re ready to hand your keepsake ornament, either string a ribbon or piece of yarn through the hole you made in the beginning or hot glue those to the back and let it cool.
Hang it on the tree next to the Santa if you made one of those last year and watch how those little hand prints grow!
