This post may contain affiliate links. For more information, please see my full disclosure policy.
Want to learn how to dye rice in vibrant colors for your next sensory bin?
Colored rice is an easy sensory bin filler to make and because you can make it in any color you’d like, you can easily make it to fit just about any theme!
Now, if you search online for how to dye rice, you’ll find a ton of different options, many of which we’ve tried throughout the years, but which one is the best?
Well, we carried out a little experiment to figure that out!
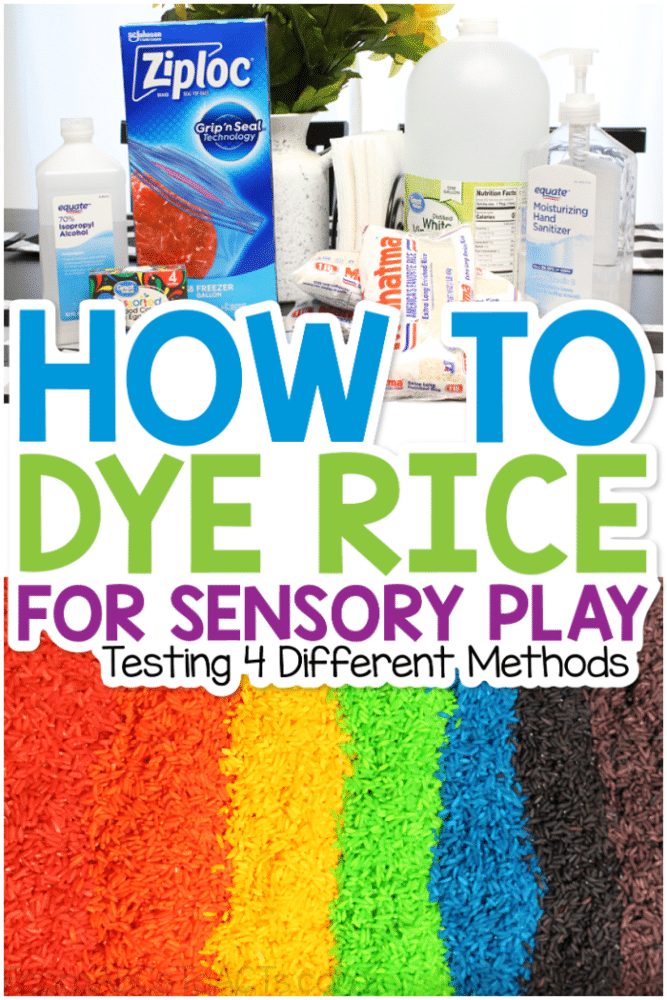
Testing Different Methods for Dying Rice
No matter which method you decide to use, making colored rice for your sensory bins is super easy to do.
With just a few simple steps and a few basic ingredients, you can make a bright and colorful sensory bin that your kids are going to love!
The hard part is trying to decide which method to use to dye your rice.
Fortunately, we’ve done the work for you and tried out four different methods.
- Water and Food Coloring
- Rubbing Alcohol and Food Coloring
- Vinegar and Food Coloring
- Acrylic Paint
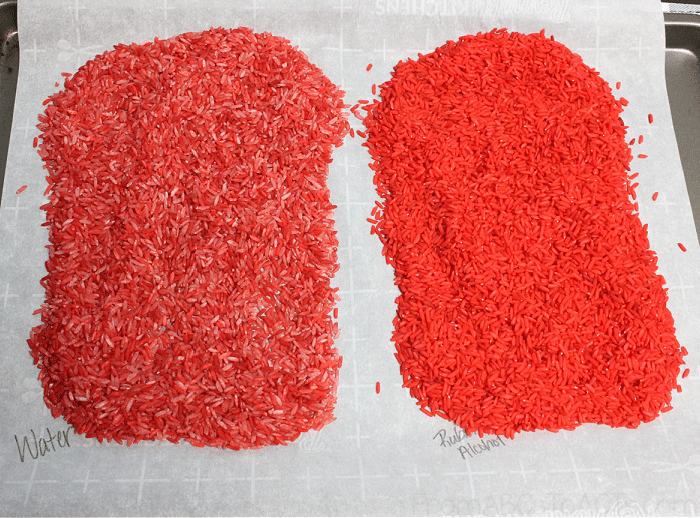
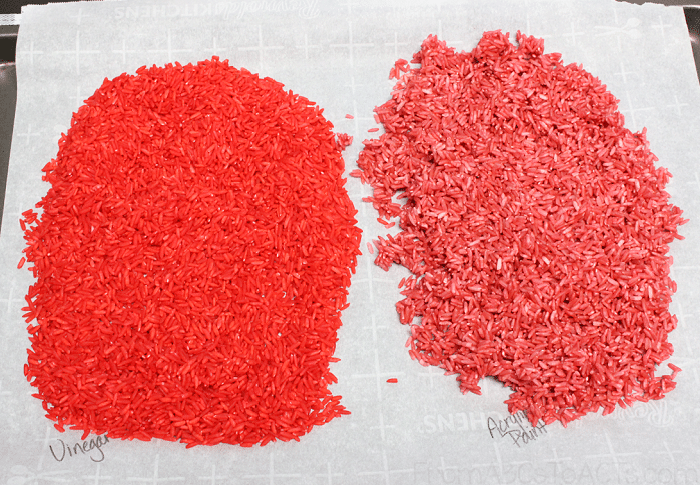
As you can see from the photos, the rubbing alcohol and the vinegar produced the most vibrant results while the rice was still wet, but by the time it all dried, we had a clear winner.
While the rubbing alcohol darkened a bit as it dried, the vinegar method maintained that vibrant red color that we were looking for.
We then repeated the process with a few different colors to make sure that it would work the same way, and that led to some gorgeous rainbow rice and now, we’re going to share our favorite recipe for dying rice with you!
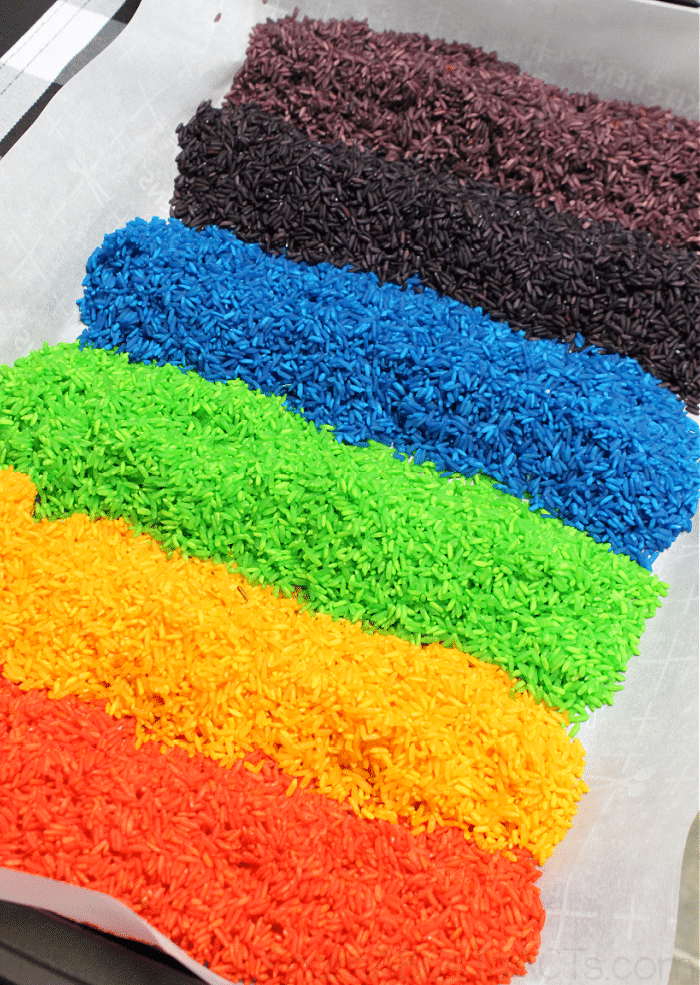
How to Dye Rice
To make your own rainbow rice, you’ll need to following supplies for each color that you’d like to make.
Supplies
- 1 cup of rice (uncooked)
- 1 1/2 teaspoon white vinegar
- 10-15 drops of food coloring (regular food coloring is fine, we actually prefer the liquid over the gel food coloring for this)
- Ziploc bag
Of course, if you’re making a single color for a themed sensory bin, you can simply adjust the measurements in the rice recipe above.
Instructions
Step 1 – Once you have all of your supplies, start the process by dumping your dry white rice into your plastic bag.
Then, add the vinegar and the food coloring right into the bag.
The more food coloring that you add, the deeper and richer the color will be.
Also, I think you’ll find that a lot of recipes call for a single teaspoon of vinegar, but we have found throughout the years that adding just a little bit more to get a teaspoon and a half really makes the color easier to distribute on the rice.
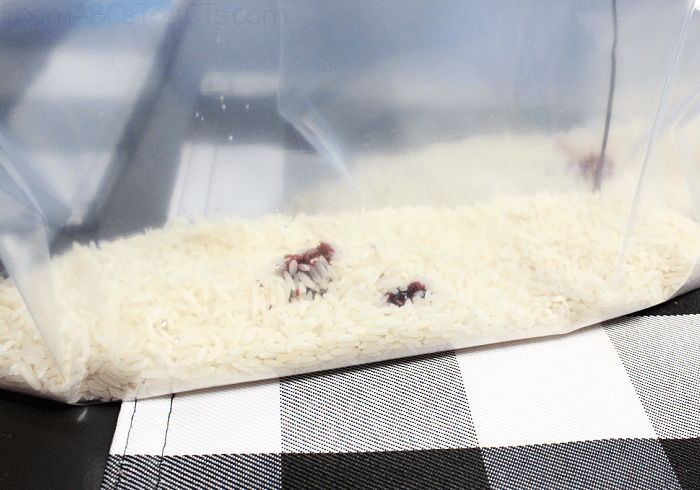
Now, for all of our colors, we counted out 12 drops of food coloring, but if you’d like lighter shades, simply add fewer drops.
Step 2 – When you’ve got everything added to your bag, close it up and give it a good shake.
Have your students help you with this part if you’d like!
They’ll love being part of the process and shaking those bags is a fantastic way to get those extra wiggles out!
Step 3 – When the shaking is done and all of the rice is colored, pour it out to dry.
We like to line either a tray or a cookie sheet with a piece of parchment paper, a paper towel, or even some aluminum foil and pour the rice onto that.
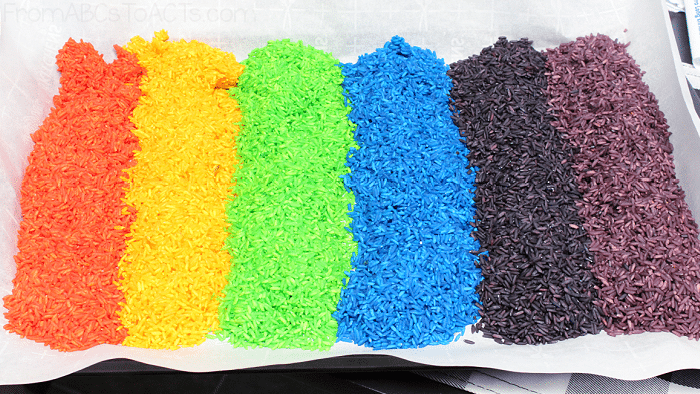
You’ll want to make sure that you use a spoon to spread the rice out into a thin layer so that dries evenly.
The drying process shouldn’t take more than an hour or so and when it’s all done, you’ll have beautifully colored rice that is perfect for your next sensory bin!
Using Your Rainbow Rice
Using rainbow rice in a sensory bin can be super simple!
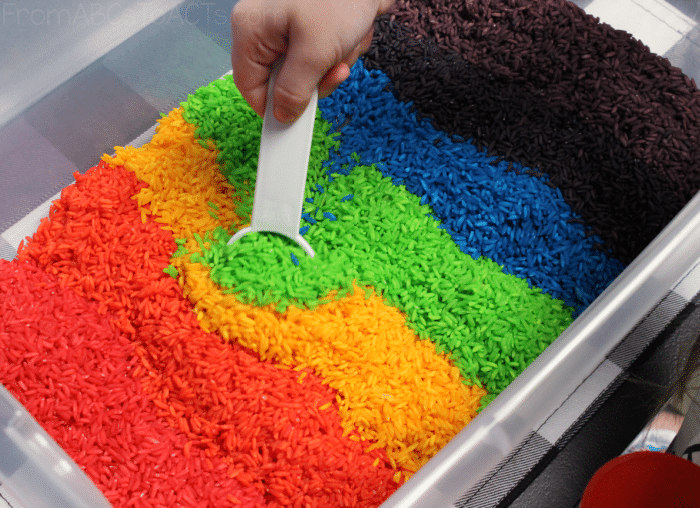
There’s no need to over complicate it as your students will love it all by itself.
Just pour it into your bin and add a few scoops, cups, funnels, or toys.
Scooping, pouring, measuring, and even drinking trucks through dyed rice are excellent ways to work on those fine motor skills and are serious favorites for the preschool crowd.
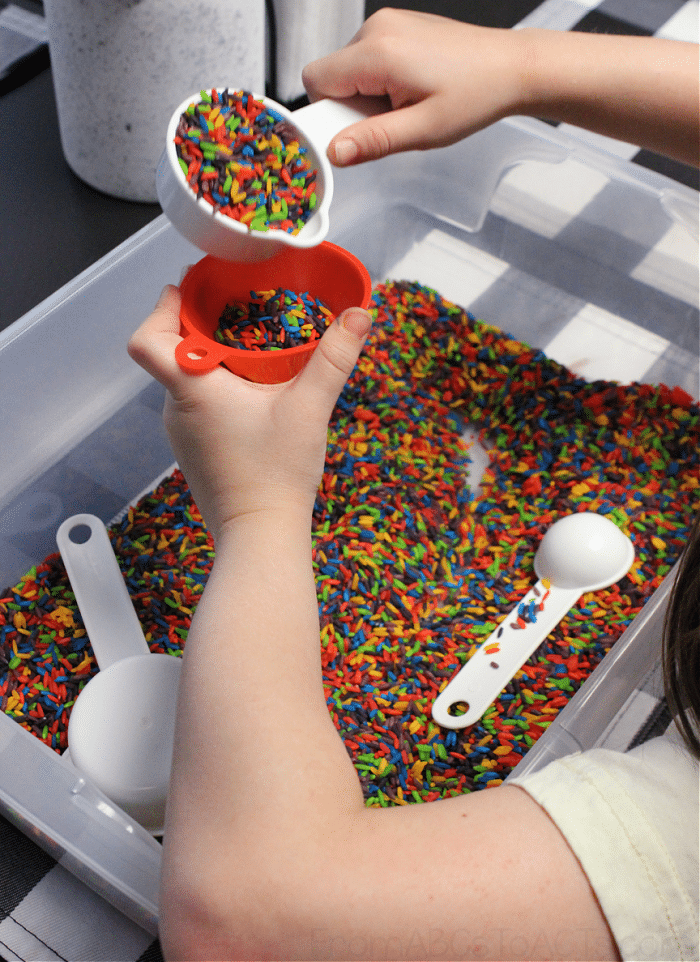
But sensory bins aren’t the only way to use this colorful creation!
We’ve had a ton of fun making textured crafts with rainbow rice before as well!
Give your students a bottle of glue (fantastic for working on those small motor muscles) along with separated colors of rainbow rice and have them make their very own textured rainbow!
Storing Your Colored Rice
Storing your sensory play activity after you’re done using it is actually pretty easy.
If you’re like us and use plastic Rubbermaid tubs for your sensory bins, just throw the lid on top and make sure that it snaps closed.
If you’ve used some other type of container or you don’t have a lid for your bin, you can simply pour the dyed rice into a large baggie and seal it up.
We like to swap out our sensory activities pretty regularly, but with proper storage (in an air tight container), your dyed rice can last you for years, making it perfect for throwing together quick and easy sensory bins!