This post may contain affiliate links. For more information, please see my full disclosure policy.
Ah springtime. It’s finally here after what seemed like the longest winter ever!
The weather is turning warmer, the sun is shining, and the bright, colorful flowers are starting to bloom. That is probably one of the main reasons that I love spring so much, the colors. After months of gray and brown, it really is like a breath of fresh air to step outside and see the color returning. Fun, vibrant colors chosen by Mother Nature herself.
So in honor of spring’s arrival and in an effort to hopefully hurry these last few slightly chilly days along, we decided to bring a few of those colors indoors and create our own springtime. A little inspiration for Mother Nature and hopefully just the push that she needs to hurry up with the warmer temps :)
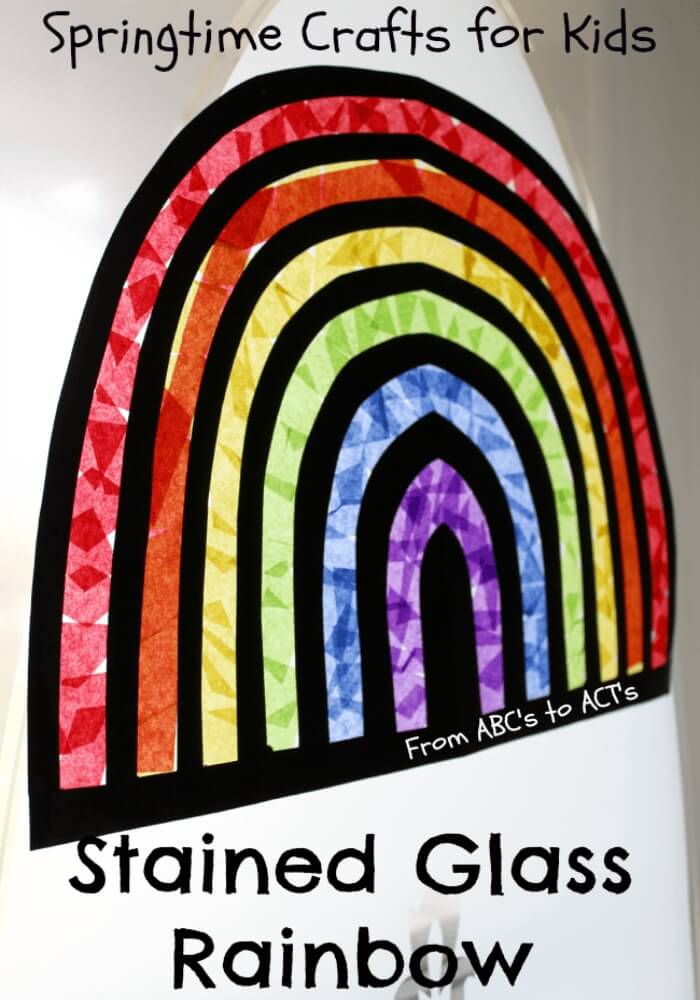
Stained Glass Rainbow
To make a rainbow of your own you’ll need:
Construction paper (any color is fine, we used black just to make the colors easier to see)
Contact paper
Scissors
Tissue paper in rainbow colors
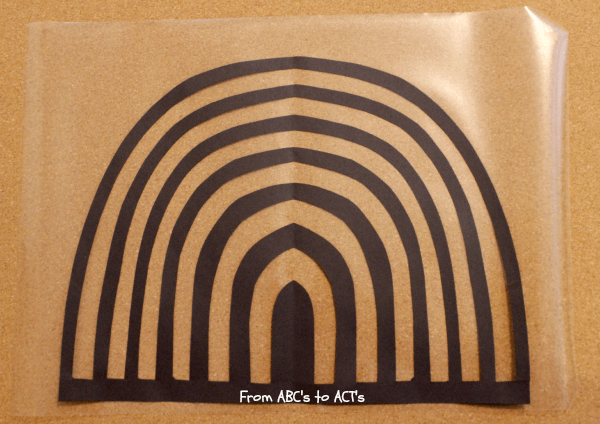
Now, to get started, you need to fold your construction paper in half and cut a half rainbow shape (you want to unfold it and have a rainbow shape).
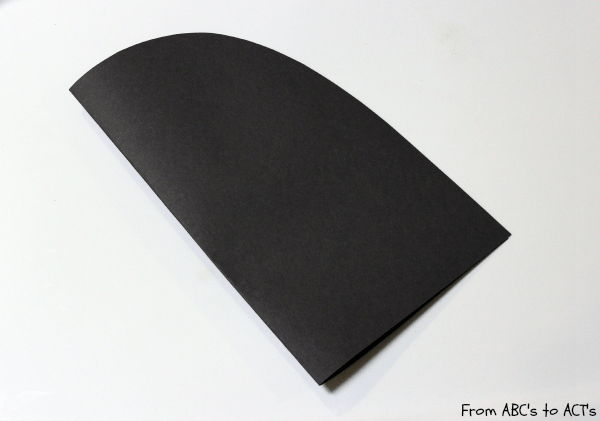
Go ahead and leave it folded for the next step! Start cutting out your stripes. You’ll want to start cutting from the top of the rainbow and when you get to the bottom, cut the stripe out as in the picture below but leave the bottom of the rainbow uncut.
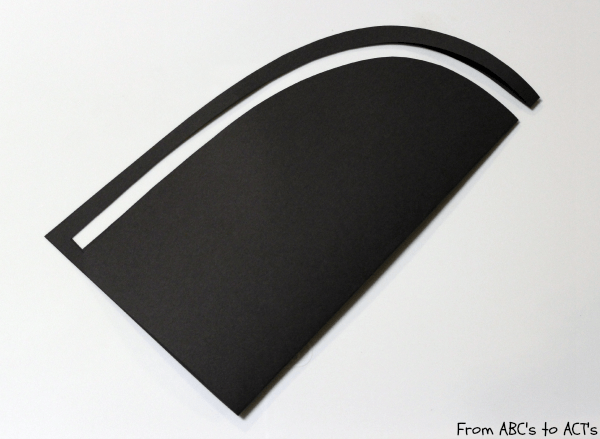
Repeat that last step 6 times, leaving space in between each stripe, until your rainbow shape is complete.
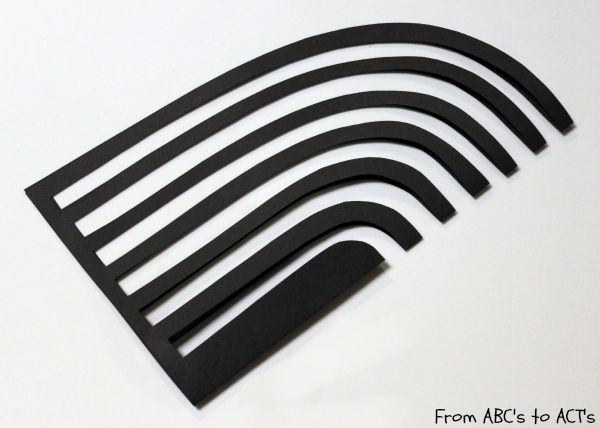
Next, open up your rainbow and lay it down on the sticky side of a sheet of contact paper. (Quick tip: You may want some help with this step since those stripes have a mind of their own!)
For the tissue paper, you can either cut it into squares ahead of time or have your child rip or cut the paper into pieces themselves.
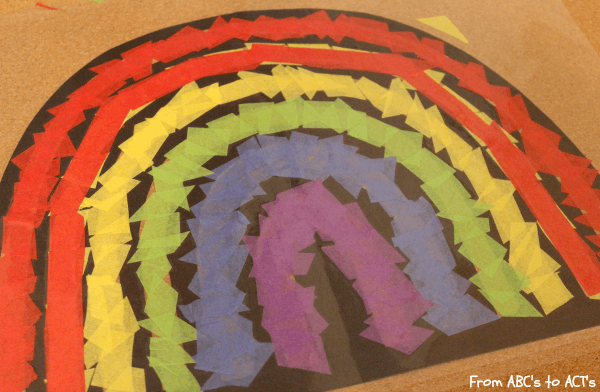
Once you have your tissue squares, just start sticking them onto the rainbow. The contact paper will hold them all!
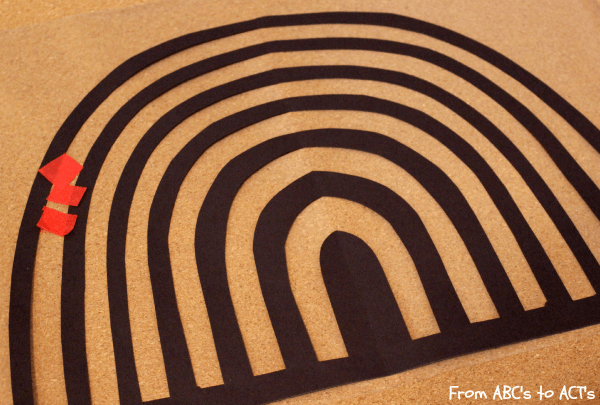
Believe me, it won’t take you long at all before it starts to resemble a real rainbow!
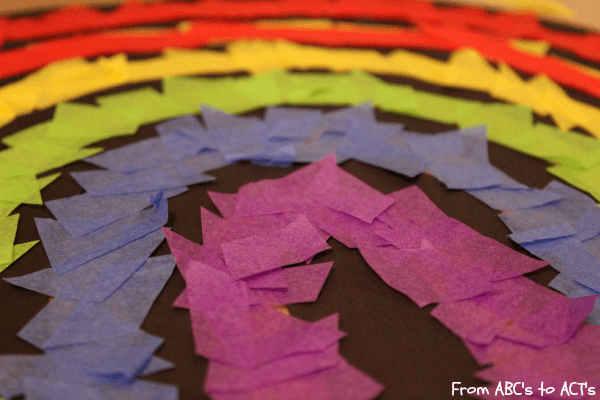
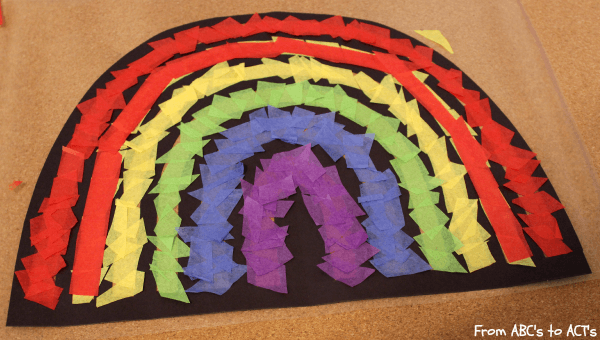
We experimented a little with the orange to see if we could make the color by combining 2 others. Unfortunately, that does make the paper a little thicker and harder to see so we didn’t continue with that.
Finally, all that’s left to do is add another sheet of contact paper over top of your rainbow. You may not even really need to do this but, for a little added durability, we chose to go ahead and add it.
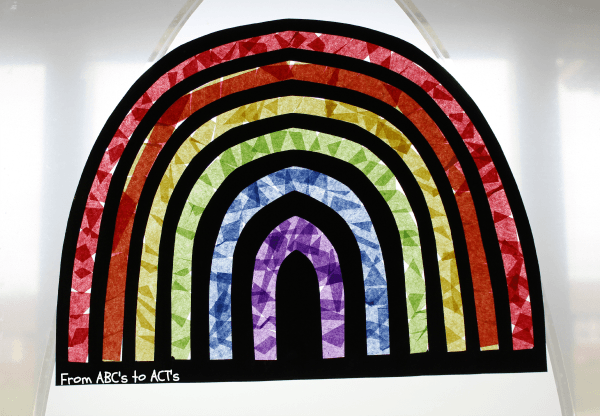
There you go! You can cut it out if you like or display as is :)
Just hang it on a window where it will catch the sun and enjoy your little bit of spring!
How’s the weather where you are? Has spring graced you with its presence or is winter still holding on?
Like this post? Be sure to follow us on Pinterest for more fun spring themed crafts and activities!
