This post may contain affiliate links. For more information, please see my full disclosure policy.
If you’ve ever wondered how to make a DIY cardboard mailbox, whether that be for your classroom Valentine party or even for your dramatic play center, this tutorial is for you!
This play mailbox opens, closes, and even has a moveable flag to tell the postman that there’s mail inside!
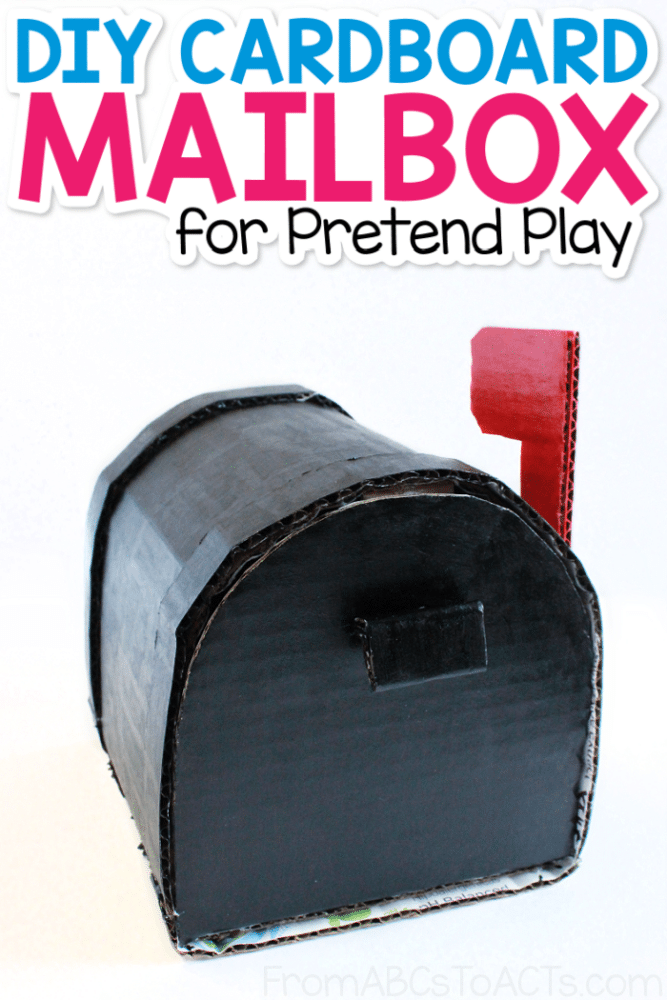
If you’re looking for some accessories to add to your Post Office pretend play, this DIY cardboard mailbox should most definitely be one of them!
With just a few simple supplies and a little imagination, this whole thing comes together in about 30 minutes and your kids are going to absolutely love it!
DIY Cardboard Mailbox for Pretend Play
The supply list for making a DIY cardboard mailbox is about as easy as they come and you probably already have everything you need!
You’ll need:
- A cardboard box (we learned that big diaper boxes work really well for this project)
- Scissors
- Hot glue gun
- Velcro dots
- Paint, markers, or crayons to decorate the outside of your mailbox
To get started, you’ll want to cut the pieces that you’ll need from your box.
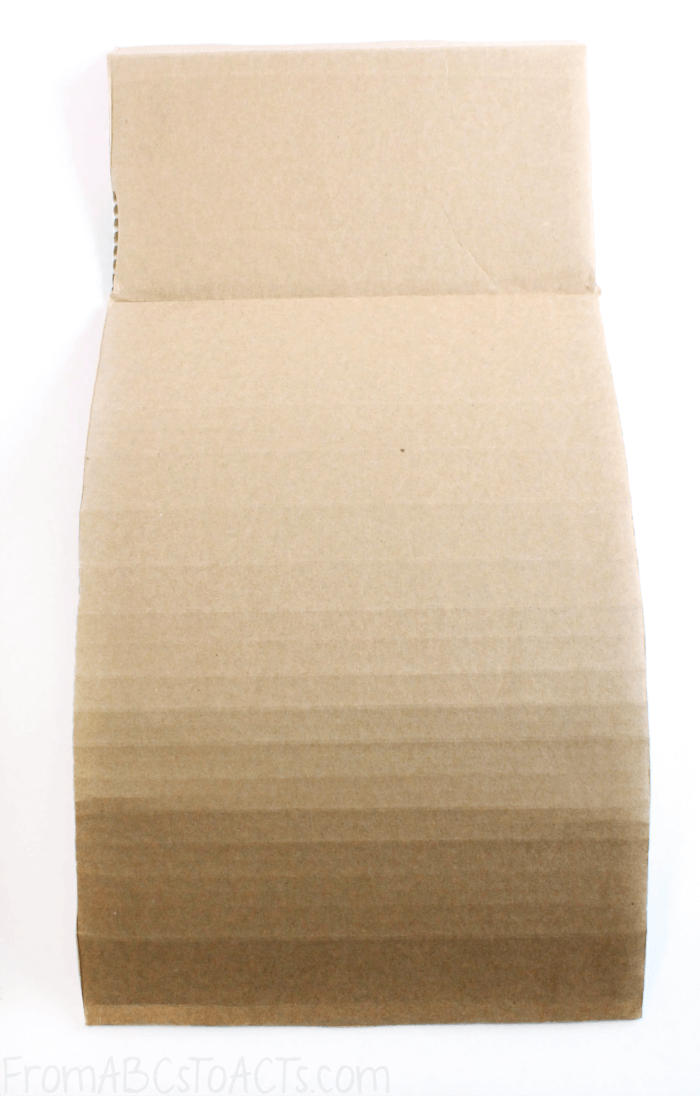
The first piece is the longest one and will need to be cut into a large rectangle. Try to cut this piece out of a flat piece of cardboard.
When you have this one cut, you’ll want to leave a section of it straight (as shown up top) as this will become the bottom of your mailbox. For the rest of the cardboard on this piece, you’ll want to carefully bend it a bit to create a curve that looks like a large U shape.
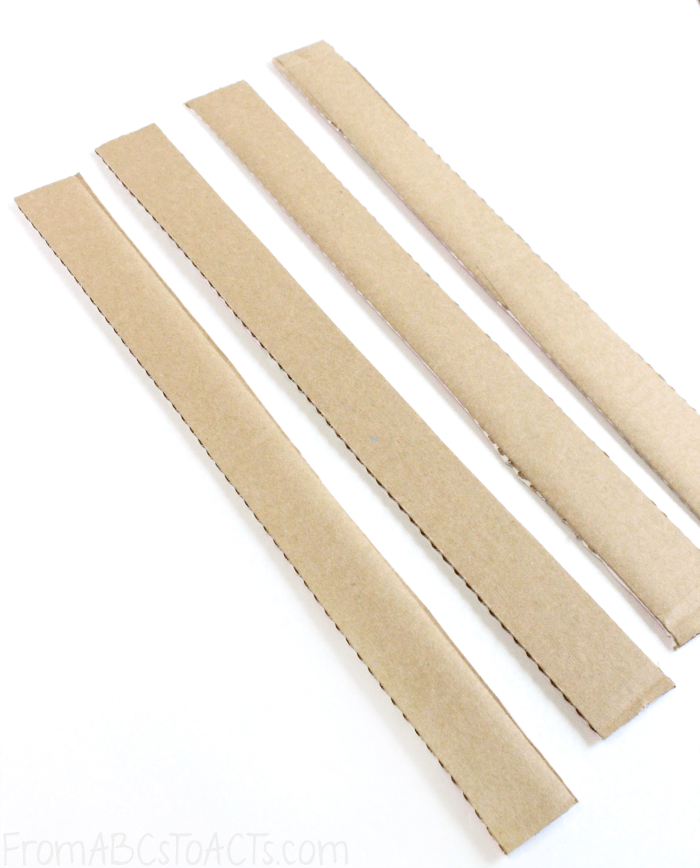
Next, you’ll want to cut some long strips. These will make the bands that go on the front and the back of the outer side of your mailbox.
These will make two separate bands (one at the front, one at the back), but you may need several strips if one isn’t long enough to make it all the way around the curved top of the mailbox on its own.
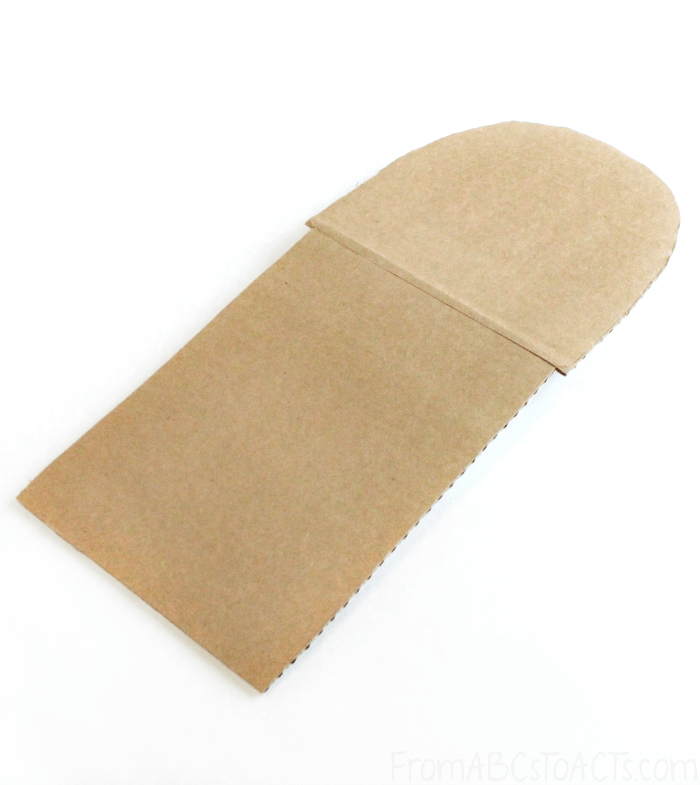
The next piece will be the door of your mailbox.
Once you have the first piece cut (the bent one in the first photo) you’ll want to go ahead and bend it to see what size door you’ll need.
Cut the rounded door from a long piece of cardboard and leave a long straight flap on the end as this will go inside the mailbox, acting as a hinge, and make it possible for you to open and close the door.
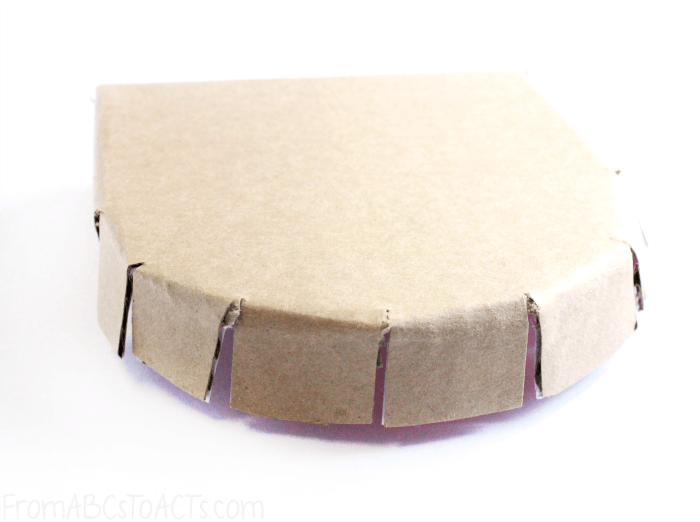
Then, cut another rounded U shape about an inch bigger than you cut the one for the door. Add some slits to the extra inch all the way around and bend them in as shown above. This will be the backside of your mailbox and will be glued in.
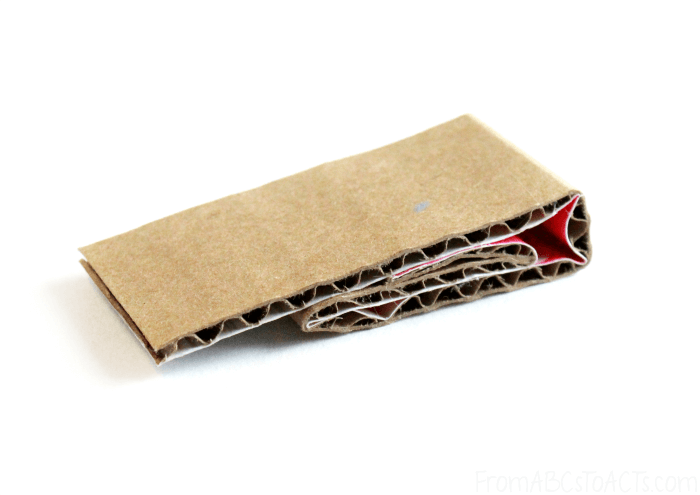
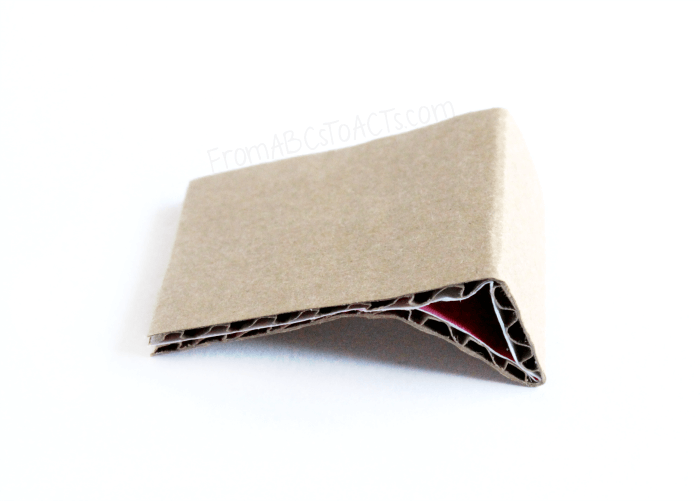
Finally, the last few pieces are simple strips that are bent to make the handle on the outside of your mailbox for opening and closing the door and the piece that will sit inside your mailbox with Velcro on it to hold your door closed when not in use.
At this point, you can also go ahead and cut out your flag.
We found that cutting two flags, using one as a template, and then gluing them together made it quite a bit stronger and easier to remove from the mailbox.
Assembling the DIY Cardboard Mailbox
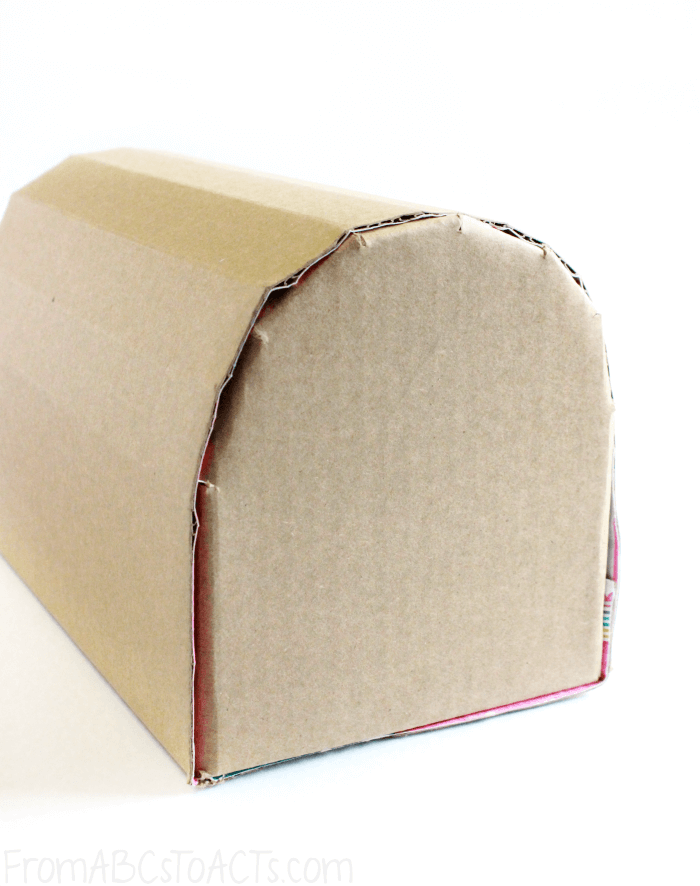
First, take that long, bent piece and bend it until the straight section sits on the bottom as the bottom of your mailbox and the long section is bent in a large U shape and glue the two together.
Next, fit the backside of your mailbox into one end with the slits inside the box and glue it into place.
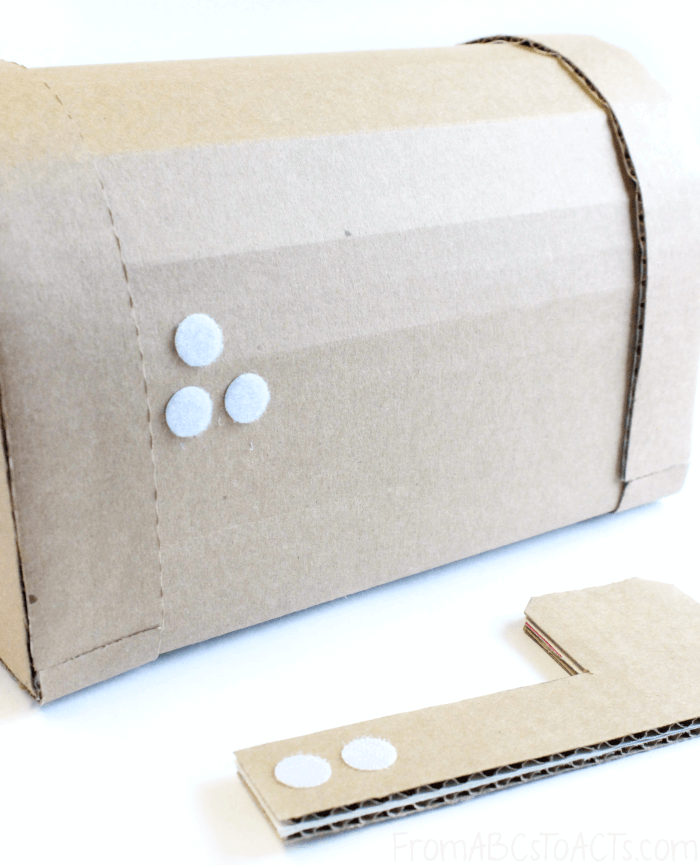
Next, take those long strips that you cut earlier and wrap them around the front and the back of your mailbox while gluing them into place. This helps to hold the seams that you just made.
This is also the perfect time to go ahead and add your Velcro dots.
Add three Velcro dots to the side of your mailbox where you want your flag to go. For the flag to work, put two Velcro dots one on top of the other and then another directly to the right of the bottom one.
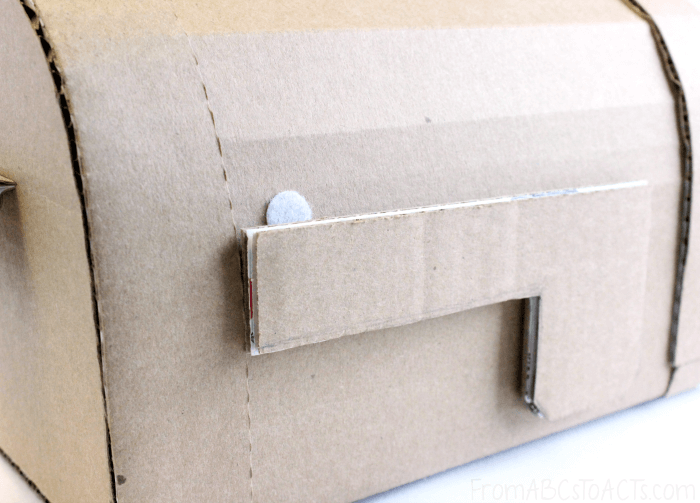
Add two Velcro dots (the opposite side of the Velcro) to the flag as shown in the image above. This will allow you to have the flag either up or down and will allow your little ones to remove it and put it back on all on their own.
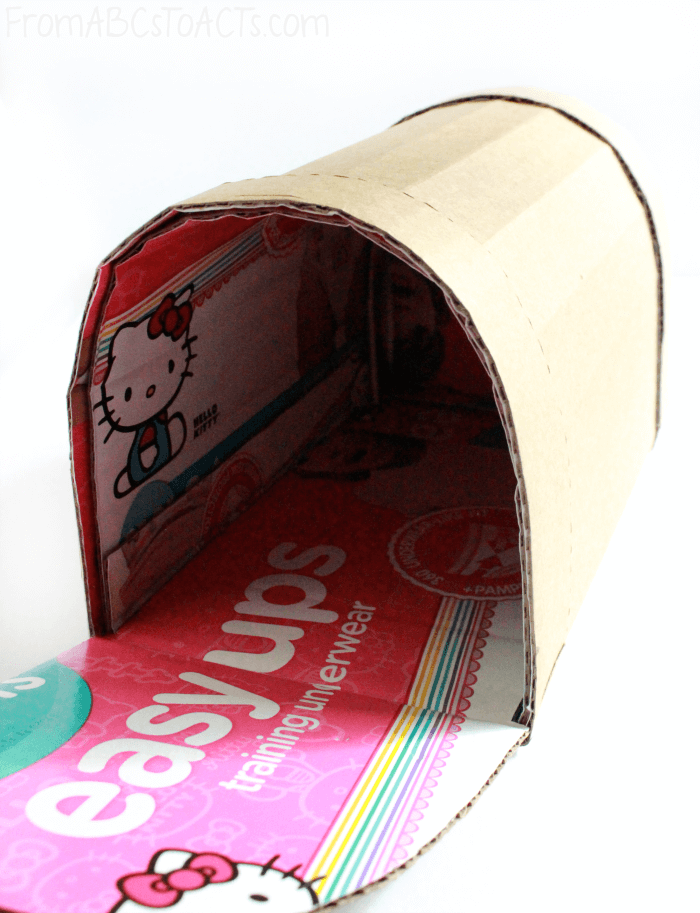
When your flag is done, take the long piece that you cut earlier (the one with the rounded end) and glue the straight end inside your mailbox along the bottom. The rounded end will stick out of the mailbox so that you can bend it up to act as your door.
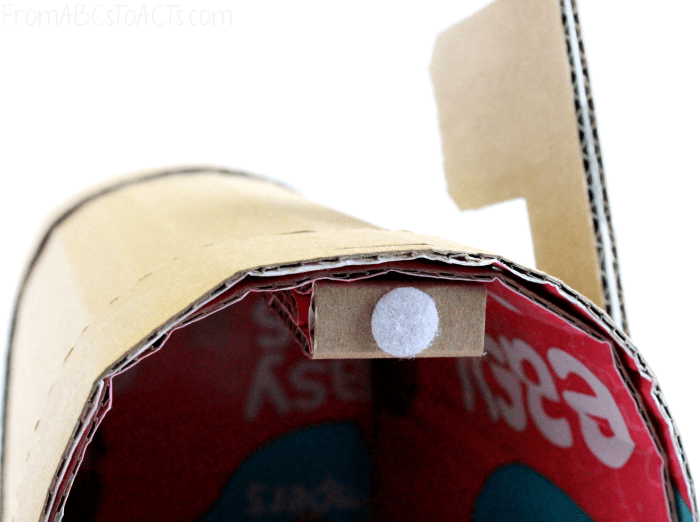
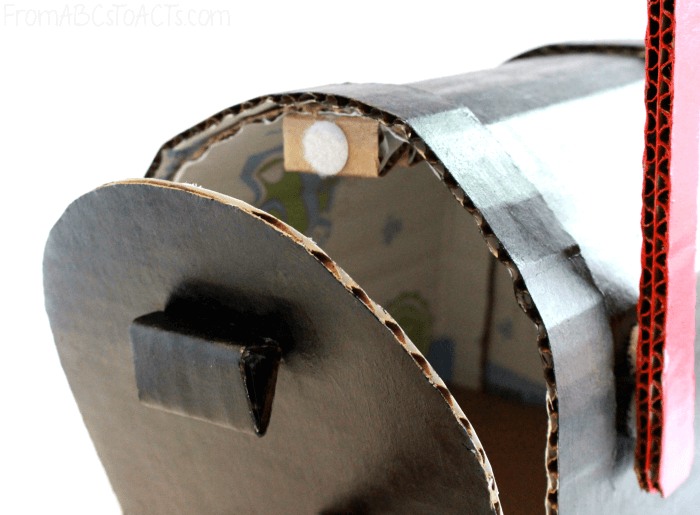
Next, you’ll take one of those strips that you bent and glue it to the top of your mailbox on the inside. Add a Velcro dot to it and the opposite Velcro dot to the door of your mailbox.
Make sure the Velcro in the mailbox is close enough to the door that the two pieces of Velcro meet and stick together when the door is closed.
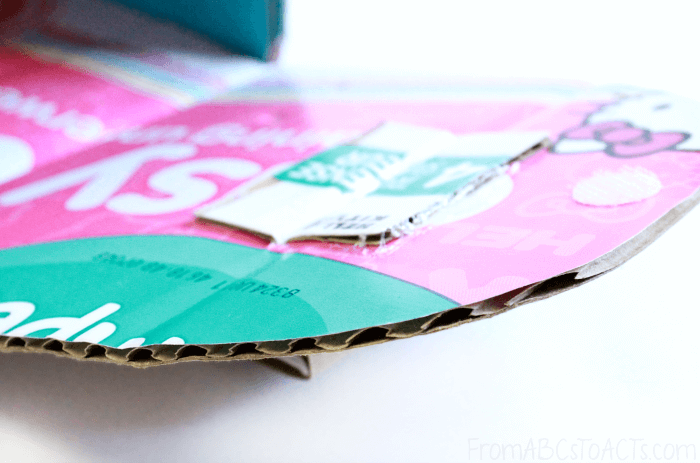
With the second strip that you bent, cut a slit in the middle of the door and fit half of that strip through the hole. Glue the inside half of that strip onto the inside of the door as shown above. This will give you a handle on the front of your mailbox that you can use to open and close the door.
Finally, break out the acrylic craft paint! It’s time to start decorating your homemade toy mailbox!
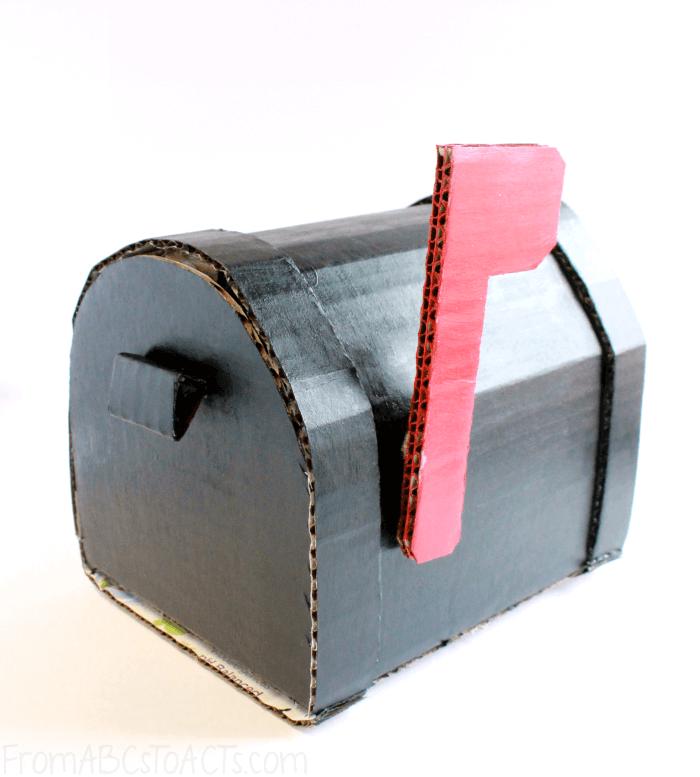
We went a bit more traditional with our DIY cardboard mailbox, but you can paint it whatever color you like. Add some red, pink, and purple for Valentine’s Day, paint a scene on the side of it, or add some stickers or washi tape for a little less mess.
The possibilities are endless!