This post may contain affiliate links. For more information, please see my full disclosure policy.
Can you believe it?! The very last letter in our alphabet book!
This has been a HUGE project and it has been so much fun!
Not only did I see huge improvements in the soon to be kindergartner’s ability to recognize the letters of the alphabet, but we have also made some big improvements in the area of fine motor skills and he is so proud of himself every time he pulls it off the shelf to look at it.
So, if you’ve stuck with us through all 52 crafts and your preschoolers now have an alphabet book of their very own to flip through and show off, congrats! We would absolutely love to see photos of your creations as well if you’d like to email and share them with us.
Now, on to the final craft!
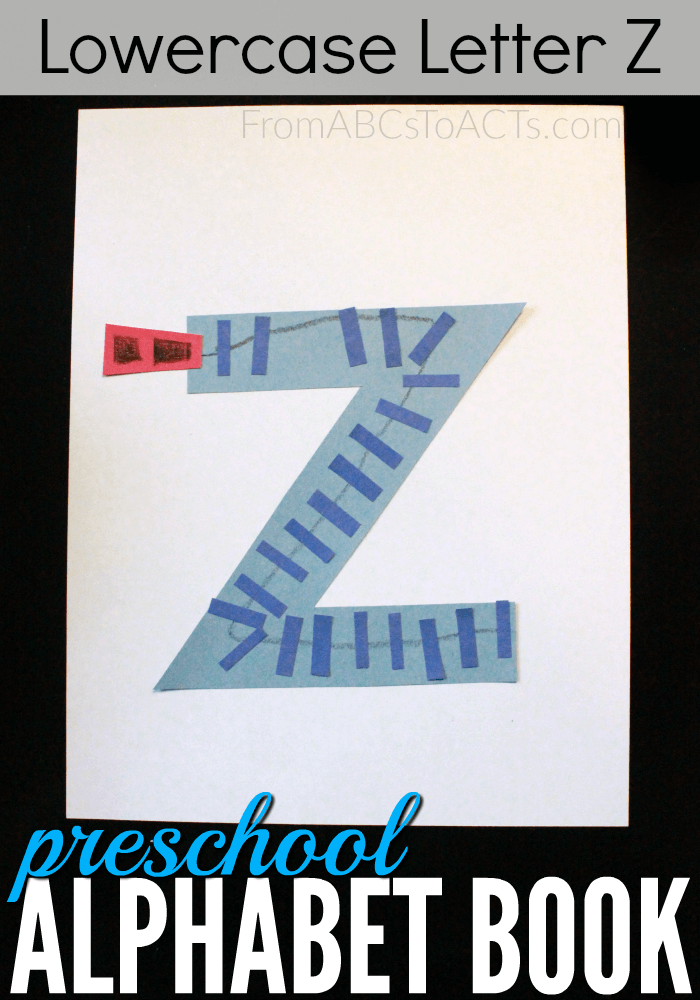
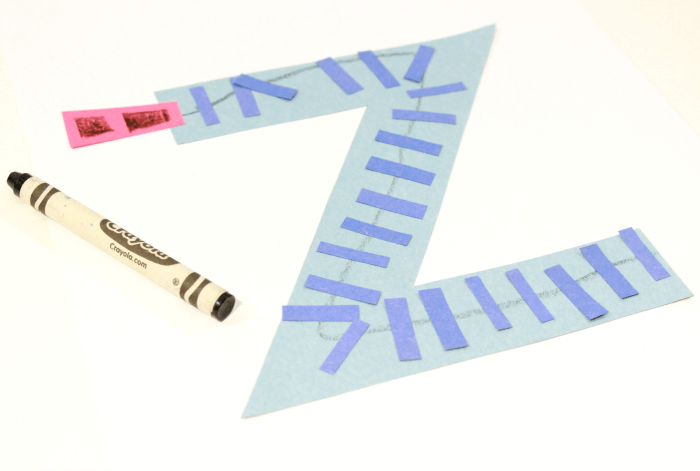
In true alphabet book form, this last craft is super simple and can be made in just a few minutes but is the perfect way to finish it all up! Introducing the lowercase letter Z zipper craft!
It seems a little symbolic, doesn’t it? Wrapping up a big project with a zipper :)
Either way, this craft is one that my little guy had a ton of fun with, mostly because he loves messing with zippers I think, and is so incredibly easy to make.
Of course, first things first, you’ll need to gather your supplies.
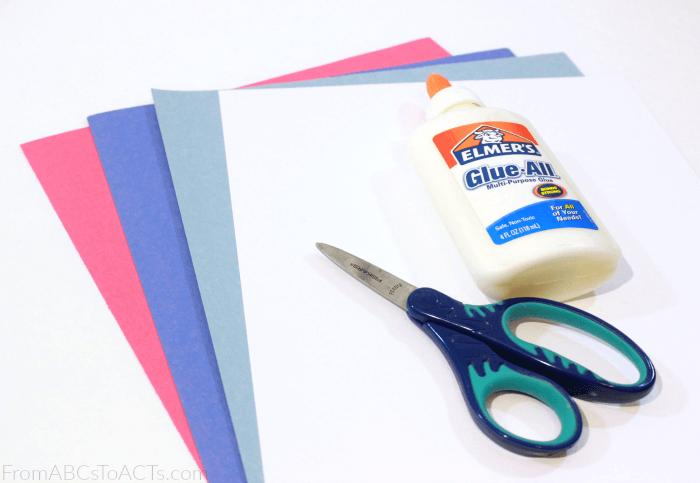
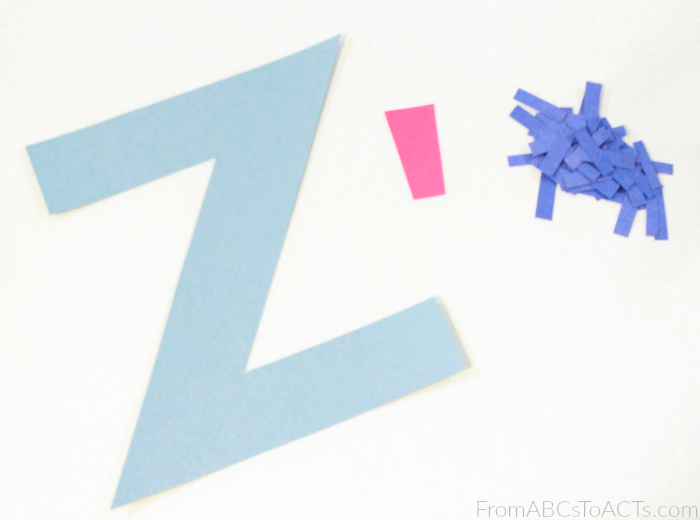
To make a construction paper zipper of your own, you’ll need:
- Various colors of construction paper (whatever ones you’d like)
- A sheet of white card stock
- Glue
- Scissors
- A crayon
As always, you’ll start by cutting out the pieces for your craft.
For our zipper, we used a dark blue, light blue, and a red sheet of construction paper.
From the light blue we cut out our lowercase letter Z. From the dark blue we cut out multiple short strips of paper for the teeth of our zipper and from the red, a long tapered shape, as you see above, for the zipper pull.
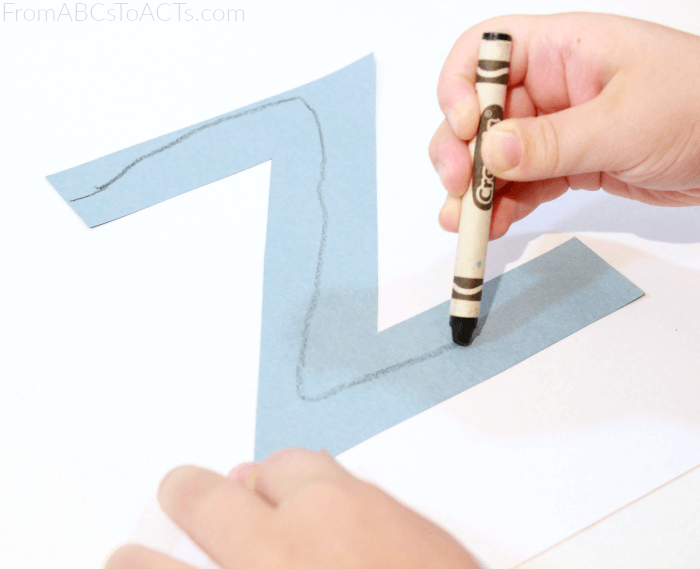
Now, to assemble your zipper, the first thing you’re going to want to do is have your child glue their lowercase letter Z down onto their sheet of card stock.
Next up, have them draw a line, right through the middle of the letter Z, from top to bottom. This line will act as the middle of your zipper or where the two sides separate.
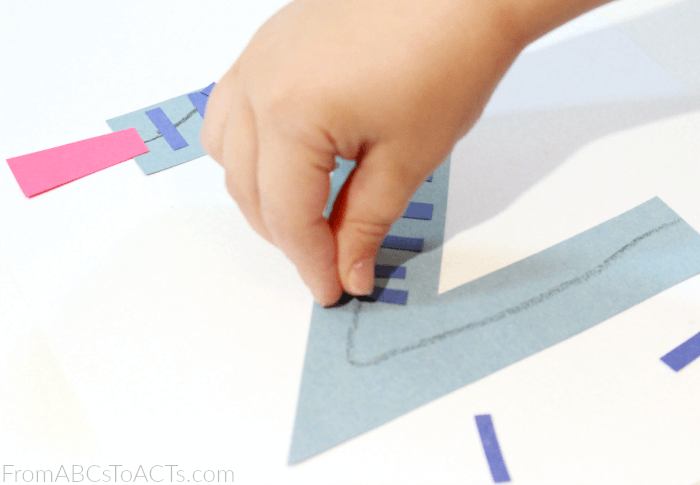
Once their line is drawn, have them go ahead and glue down their zipper pull and get started on the zipper teeth. These little strips of paper should just be glued down over top of the line that they just drew with their crayon.
Have them color in a bit of space on their zipper pull if they’d like to make it a little bit more like a real zipper and your craft is all ready to go!
Finally, grab the very last printable alphabet page from the bundle of interactive alphabet pages, add them both to your now finished alphabet book, and enjoy!
