This post may contain affiliate links. For more information, please see my full disclosure policy.
The holidays bring so much joy and excitement. This year, I am especially looking forward to New Year’s! Let’s say goodbye to 2020 and ring in 2021 with this fun printable spinning New Year’s Eve card! Children will love practicing their scissor skills and creating a beautiful card masterpiece.
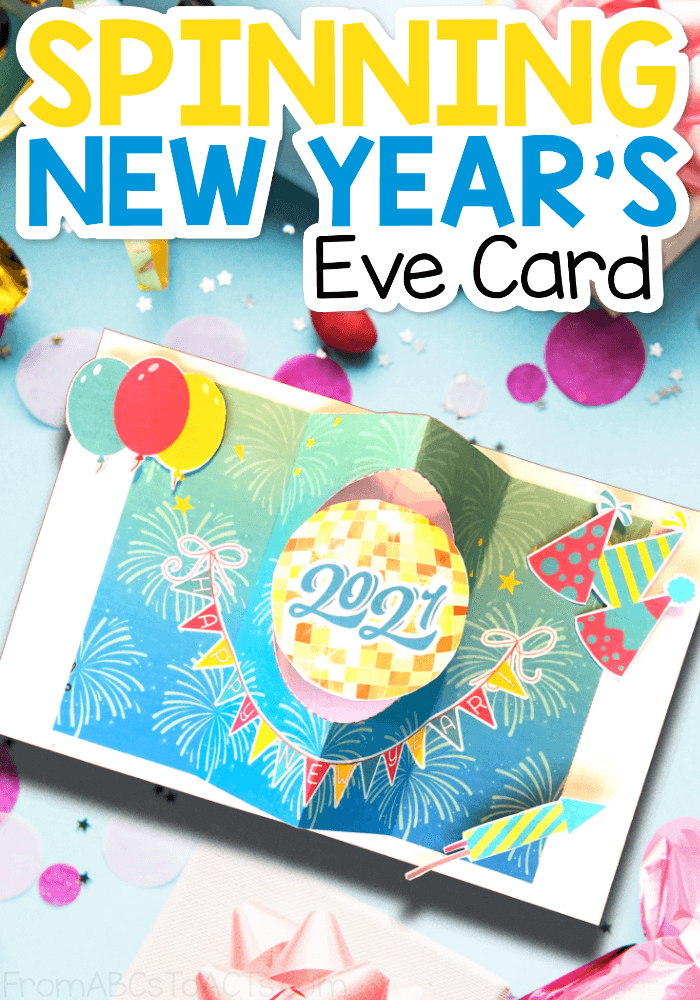
Making the Spinning New Year’s Card
Children of all ages will enjoy creating their very own spinning card for New Year’s. This activity is a great addition to the fun festivities of the holiday.
To begin, you will need to gather a few supplies:
- cardstock paper
- small sharp scissors
- tape
- glue stick
- clear or white thread
- a pencil
- a ruler
Once you have your supplies, print the two pages out on the cardstock. The first page will be the base and insert of the card and the second page has the 2021 balls and decorations.
Directions
First, take the first sheet and have the child cut the paper in half along the dotted line.
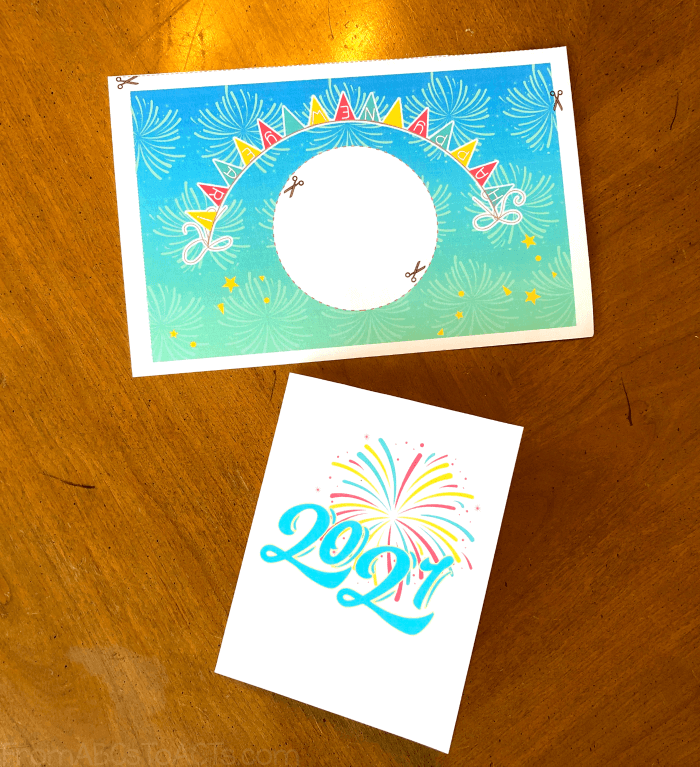
Next, the top part of the sheet needs to be cut out along the dotted rectangle.
To make the insert, take the cutout rectangular piece and fold it in half, making a good crease.
Then we need to make a W shape with the paper by folding and creasing each end toward the center.
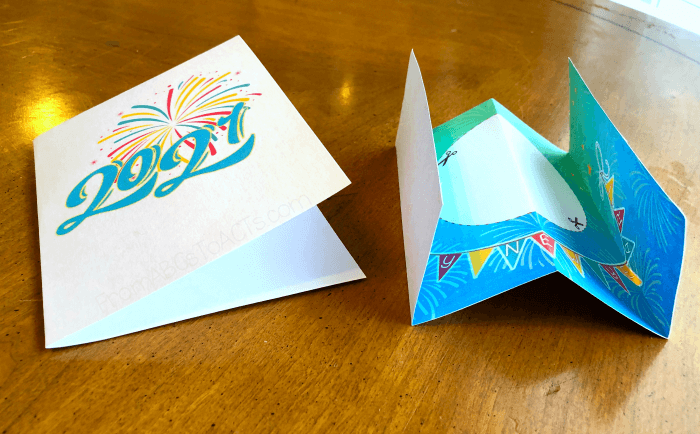
Next, you will carefully cut the center of the insert out along the dotted line.
This area will be for the 2021 New Year’s Balls.
Cut out the two balls from the second sheet and coat one of the backs with glue. Take your thread and cut a piece about 8 inches.
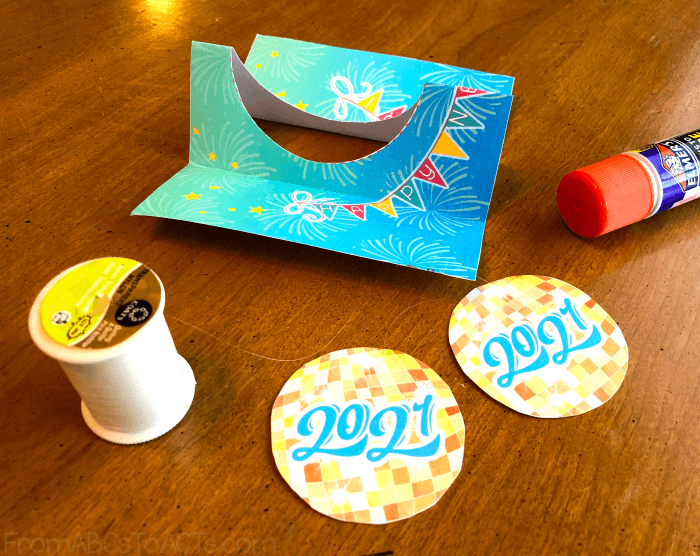
Now you are ready to begin assembling the spinning card!
Take the thread and place it in the very middle of the ball and place the other ball evenly on top, adhering them together making it double-sided.
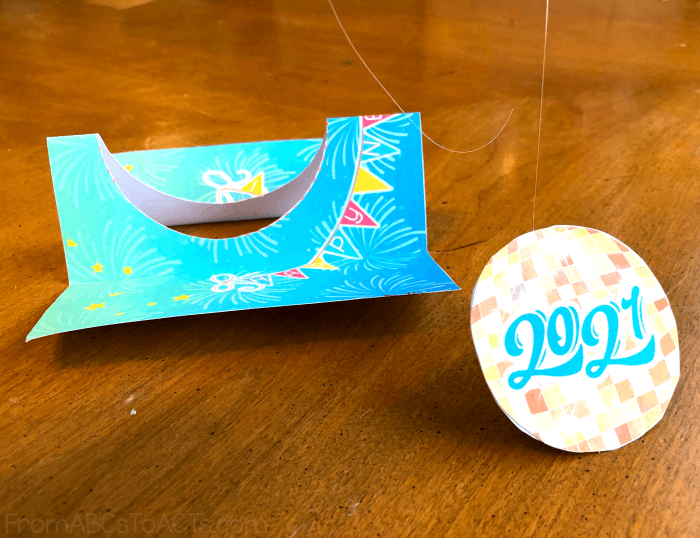
Next, take the insert portion and flip it over to the wrong side facing up. Place the New Year’s Ball in the very center of the cut-out circle (glitter can be added if desired).
Now, position the thread in the center crease of the insert, once the positioning is correct, tape down the thread using scotch tape. Trim away any extra thread or tape.
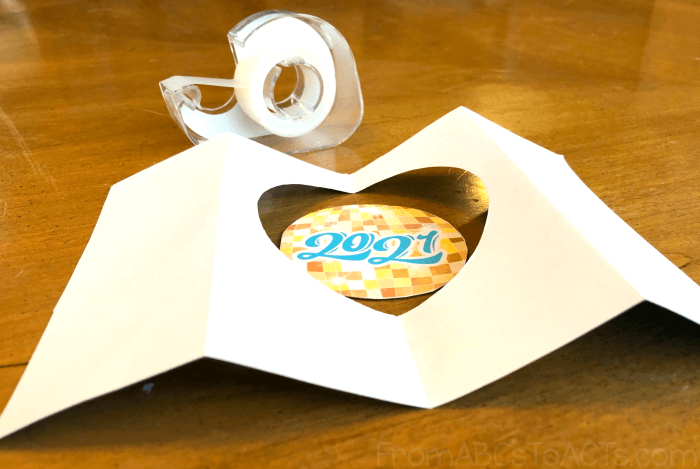
Next, grab the outer card.
Use a ruler to measure an inch from each edge to use as a guide for attaching the insert and lightly mark the inch with a pencil.
Position the insert onto the card using the mark as your guide.
Each outer section will need to be glued down to the card. Be sure to leave the center pieces (with the spinning ball) glue-free.
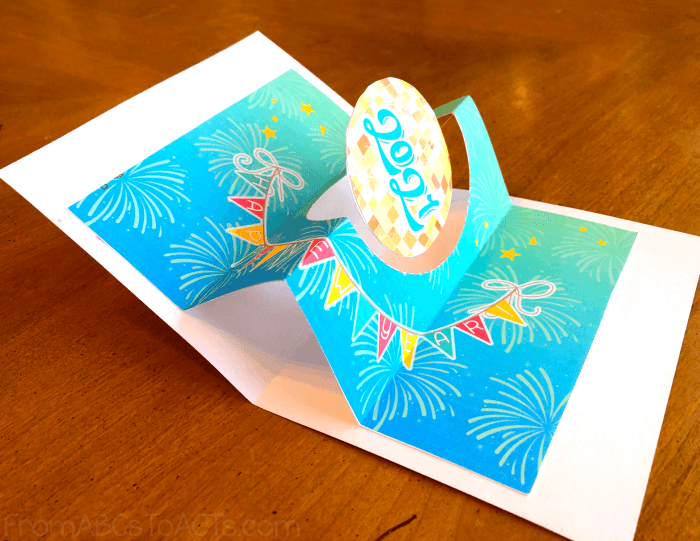
Now, it is time to cut out the decorations from the second page and add them to your card, be sure to keep them out of the folded creases.
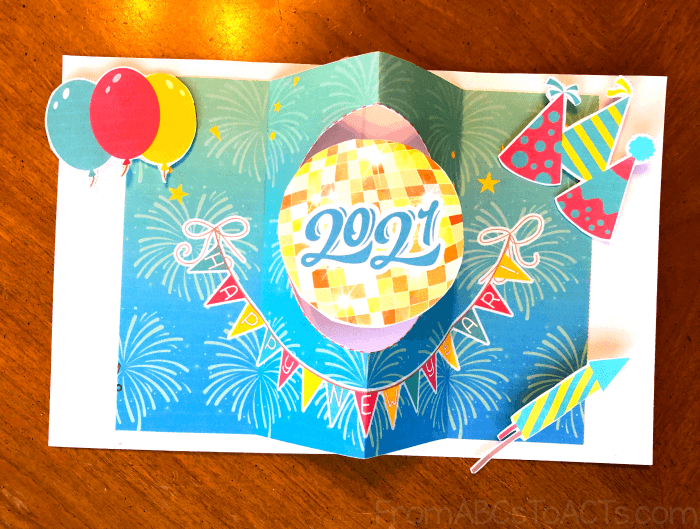
For the final step, carefully twist the ball several times before closing the card, that way, once it is opened, the ball will spin!
Spinning Ball Fine Motor Skills
This printable activity can be utilized for children of all ages and will provide an awesome fine motor skills workout.
Older kiddos will enjoy being a part of all the steps and using their hands to cut, measure, glue, and decorate.
For younger children, you may want to have much of the cutting done ahead of their involvement.
There are many opportunities for their hands to get to work. They can benefit from doing the big cutting jobs (maybe skipping cutting out the center) or you can go over it to make it a perfect circle.
Once the glue is out, they are back to work helping get everything just right. After their masterpiece is complete, utilize the ruler as an opportunity to talk more about measurements and enhance their early math skills.
