This post may contain affiliate links. For more information, please see my full disclosure policy.
If your house is anything like ours, decorating for Christmas usually includes some glue, various craft supplies, and a whole lot of glitter.
Simple, yet festive holiday crafts are a favorite of ours, especially during this time of year.
Some things, like our homemade keepsake ornaments, have found a permanent place in our holiday decor, while others stick around about as long as the tree (hey, you can’t keep everything).
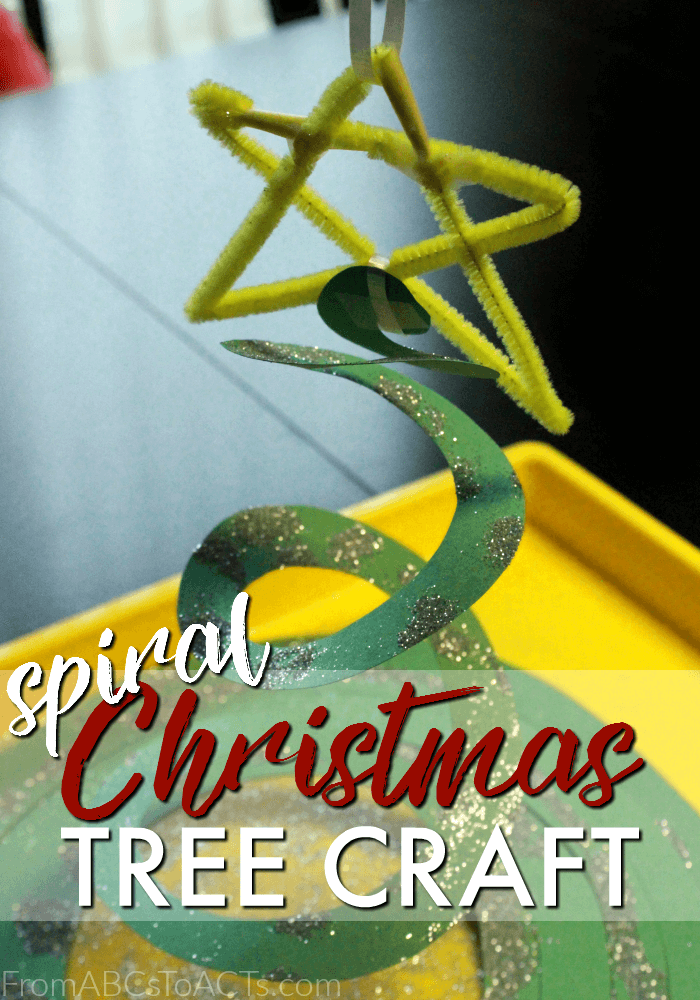
While this spiral Christmas tree craft made out of construction paper will most likely fit into the latter of those two categories, it still made for a fun afternoon of crafting with both the toddler and the preschooler, and it adds little more holiday cheer to a household that is already eagerly awaiting the arrival of Santa Claus.
Now, I’m just going to go ahead and warn you ahead of time, if glitter isn’t your thing, this probably isn’t the craft for you because trust me, you will be finding and sweeping up glitter for days. If you’re of the attitude that it just wouldn’t be Christmas without a little bit of sparkle though, you’re going to love it!
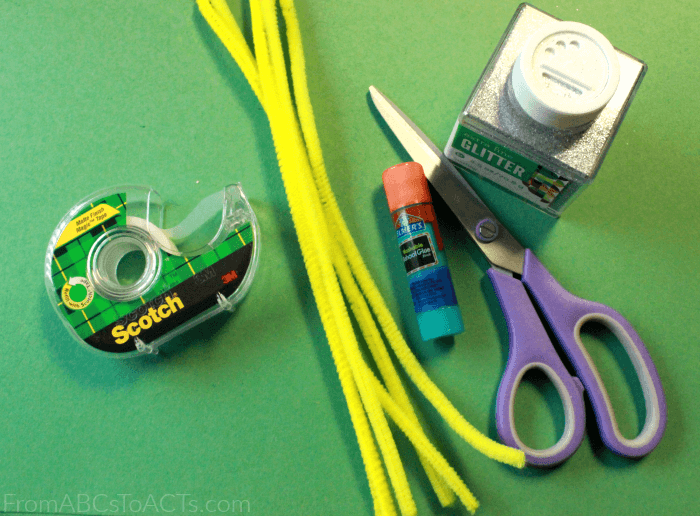
When it comes to the supplies needed for this craft, you’ll find that the list is pretty short and sweet. You’ll need:
- Green construction paper
- Yellow pipe cleaners (2 for each Christmas tree that you plan to make)
- Glue
- Tape
- Scissors
- Glitter
- Ribbon
- An art tray (or something similar to make cleanup easier)
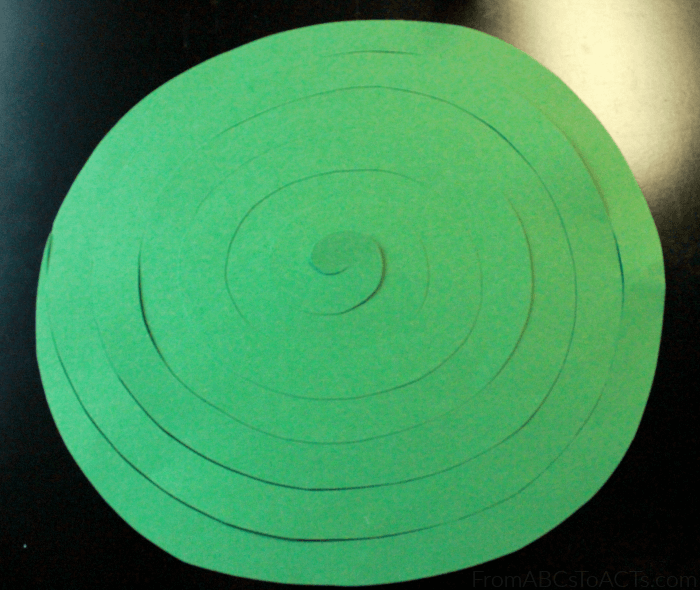
The first thing you’re going to want to do is cut a large circle from your construction paper. If your child is comfortable enough with a pair of scissors, hand them over and let them give it a go. If they’re still learning or need a bit of guidance, it can be helpful to draw the circle on the paper and have them try to cut along the line.
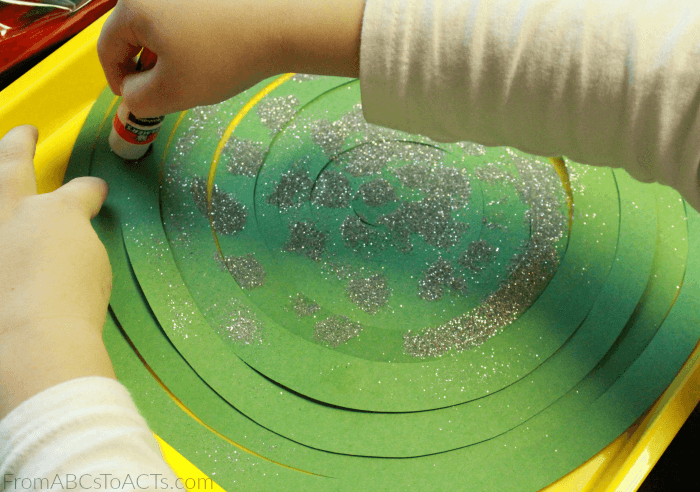
Once your circle is cut, go ahead and continue cutting to create your spiral. Again, draw the spiral onto the paper if your child needs a little help.
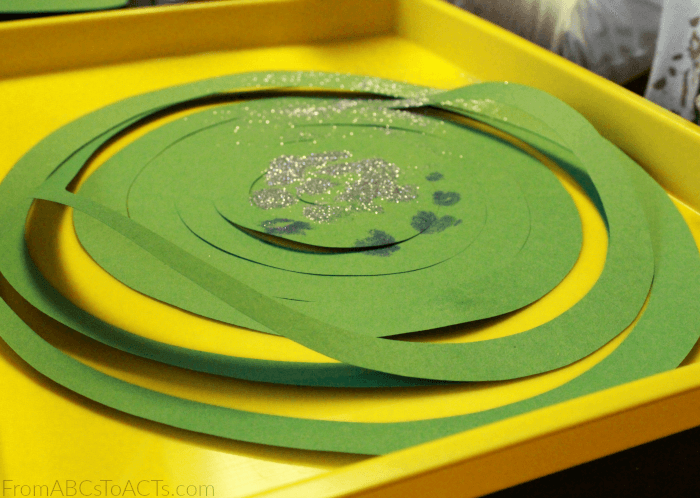
When your spiral is ready, use your glue and either add dots, if you’re using liquid school glue, or start making circles, if you’re using a glue stick, and sprinkle on some glitter before it has a chance to dry.
Once your glue is dry, these spots will make the perfect ornaments for your tree!
Of course, if you have other craft supplies or would just like to spruce your craft up a bit, add whatever you like. We decided to keep things pretty simple this time around but you could easily add some pom poms, color in a few lights with some crayons, and so much more!
When you’re finished adding glitter and your glue is dry, you’ll want to shake off the excess so that you don’t create a glitter bomb that explodes the second your child tries to pick up their creation.
That glitter bomb is something we have experienced on numerous occasions, it’s right up there with paint splatters on the wall on my list of things I’d rather not have to cleanup again, and why we now use our art trays for any project that includes glitter, paint, or glue. Yes, we love making messes, but that doesn’t mean I want that mess spreading throughout the entire room :)
With these, we can pick up our projects, gently shake the excess glitter off and then easily pour it right out of the tray.
Now, of course, every Christmas tree needs to have a star sitting prominently at the very top.
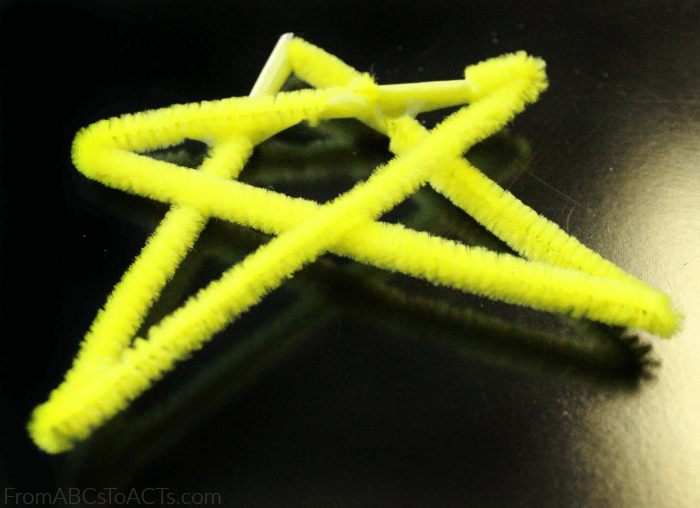
To make ours, we taped two yellow pipe cleaners together (end to end) to create one long pipe cleaner and then bent it to make a star shape. Another small piece of tape holds the other two ends together and it’s ready to go on the tree.
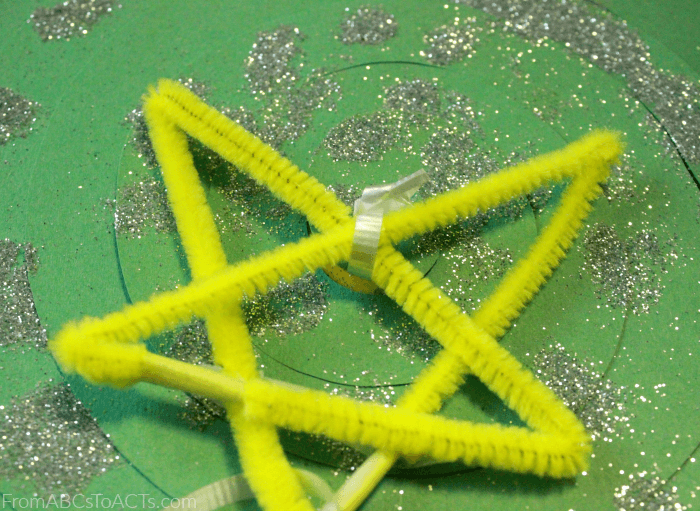
To attach your star, use a small piece of ribbon to tie the bottom of it to the very top of your spiral.
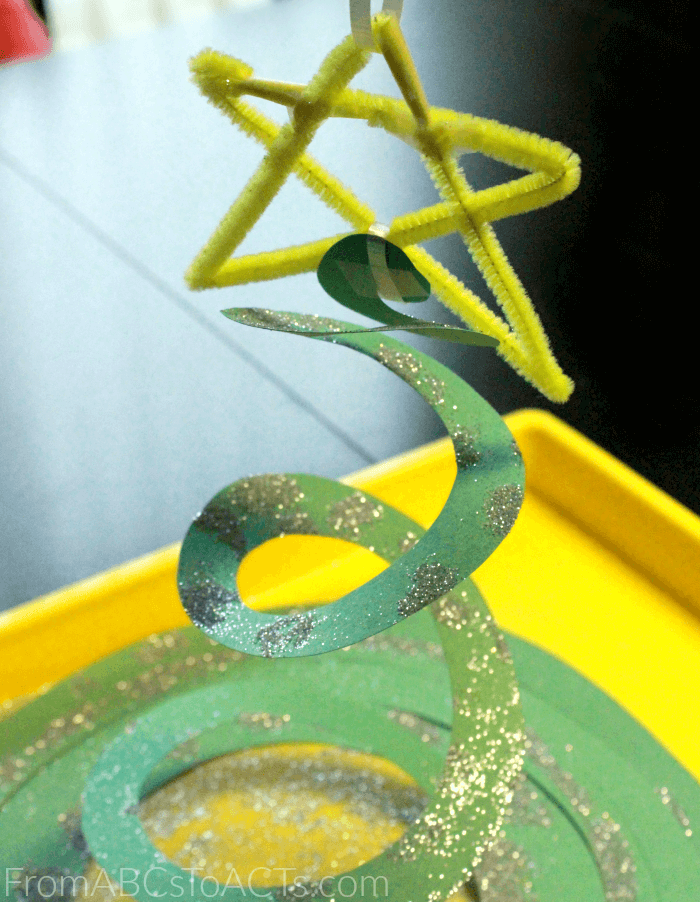
Add another, longer piece of ribbon to the top of your star so that you can hang it when you’re ready, trim your spiral up if you find that it’s a bit too long, and you’re all done!
Find a place to hang your newest creation and bask in the magic of the holiday season!
