This post may contain affiliate links. For more information, please see my full disclosure policy.
When it comes to crafts for kids, tissue paper crafts, are some of my all-time favorites.
When it comes to making Spring crafts, anything relating to flowers is kind of a no-brainer.
Tissue paper is just such a versatile craft supply, one that you can use in so many different ways. And flowers? Well, not only are they perfect for Spring, they’re so colorful and cheerful that they’re sure to brighten your day.
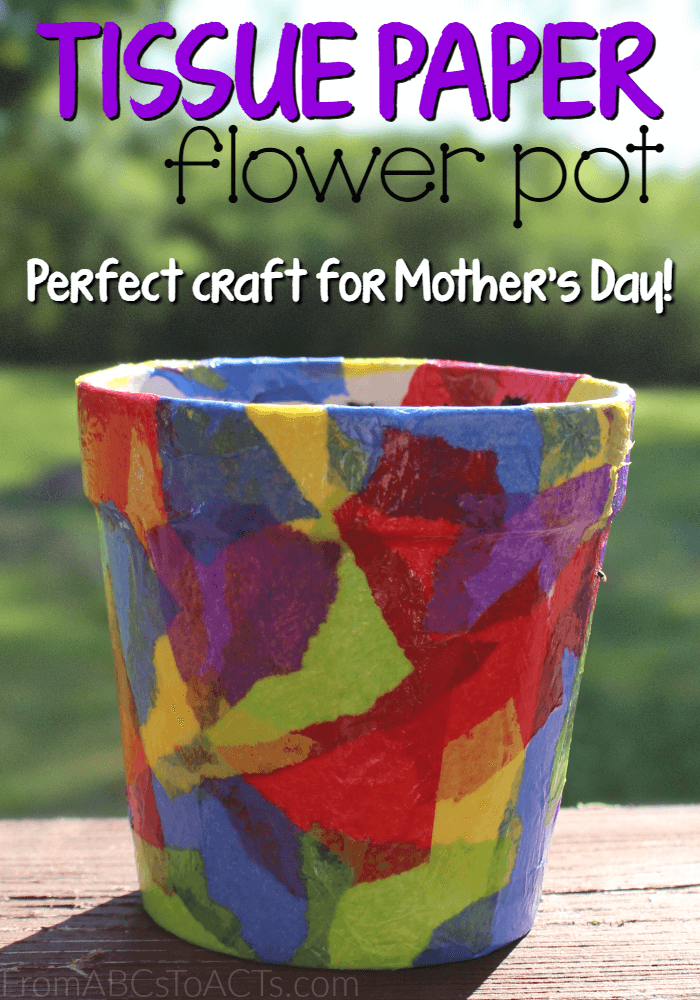
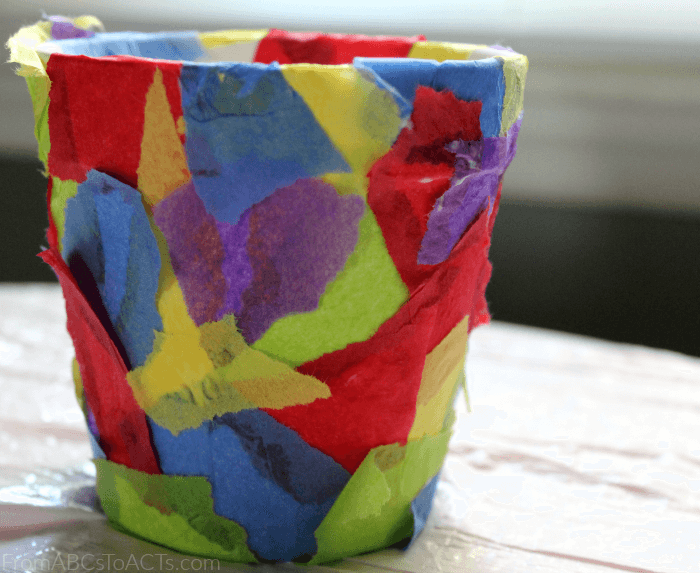
Combine the two and you’ve got a fun tissue paper flower pot craft that is both beautiful and functional. The best part? They make fantastic Mother’s Day gifts!
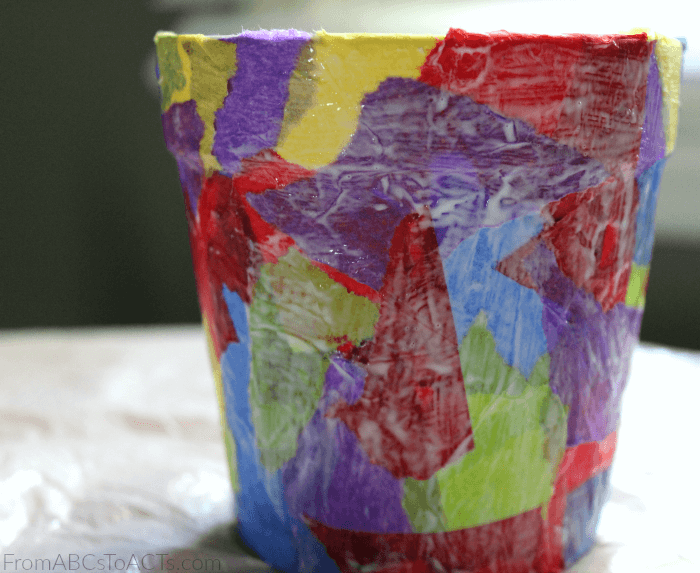
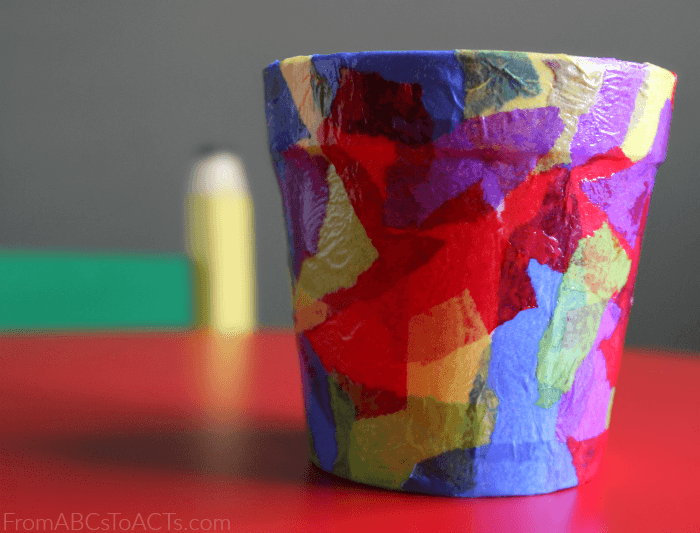
I absolutely love how the finished product turned out and the kids had a blast making them!
Once they’re dry, the tissue paper takes on some really cool designs and is so vibrant and colorful that you just can’t help but be excited about Spring!
Love tissue paper crafts as much as I do? Make a tissue paper flower pot of your own!
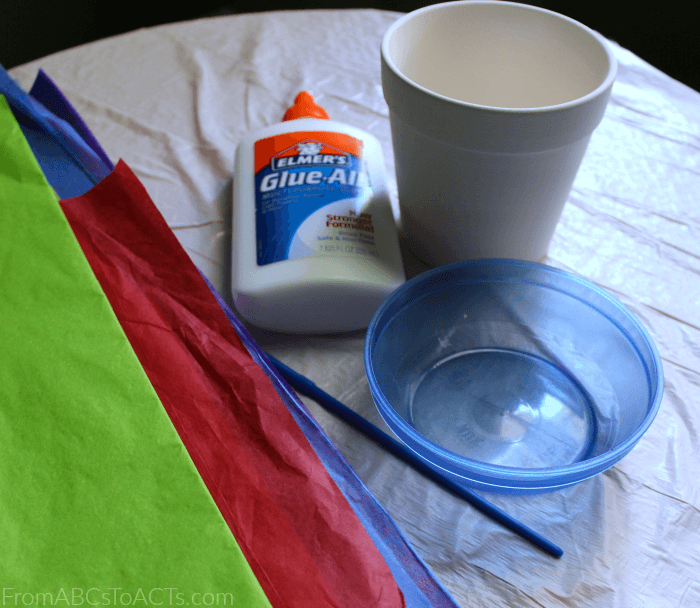
First things first, you’re going to need to gather up a few supplies. You’ll need:
- A ceramic flower pot (we had a few small white ones lying around those worked perfectly!)
- White school glue
- Tissue paper in lots of fun colors
- Paintbrush
- Small bowl (this will be for holding y our glue so you may want to find something that you can just throw away afterwards)
- Something to cover your work surface (I knew this one was going to get sticky and messy, so we covered the table with a trash bag before we started. It definitely made the whole clean up process a lot easier!)
Now, once you’ve rounded up all of your supplies, you’re going to need to prep them a little bit.
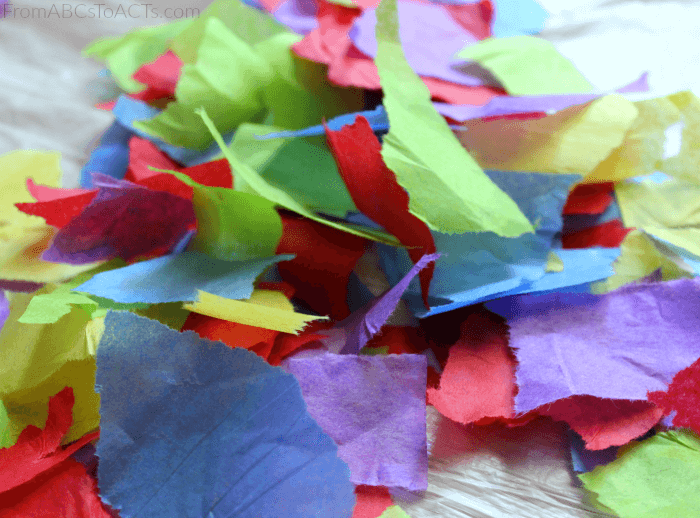
And by prepping, I mean start tearing up that tissue paper! Grab lots of different colors and start ripping them into pieces, mixing them all together as you go along.
This is such a fun step and is a great way to work on your little one’s fine motor skills! They’ll have so much fun that they won’t even realize they’re getting an excellent small motor workout!
When you’re happy with the amount of tissue paper in your pile, it’s time to start sticking it onto your flower pot.
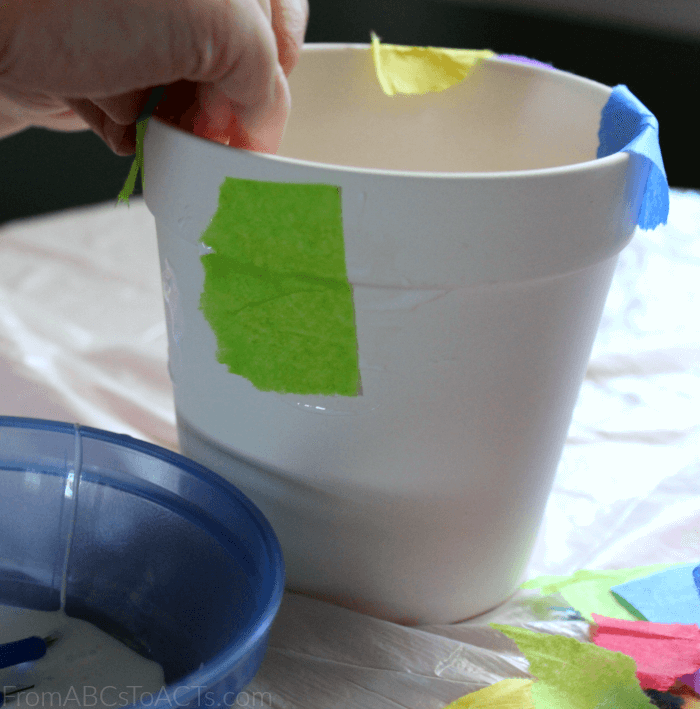
Add some of your white school glue to a small bowl and have your child use their paintbrush to spread it all over their flower pot. Start adding pieces of tissue paper while the glue is still wet.
It is completely okay if you have pieces of tissue paper that are sticking up or refusing to lay flat. You’ll fix that in the next step :)
Continue spreading glue and adding tissue until your entire flower pot is covered in colorful pieces of paper.
When you’ve added all of your tissue paper pieces, grab your paintbrush and cover the entire flower pot in a layer of glue.
This will not only help all of those wayward little pieces of paper stick, it’ll mold them all together to create a pretty cool design.
Now, just let it dry.
I decided to go ahead and spray the whole thing with a clear acrylic sealer to make sure that the little guy’s masterpiece lasted for years to come, but this step is completely optional.
Continue the Springtime fun by planting a few wildflower seeds in your new flower pot and hanging a stained glass rainbow sun catcher above it in the window.
Just grab some flower seeds, a little potting soil, and let the little ones get their hands dirty.
Looking for more fun Spring activities for kids? Here are a few of our favorites!
